10 Hacks to stunning portraits

Photographs are generally classified on terms of locations, themes, stories they depict, subjects they focus on, so on and so forth. As the multitude of classifications exist, so are the personal favourites. My favourite is portrait.
The main objective of the portrait from my point of view is to portray certain emotion, or a certain feeling through the photo.  My model should be the point of focus, and the emotions felt, the expressions emitted should be captured in the best of possibilities. If I manage to show to my audience, what my subject felt while the shot was taken, I feel, its a good portrait.

Today, I shall put down certain points which I feel are important while taking portraits. I keep these points in my mind while shooting and so far, they have served me well.

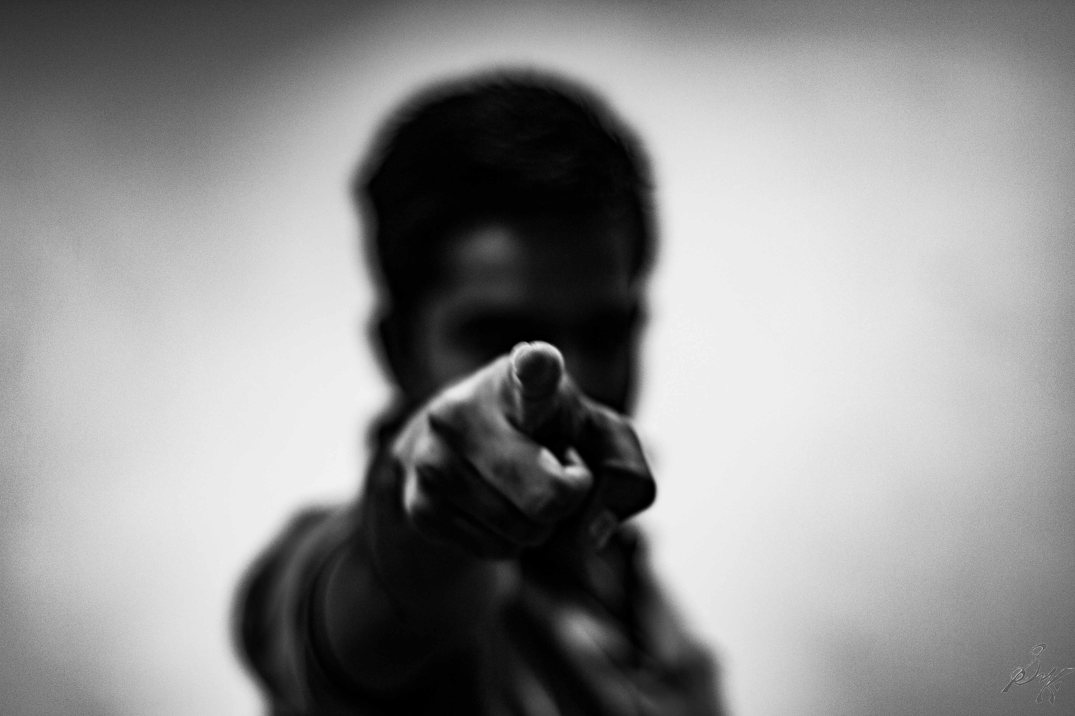
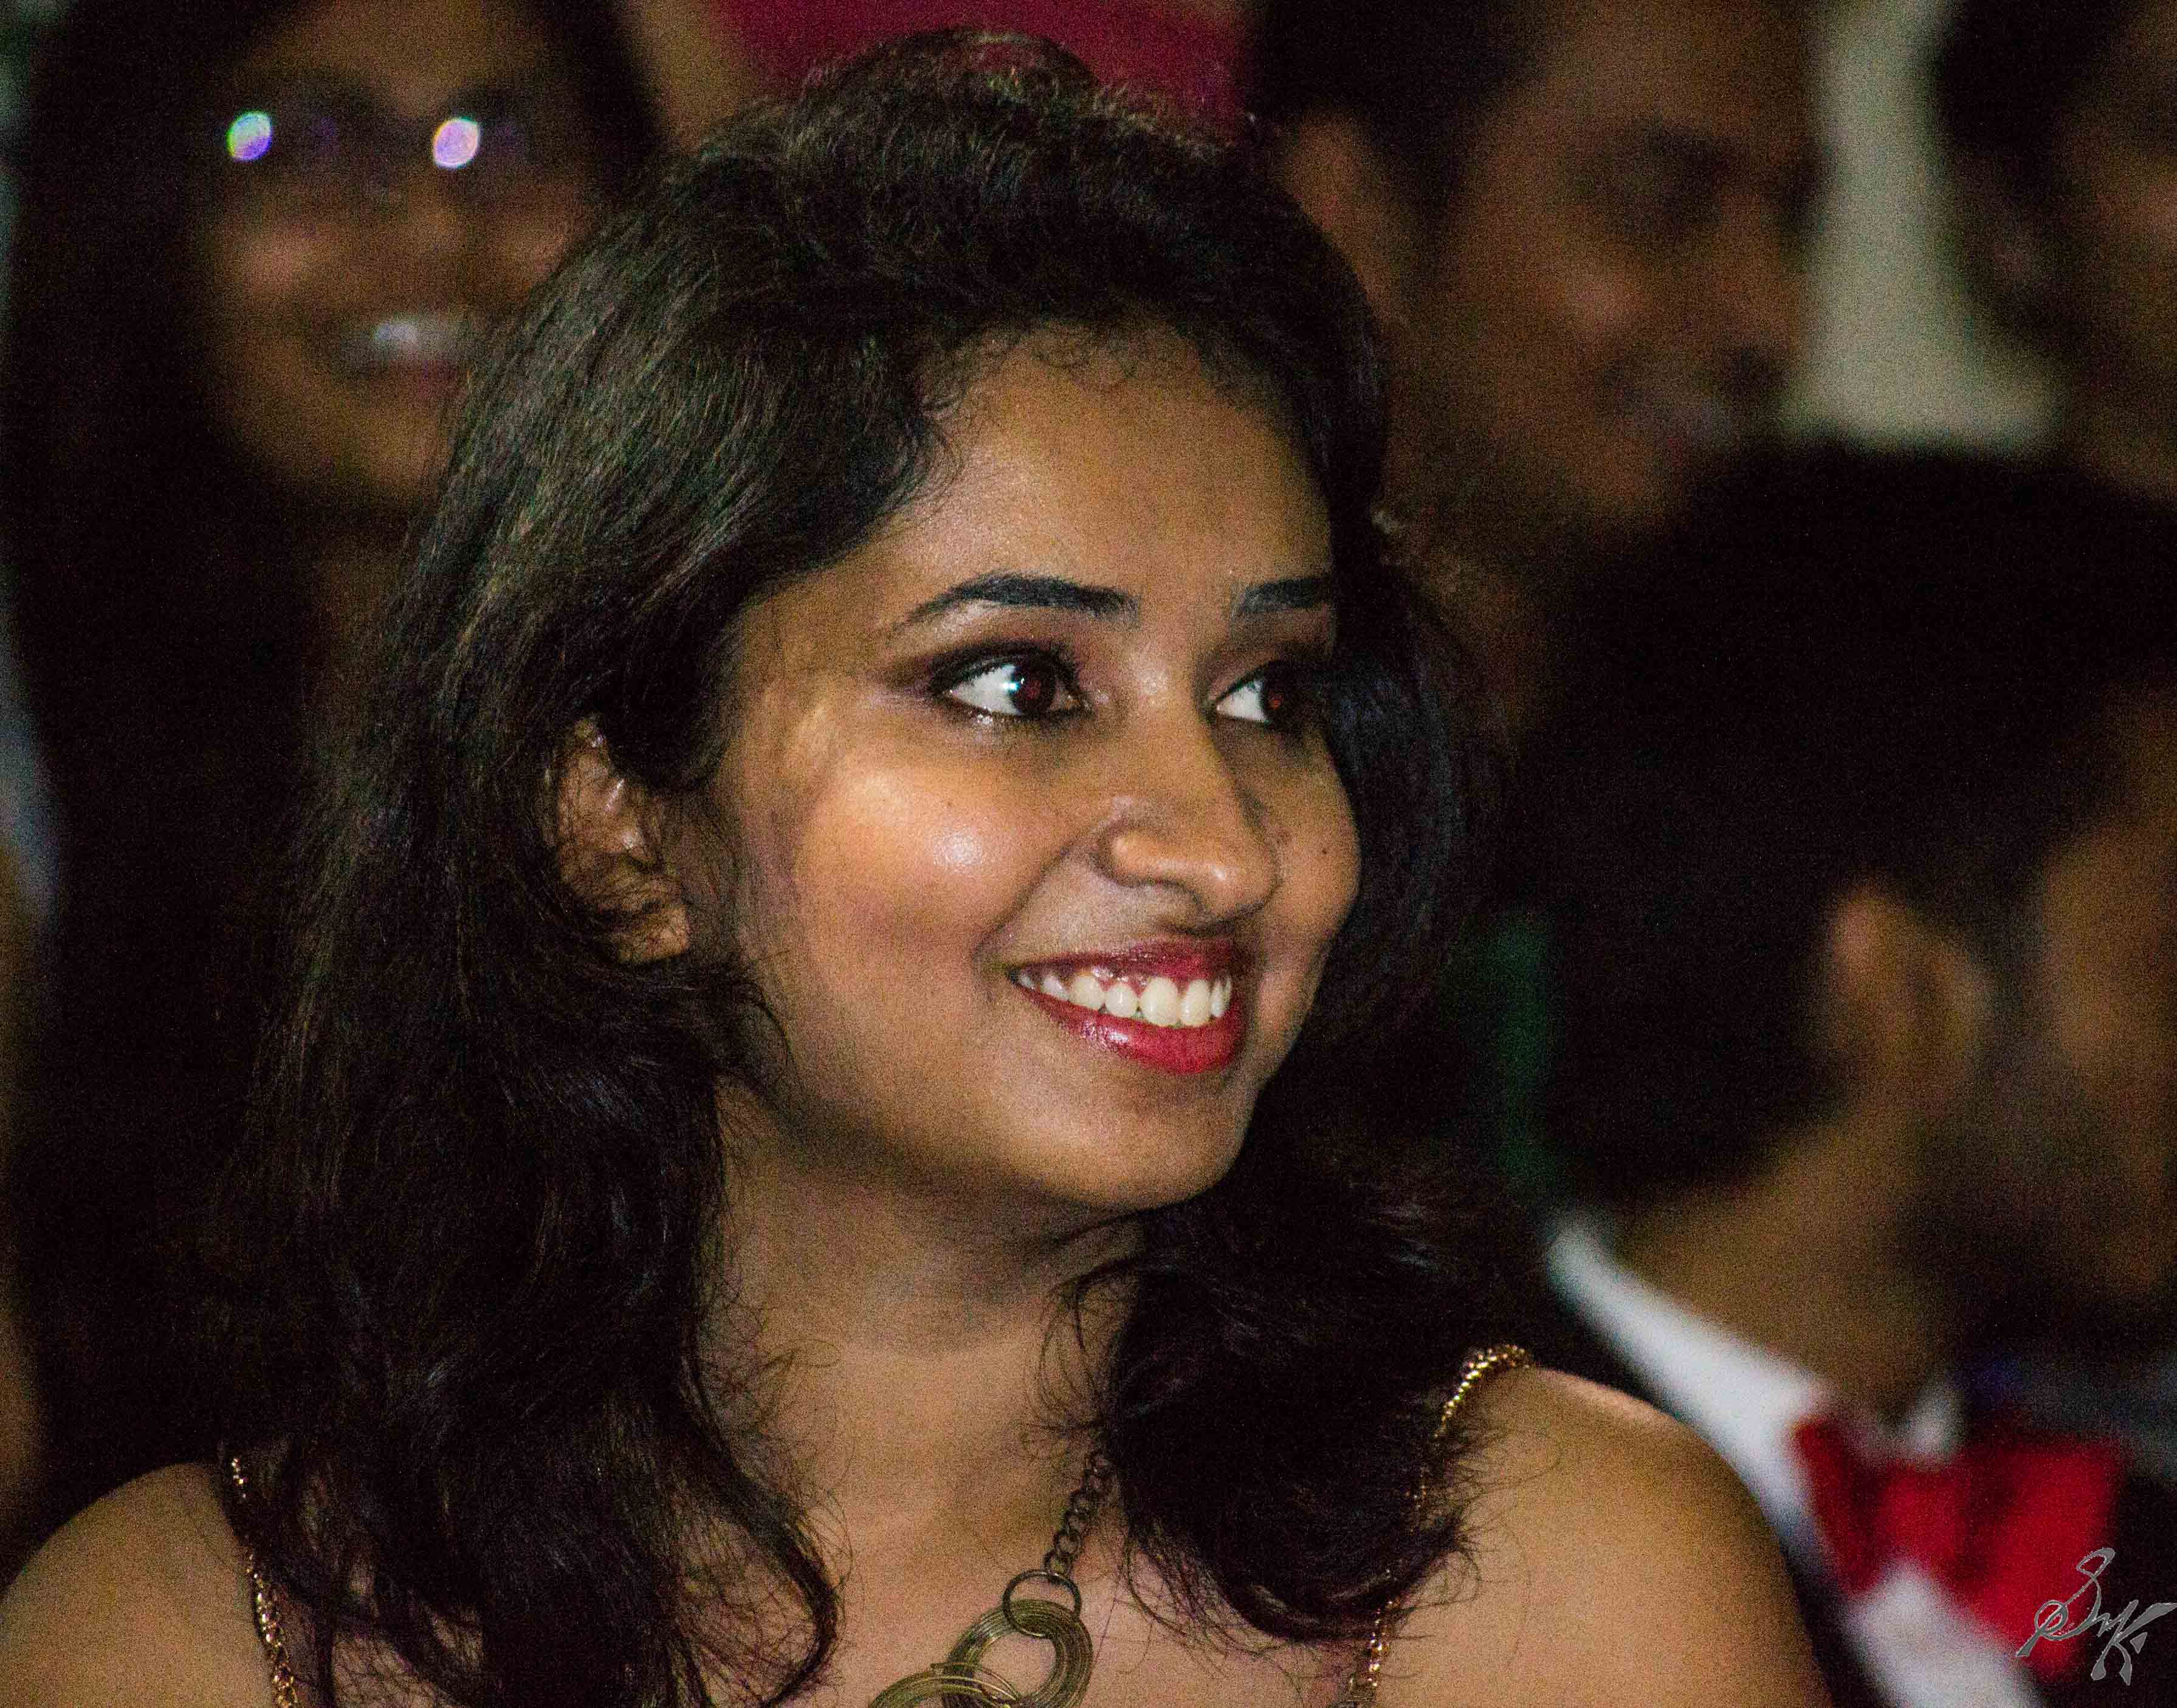
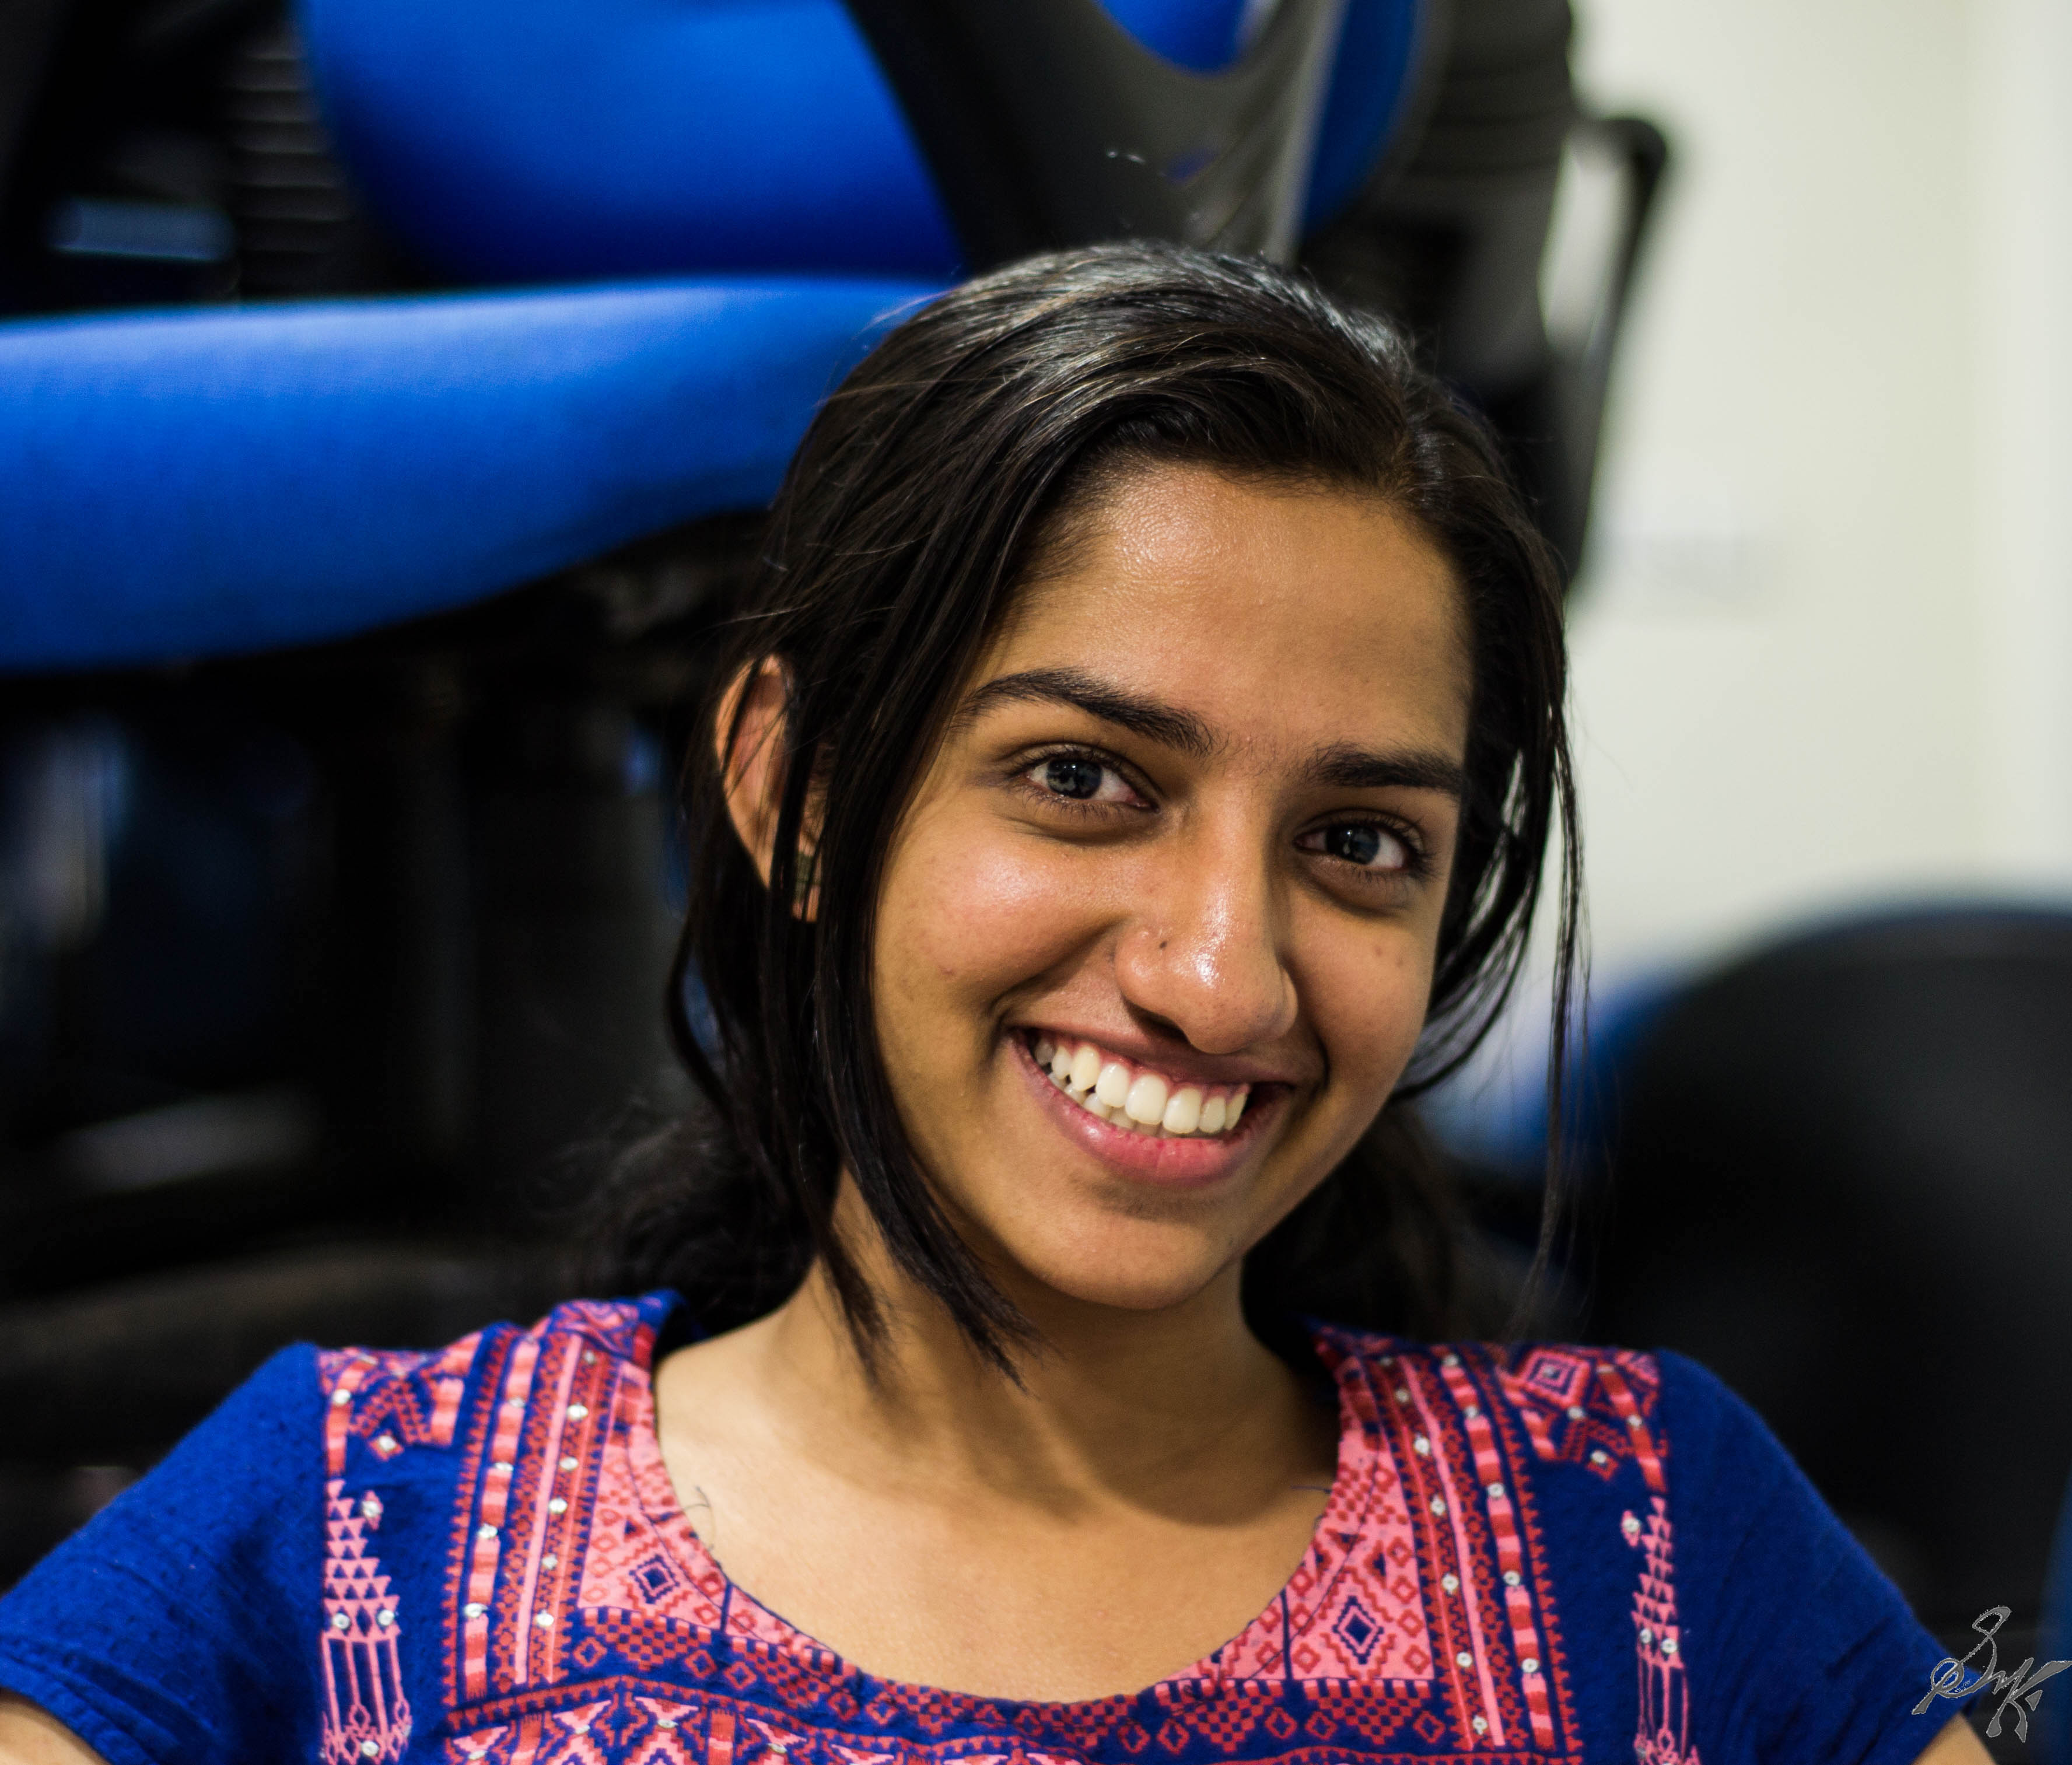
1. Focus on the eyes: The first rule, by me, is the focus should be on the eyes. Not on the nose, not on the lips, the EYES. Why? Because consciously or not, that’s the first thing that catches our eye in the photo. So, a sharply focused eye of the model, makes the photo likable immediately.

DSC_9004-97-7
Sharp focus is on the eyes

2. Let the eyes see: I ll explain this, in simpler terms. I mean, let the photo be such that the model has some place to look to, that the viewer also looks towards the way the model is watching. Let the curiosity be there. If the model is looking towards left, leave some space in the left, and vice versa.

DSC_8996-96-6
She looks to her left, so thats where the space should be

3. Change the angles and point of views: All shots need not be taken right from the eye level. Go up, go down or maybe, just take a step back. They all work wonderfully.

DSC_5801-13
Take a step back, and let her beauty fill the frame
DSC_8515-49-4
Make her look up to you
DSC_0050-7
If needed, get down on the ground too

4. Anticipate Movements:  While shooting at an event, you shall come across conditions where your model is in motion. Observe the patterns and anticipate the movements, be ready and press the shutter at the right moment. With a bit of practice, sharp shots of moving people will not be difficult.

DSC_8973-91-5
Anticipate the pattern
DSC_9196-8-9
Prefocus, be ready and shoot!

5. Go Candid:  Here, you just need to be on the prowl. Keep your eyes peeled for subjects to be shot. Sometimes they notice you and the expression changes, the objective is to shoot before the expression changes. But be advised, the shots may not be as you would have wanted them to be, but then, sometimes, gems emerge too.

 DSC_7548-1-1 DSC_9019-7

6. Bokeh to the rescue:  If you have a background which has distractions, or maybe you just dont want the background, open the aperture wide and let the background fade.

DSC_7859-7-1
The tip of the finger is all I am interested in, rest all should fade
DSC_5815-17
To isolate the model from the distracting background, use a wide aperture

7. Use Flash:  When shooting in the dark, or poorly lit conditions, use the flash as a last resort. With a few test shots, gauge what strength and what shutter speed you need to do justice to your model. Once found, fire away.

DSC_9188-6-8
The flash gives the adequate light and also helps freeze the motion
DSC_8998-6
Combination of Flash and wide aperture helps isolate the model and also provide proper lighting

8. Get close:  Often to capture the expression, you must get very close to your model. But be advised, do not disturb the natural surroundings in the process.

DSC_8434-33-3
Concentration….captured

9. Ask the model to smile: This trick, never gets old. Ask your model to relax and take a seat. Bring out your gear and show them how to take a shot, and when they have relaxed, ask them to smile….voila! You have a genuine and happy smile,

DSC_8338-2-2
Effortlessly beautiful

10. Try Monochrome: For a lot of shots, the monochrome version appears to be of more depth. Try it out, but dont overdo it.

DSC_5865-38
Beauty as I know best

So, there you go. 10 simple tips to get you going on your next portrait shooting trip. Go on, have fun and shoot some wonderful portraits.

Thanks a lot to the wonderful models here: Nikhila, Gowri, Rishika, Shruti, Soma, Mayukh, Shweta, Parthivi, Aakash, Anushree, Yogi and my muse, Tuhina. You all are simply wonderful 🙂

Cheers!!

April AtoZ Chellenge: PH – W: White Balance

for White Balance

This is a in-camera option, for setting the color tone correctly while shooting under varying light conditions. Generally, options like cloudy, direct sunlight, shade etc are available along with the Auto mode. The Auto mode suffices mainly, but be advised, during shooting HDR photos, or making a timelapse video, change it to some other setting other than Auto. This is because, in the Auto mode, the white balance might change between the subsequent shots, something that is not desirable while shooting in a series. For flexibility, I shoot in RAW format, and fix the issues in post processing.

 DSC_1577-1 DSC_1577-1-3

DSC_1577-1-2

This is a part of April AtoZ Challenge. For the rest of the series, head here.

Cheers!!

7. Flash Diffuser

In my previous post, I wrote about flash photography. I hope you, my readers, have taken some shots using the flash. And also, I believe, you have faced the issue, where the flash felt very harsh. Skin tone has become unacceptably white and too much of the detail has been lost. No amount of post processing will help in these cases.
This is caused, when the flash is too strong and the light is very concentrated. Hence, our options are either to lower the flash strength or diffuse the light.

Lowering the flash strength is fine upto a certain level but beyond that, still photos do get blown. This is where the diffuser comes in.
First, what exactly does the diffuser do? Imagine the flash on your camera as a point light source, like a strong bulb. It gives out a dispersing beam allright, but the dispersion is not enough hence the subject’s details are getting overwhelmed by the light. Now, the diffuser’s work is to disperse the light even more, make it softer. This makes the subject retain the details and also gives your photo a balanced look. For a further enlightenment on the diffuser, feel free to check up on the web, but the nutshell description is the same.

Normal flash
Normal flash


Same settings, with the diffuser

Diffusers are generally not available for the onboard flashes, and a decent external flash costs at least 15k INR, plus the diffuser box is around 6k INR. Frankly, I dont have that amount of money at all, hence, a bit of improvisation (Jugaad, the Indian term) is all we need. Head over to the DIY section for a awesome jugaad that ll make your day.

Cheers!

5. Flash Photogrpahy

Flash photography, is simply put using the flash during taking the photo. We all know what a flash does, add light to the scene, thats the nutshell. Good use of flash allows the proper amount of light and also not washing off the colors in a photo. Most common use is during the night time photographs we take. These basic things, we are all aware off, and knowingly or not, we use them every other day.
But what do we do, when our subject is backlit, most commonly by sunlight? We take a photo without flash, and we end up having silhouette photos. I, personally, love the silhouette shots, but sometimes, you would like that the subject’s features, expressions too be captured. This is when the flash becomes indispensable. This technique of using the flash is known as “Fill Flash”.
Now, in a DSLR, you will have options of how strong you want the flash to be. With use and experience, you shall be able to judge the amount of light your scene needs and other than practice and trial and error, there is no short cut to it.

When you go through the options within the flash menu, generally, you ll come across the following options.
1. Normal Flash: This one is the standard issue flash setting. The shutter and the flash are synced and they normally fire simultaneously.

2. Slow sync Flash: This option comes up if you want to depict both motion and also freeze your subject. On the point and shoots, the party mode gives you this option. Here, the flash fires with combination of a slow shutter speed. The slow shutter speed gives the option to depict motion, while the flash freezes the subject in sharply.

Slow sync has two options, which come up in the Manual mode in the DSLR…
a. Front Curtain: Here, the flash is fired at the beginning of the exposure. Practically speaking, suppose you take the picture of a car moving from left to right using this method, then, the photo will have the car being sharp on the left side of your shot and then the trail of light leading it as the car exits from right. Here I show it with a coin toss! Notice how the falling coin is also captured in the shot.

Front Curtain
Front Curtain

 
b. Rear curtain: Similarly, here the flash is fired just before closing the shutter. It also does the same job, just from a different perspective. Same car, same direction, same shot, but this time, the car will be sharp in the right side of the photo with a trail of lights in the back. Similar coin toss, but here, you can see it spinning and in the moment the flash was fired, the coin’s motion has been frozen.

Rear Curtain
Rear Curtain

Flash photography can be used very creatively from making weird blurred backgrounds to eliminating shadow to freezing motion and so on…Go on take the shots and have fun creating stunning effects in the photos right in the camera.
Cheers!