Repurpose – Flash Diffuser

Photographers, both, budding and experienced, have faced the issue of flash whiteout quite often. Sometimes it can be handled by varying the settings and we immediately realize the importance of a flash diffuser.
Like the name suggests, it is used to diffuse the harsh light from the flash and make it more soft and soothing, while still lighting up the subject. It is useful as it does not produce harsh shadows and lights up more area, albeit in a little less intensity.
One can get clip on diffusers for the on board pop up flash, while the external flashes generally come with a diffuser flap. Here is a method of repurposing a used cigarette packet as a flash diffuser in a hurry.

Get a white pack, rip off the bottom of it carefully and pull out the silver or golden foil from inside, carefully so as not to tear it away.

Cigarette pack with a ripped bottom

Reverse the foil so that the shiny bit will be facing inwards.

Foil reversed in a cigarette pack

Push it to till the head, in such a way that light doesn’t escape and is rather reflected and the head behaves as the flash.

Foil positioned to reflect light

Clip it on your camera’s pop up flash. It may need a little tweaking here and there for it to be set correctly.

Repurposed pack clipped on on board flash

Repurposed pack clipped on on board flash another view

Results:


Brain coral, loses detail due to white out by direct flash
Normal flash


Brain coral, much more detailed due to diffused light
Same settings, with the diffuser

I hope you have found this useful. This is quick fix solution, a typical Jugaad 🙂

Cheers!!

Star Trails: What is and how to..

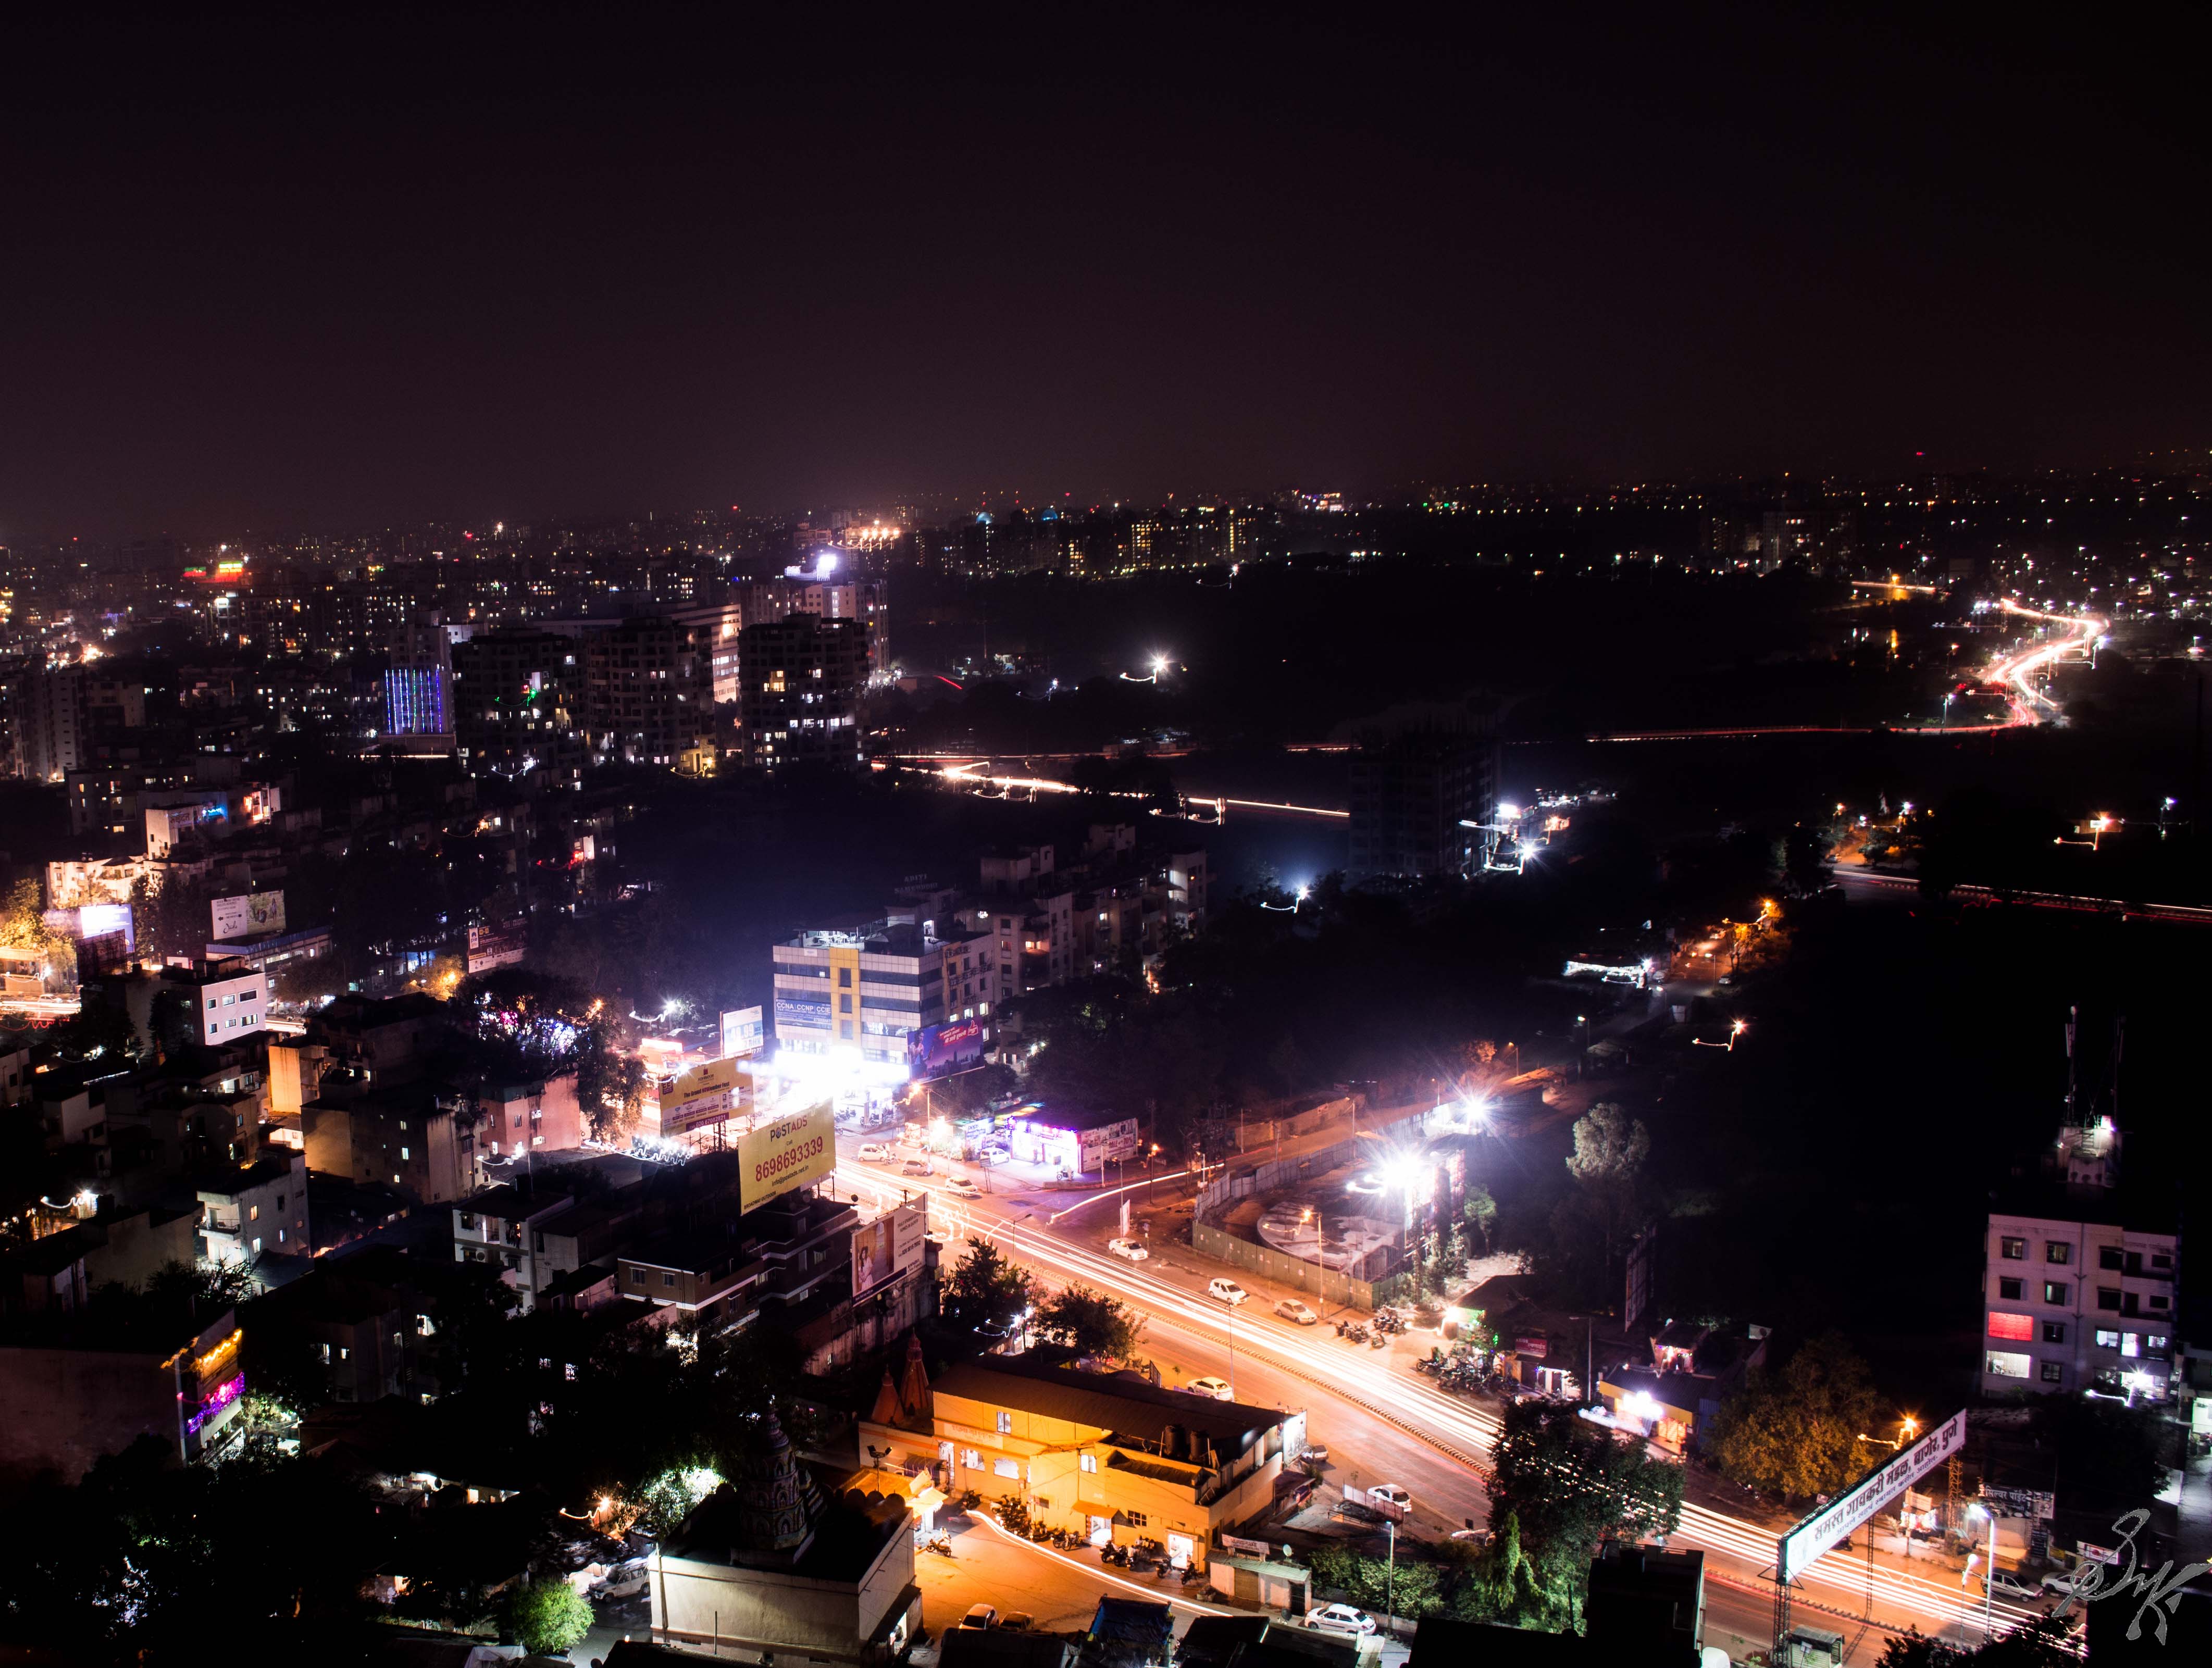
Shooting at night, and in long exposure is quite fun, one must agree. With a little tweak, the night can be turned  into dusk, if not bright day.
This shot, 0230 h. 30 seconds of exposure does this trick.

Long exposure photo of lake with landscapes mirrored into the lake.

We get enamoured by the photos of trails of lights across the sky, often in round or elliptical patterns about a stunning landscape. Some of my readers may already know what it is. What you have seen, is a star trail.
What is it? Well, as the earth rotates, from our point of view, fixed on the earth, we find the stars shifting. If we capture this shift, over considerable span of time, we shall get the path traced by the star. That illuminated trail, is the star trail.

Star trail photo over landscape. Multiple long exposure photos combined in one.

Things we need are quite minimal. We need a tripod, a camera with a means to take a certain number of shots over a period of time, a landscape and a starry night.

Set the camera appropriately on the tripod. In the settings menu, make it take photos till the battery runs out or at least 8gb worth of photos are captured. For the exposure settings, you ll have to take a couple of cold shots. Try with the minimum ISO and shutter speed at about 15 seconds. Take a shot and inspect it, if you can see at least one star in your display screen. A few trial and errors and you shall get the exposure right. Once done, set the camera on the interval shooting mode, and wait.

Now, what you shall get out of the shots is a series, where the only movement, preferably, will be of the stars. Get hold of the software, StarStaX, and load up the images. Follow the instructions and let the software process the photos. If done correctly, you should get yourself a beautiful star trail photo.

If you have reached till here, you have definitely earned the right to know what may go wrong. Take a look at the photo above, once more. Zoom it. Do you notice that there are tiny gaps between each trail. That gap is what 5 seconds looks like. Between each of my exposure, I had set a gap of 5 seconds. If you want a continuous trail, ensure, no gaps. You may have to shoot on JPEG for that, turn noise reduction off, so that as soon as the camera shoots one image, it can continue to the next one. You have got to ensure that there are no movements on your end. Before you put the photo into StarStax, it is advisable to convert them in JPEG, if you have shot in RAW. And while you are at it, make the uniform changes in all the photos using sync (Lightroom) or similar functions.

My exposure is about 120 photos, half an hour long. This was a proof of concept shot, to try out whats and hows. Now that I know, in near future, better, seamless shots should be expected.

Till the next post.
Cheers!!

The ones that didn’t win – II

The minute you put a face in a photograph, you put a story to the photo. One must, maybe for just that one instance of the shutter click, relate to the face on the other side, know that person, know the story; this is my opinion while making portraits.

dsc_0012-2

This old lady said shes been in business for the past 30 years and is quite happy with the income. She isn’t camera shy, just dedicated to her work. We managed to have a conversation in two different languages, she cant speak Hindi, and I, Gujarati, so the conversation was quite animated. Just out of frame is, who appeared to be her grand daughter, helping her with the rest of the vegetables. Oh yes, before I left, she gifted me a carrot 🙂
-Ahmedabad, 12/2016

This is a part of an ongoing series, posts of which can be viewed here.

Till the next story..
Cheers!!

The ones that didn’t win – I

I have, till date, taken part in quite a few photography competition. Some I have won, some I haven’t. The ones in which I won, or at least got the photos exhibited, those photos got some of the limelight that I would have wanted them to get. But what about the ones that didn’t win? When I made those photos, I made them as dearly as the ones who won, so why should they not be shared ? They ought to be.
With this thought in mind, here begins another series of photos. One photo per post. Let me know dear readers about your take on the photos.

dsc_0002-1

This photo here is of a man working on the kite strings. He has been in the profession since he was 16 years old and now he’s close to 50. What do his kids do? The daughter goes to school, and the son helps him with the business – Ahmedabad, 12/2016.


The Supermoon Post

This is a late post about the most recent supermoon that the world saw. I was determined to shoot it.

So, I made my way to a nearby temple, which rests on a hill top to try shoot the moon, and the city underneath, and this is what I got.

dsc_0025-4

trail
Not exactly the way I wanted it to be. The temple, being on elevated ground, was a perfect vantage point for some nice cityscapes though 🙂

dsc_0033-5

So, when a bunch of friends suggested we go the nearby Singhagadh Fort to capture the moon before it sets, I was ready in a snap.

dsc_0019-edit-edit-3-1

Now, these were more like it. We were there till sunrise, and then made our way back to our daily routines.

dsc_0047-3

Recently, I joined a group of amazing photogs and have covered an event of international fame. Shots from them, shall be up shortly. Stay tuned.

Cheers!!