Repurpose – Flash Diffuser

Photographers, both, budding and experienced, have faced the issue of flash whiteout quite often. Sometimes it can be handled by varying the settings and we immediately realize the importance of a flash diffuser.
Like the name suggests, it is used to diffuse the harsh light from the flash and make it more soft and soothing, while still lighting up the subject. It is useful as it does not produce harsh shadows and lights up more area, albeit in a little less intensity.
One can get clip on diffusers for the on board pop up flash, while the external flashes generally come with a diffuser flap. Here is a method of repurposing a used cigarette packet as a flash diffuser in a hurry.

Get a white pack, rip off the bottom of it carefully and pull out the silver or golden foil from inside, carefully so as not to tear it away.

Cigarette pack with a ripped bottom

Reverse the foil so that the shiny bit will be facing inwards.

Foil reversed in a cigarette pack

Push it to till the head, in such a way that light doesn’t escape and is rather reflected and the head behaves as the flash.

Foil positioned to reflect light

Clip it on your camera’s pop up flash. It may need a little tweaking here and there for it to be set correctly.
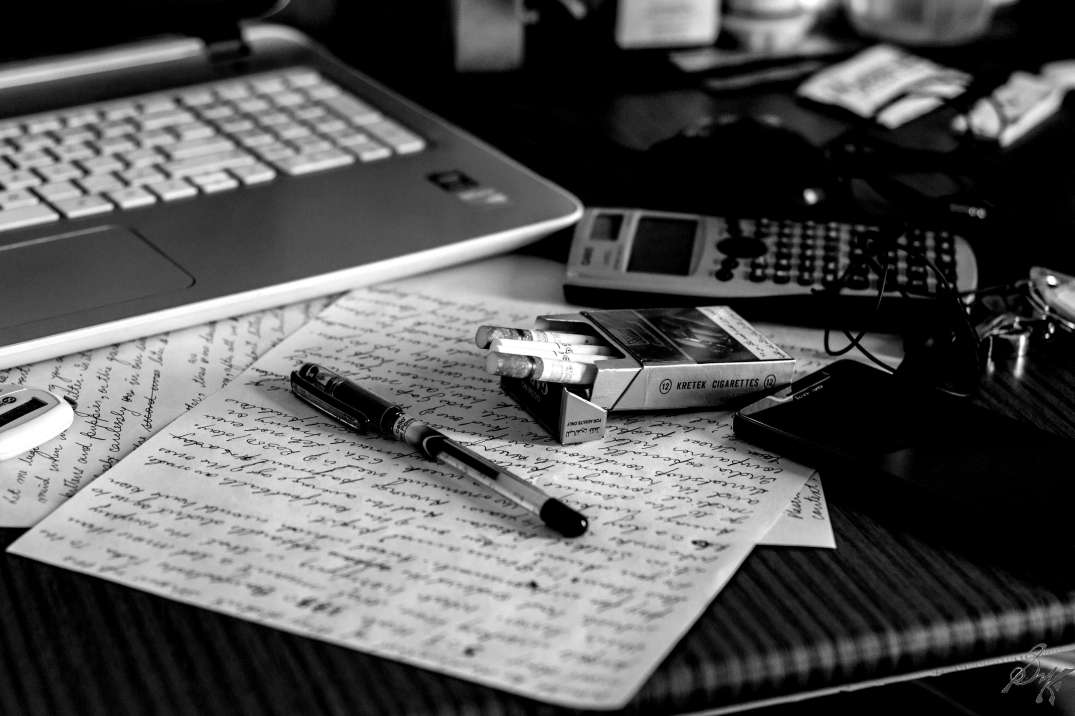
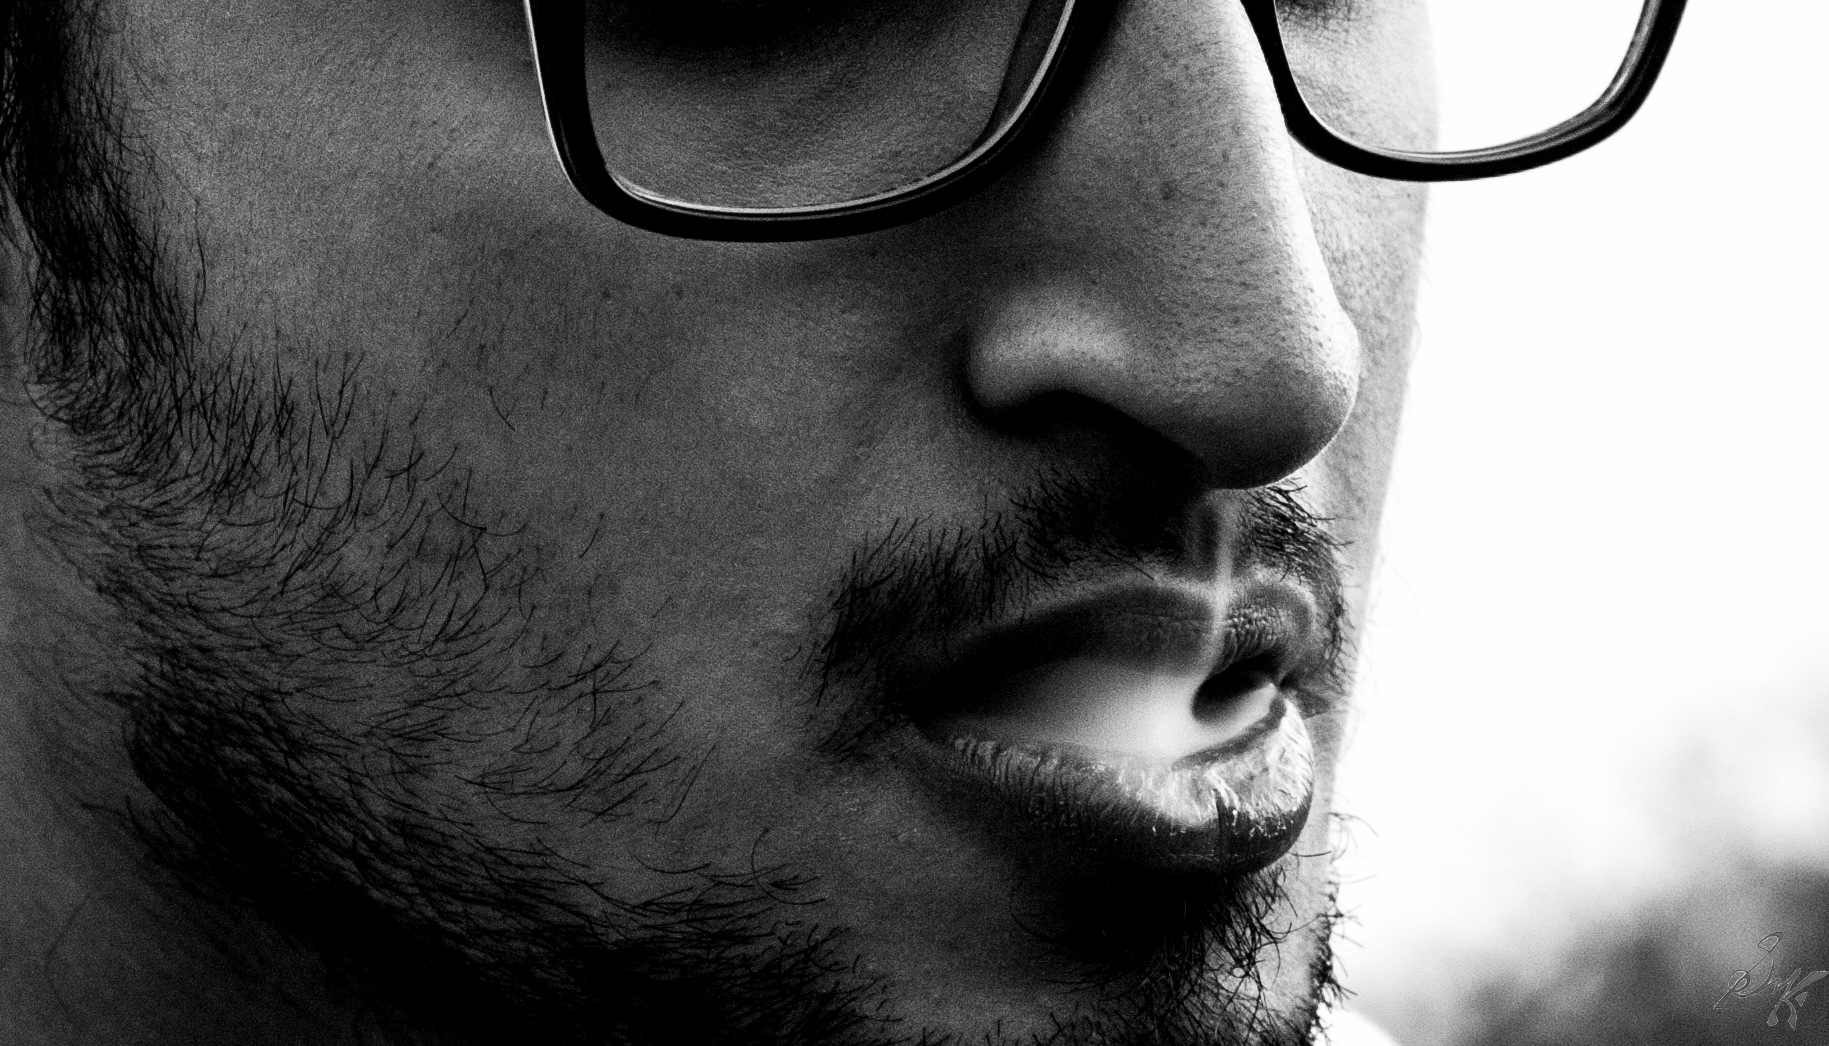
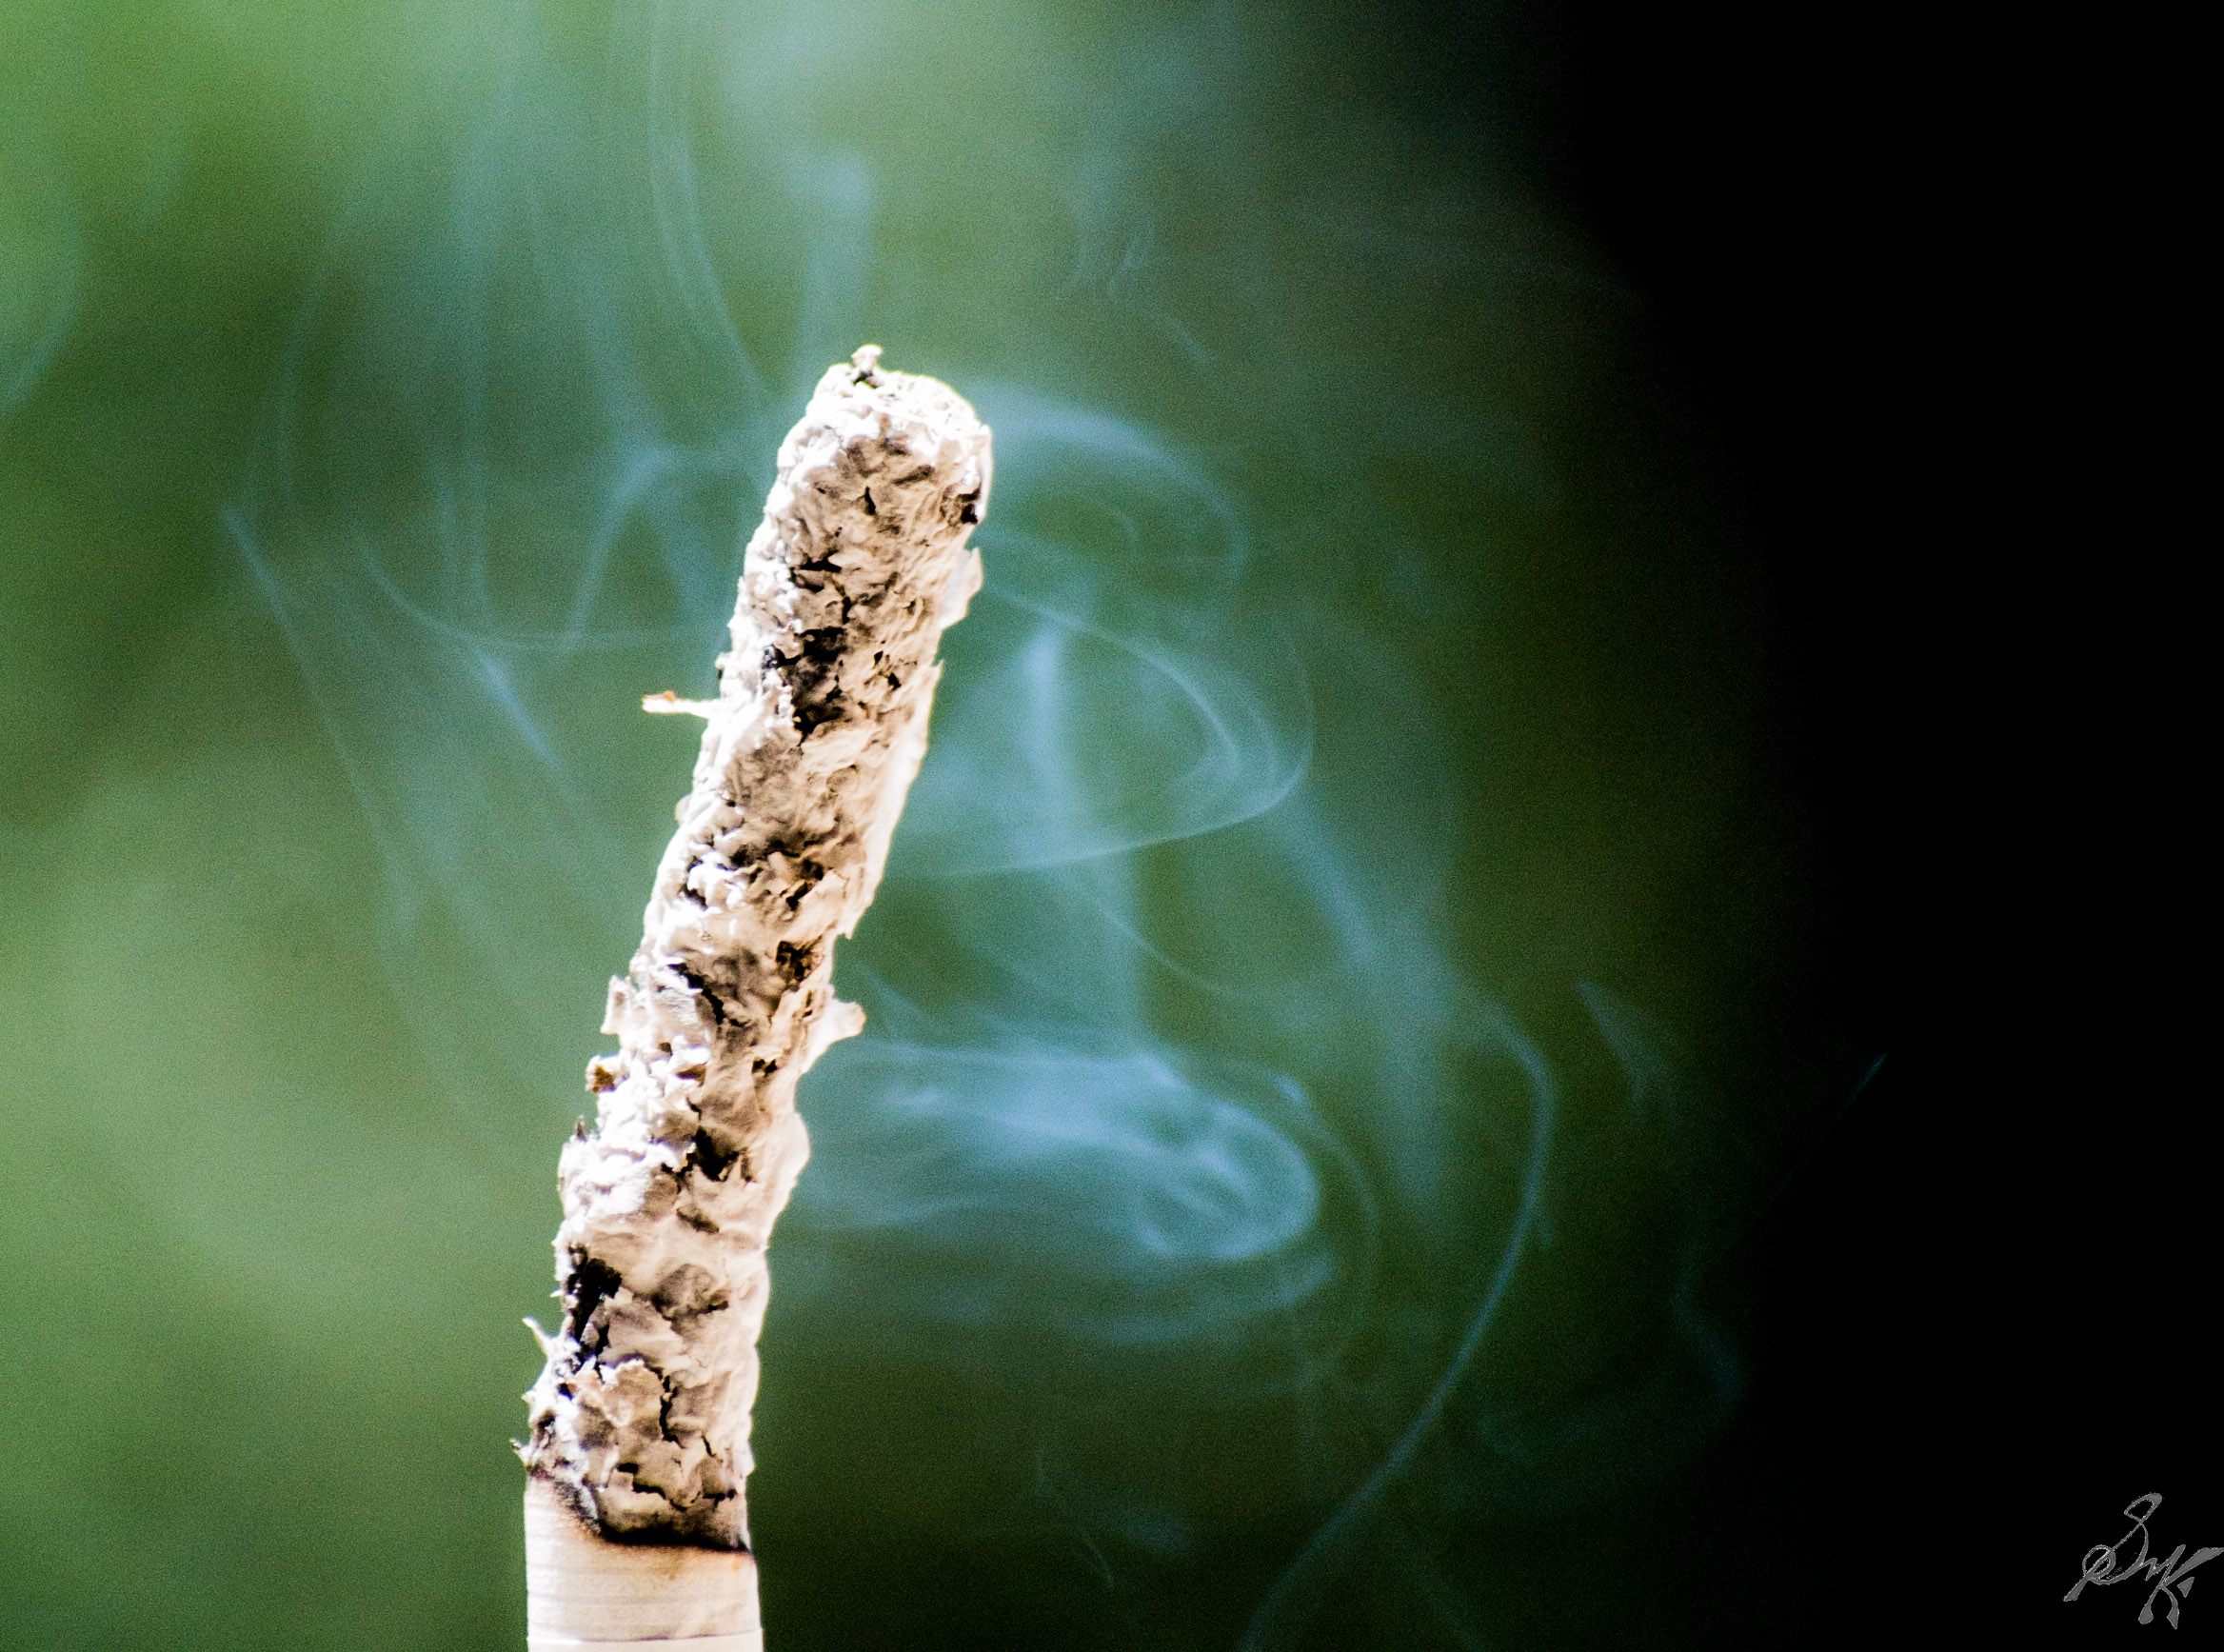
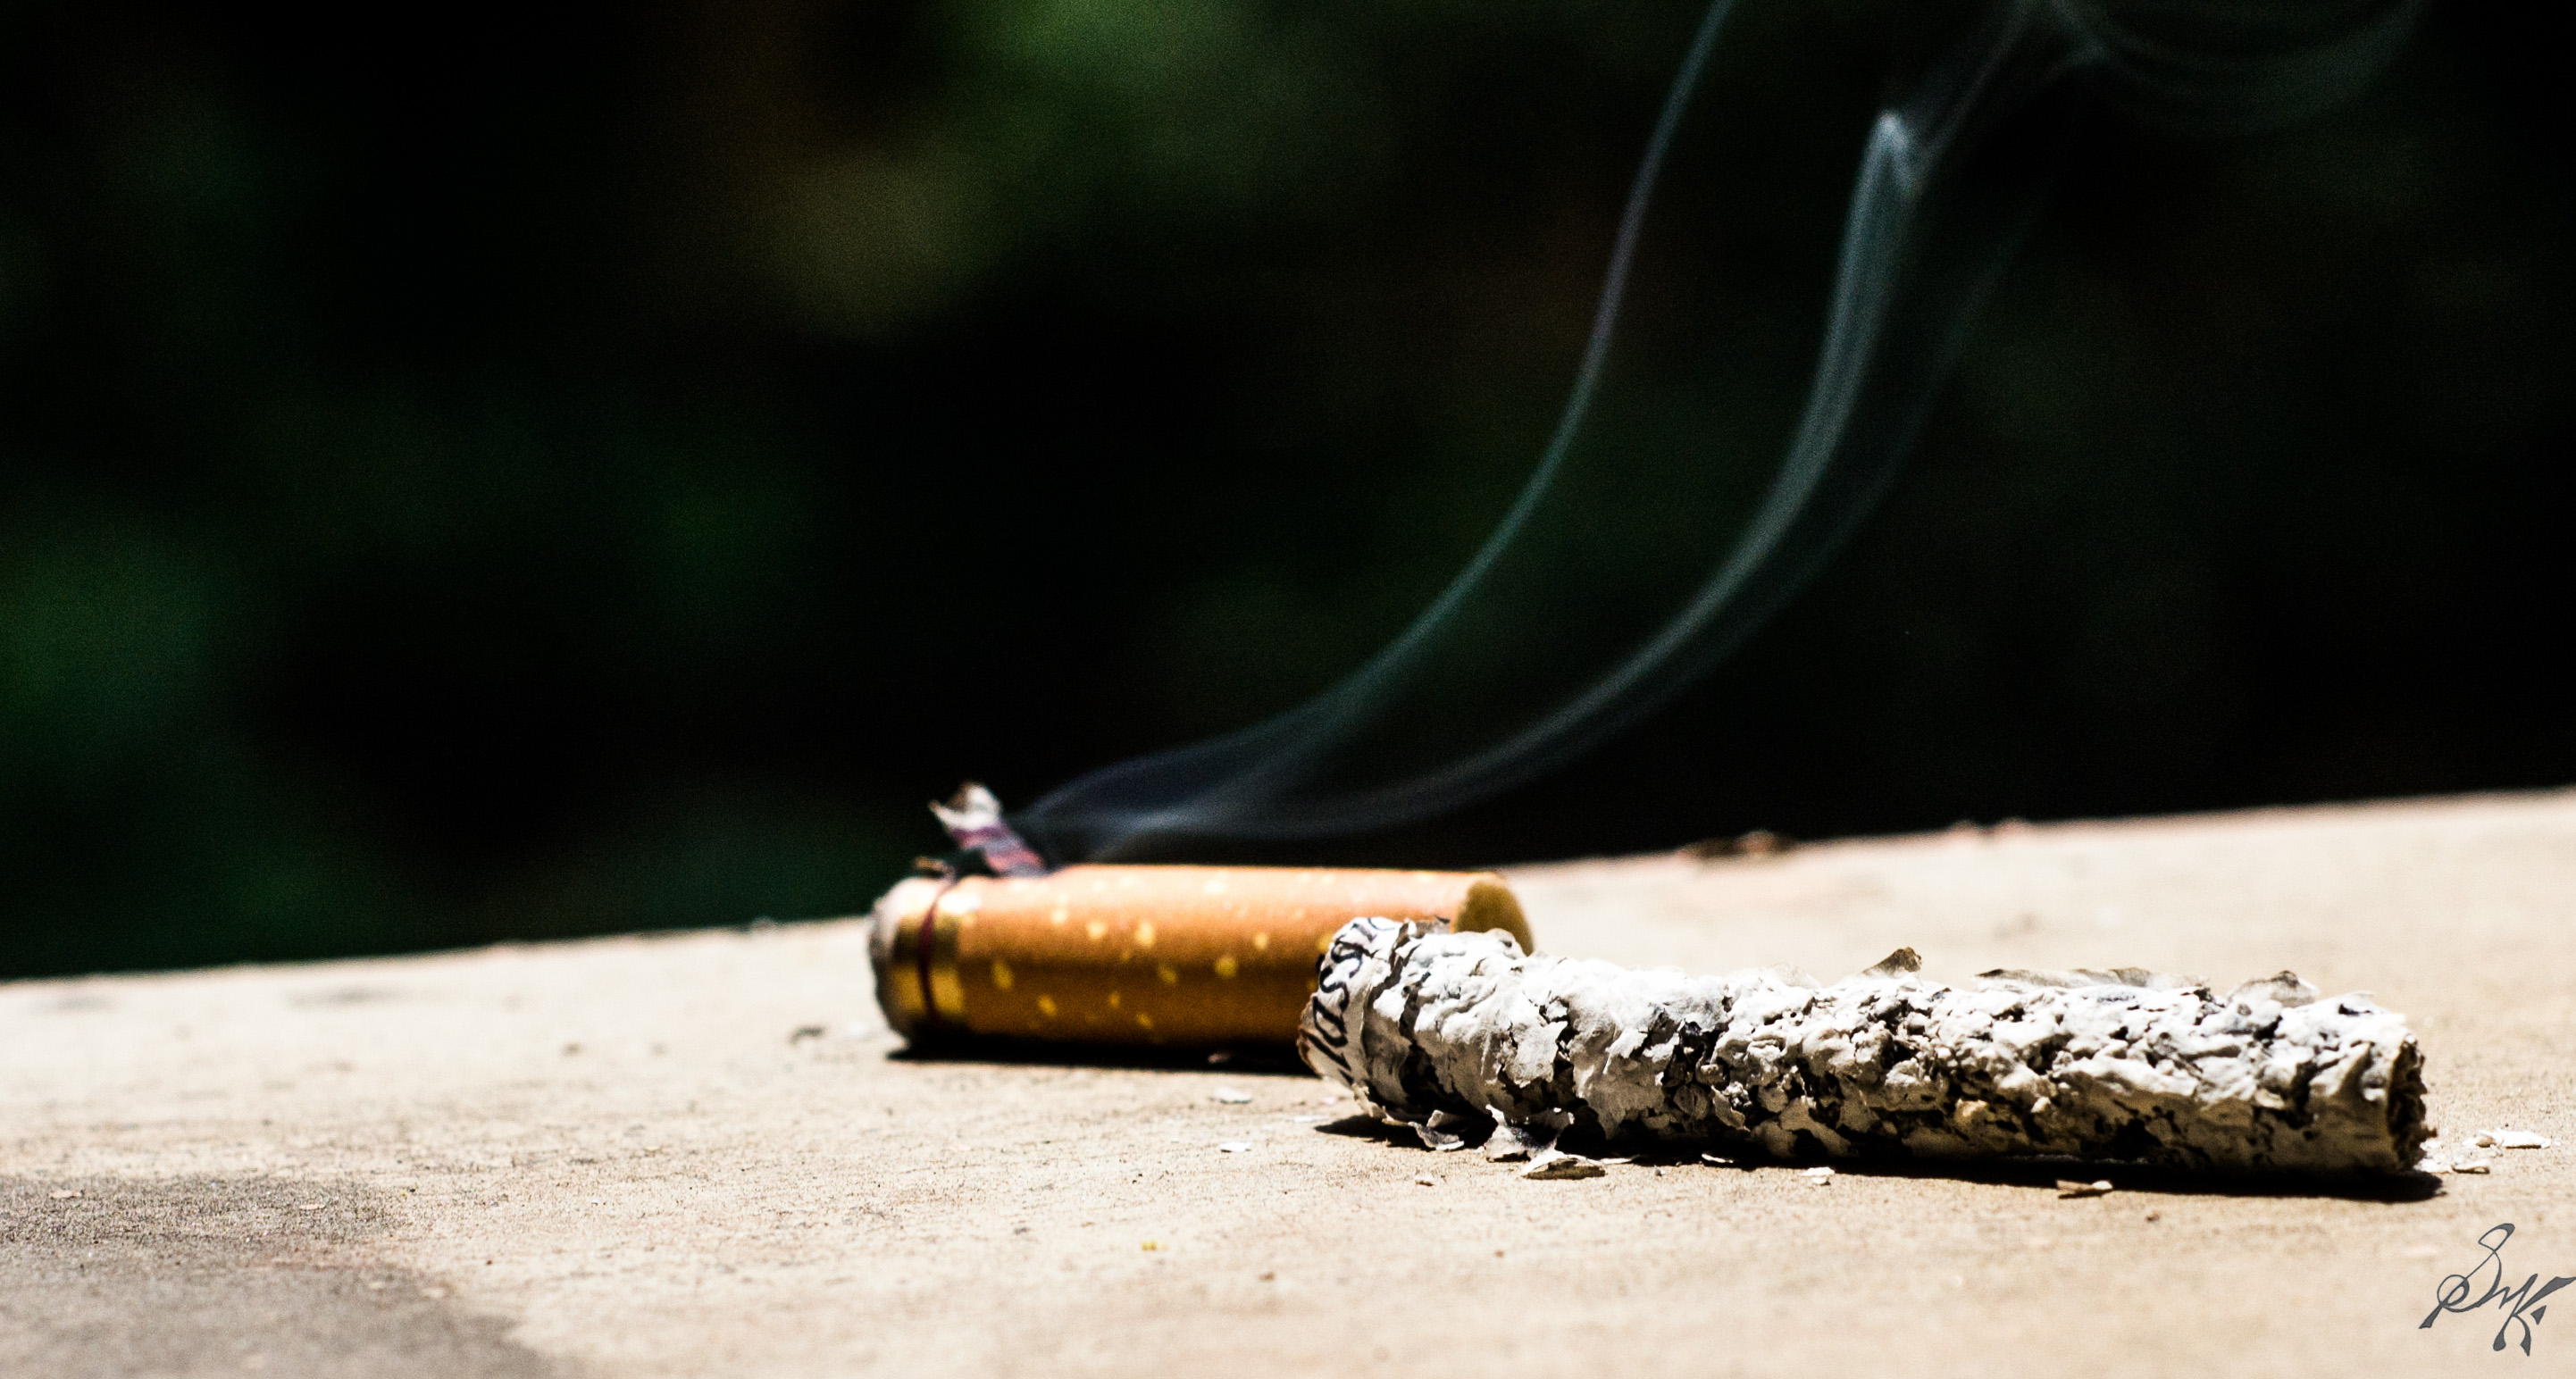
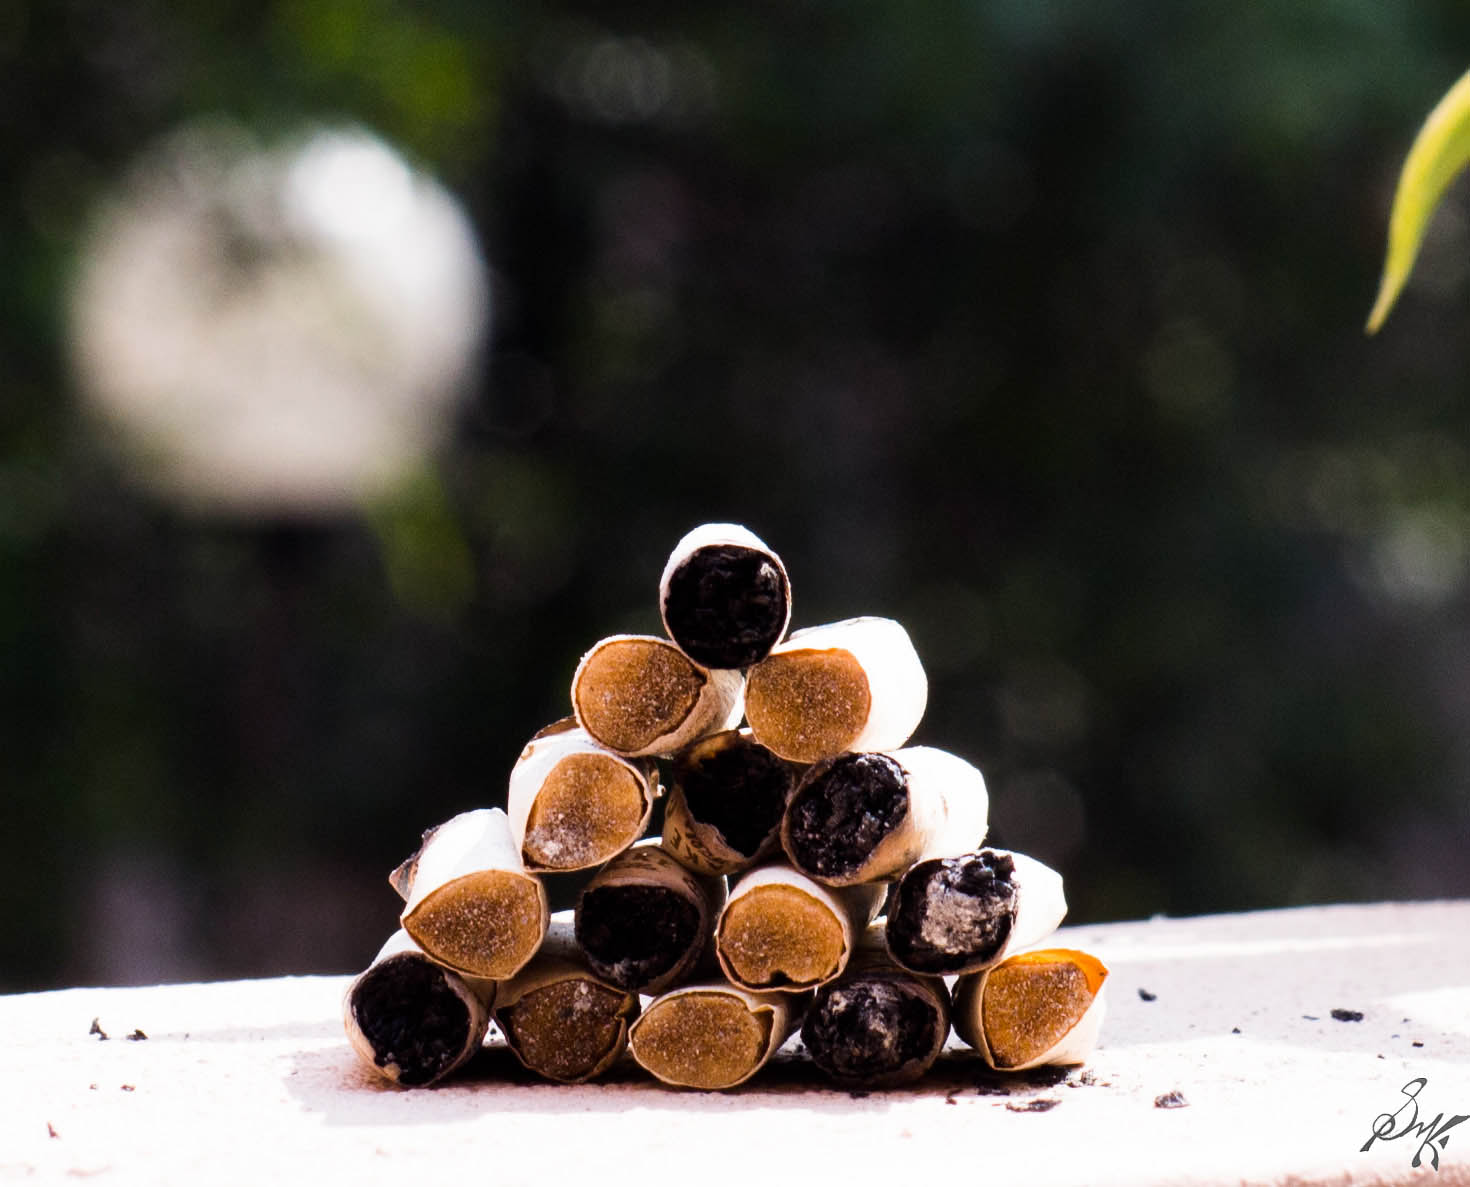
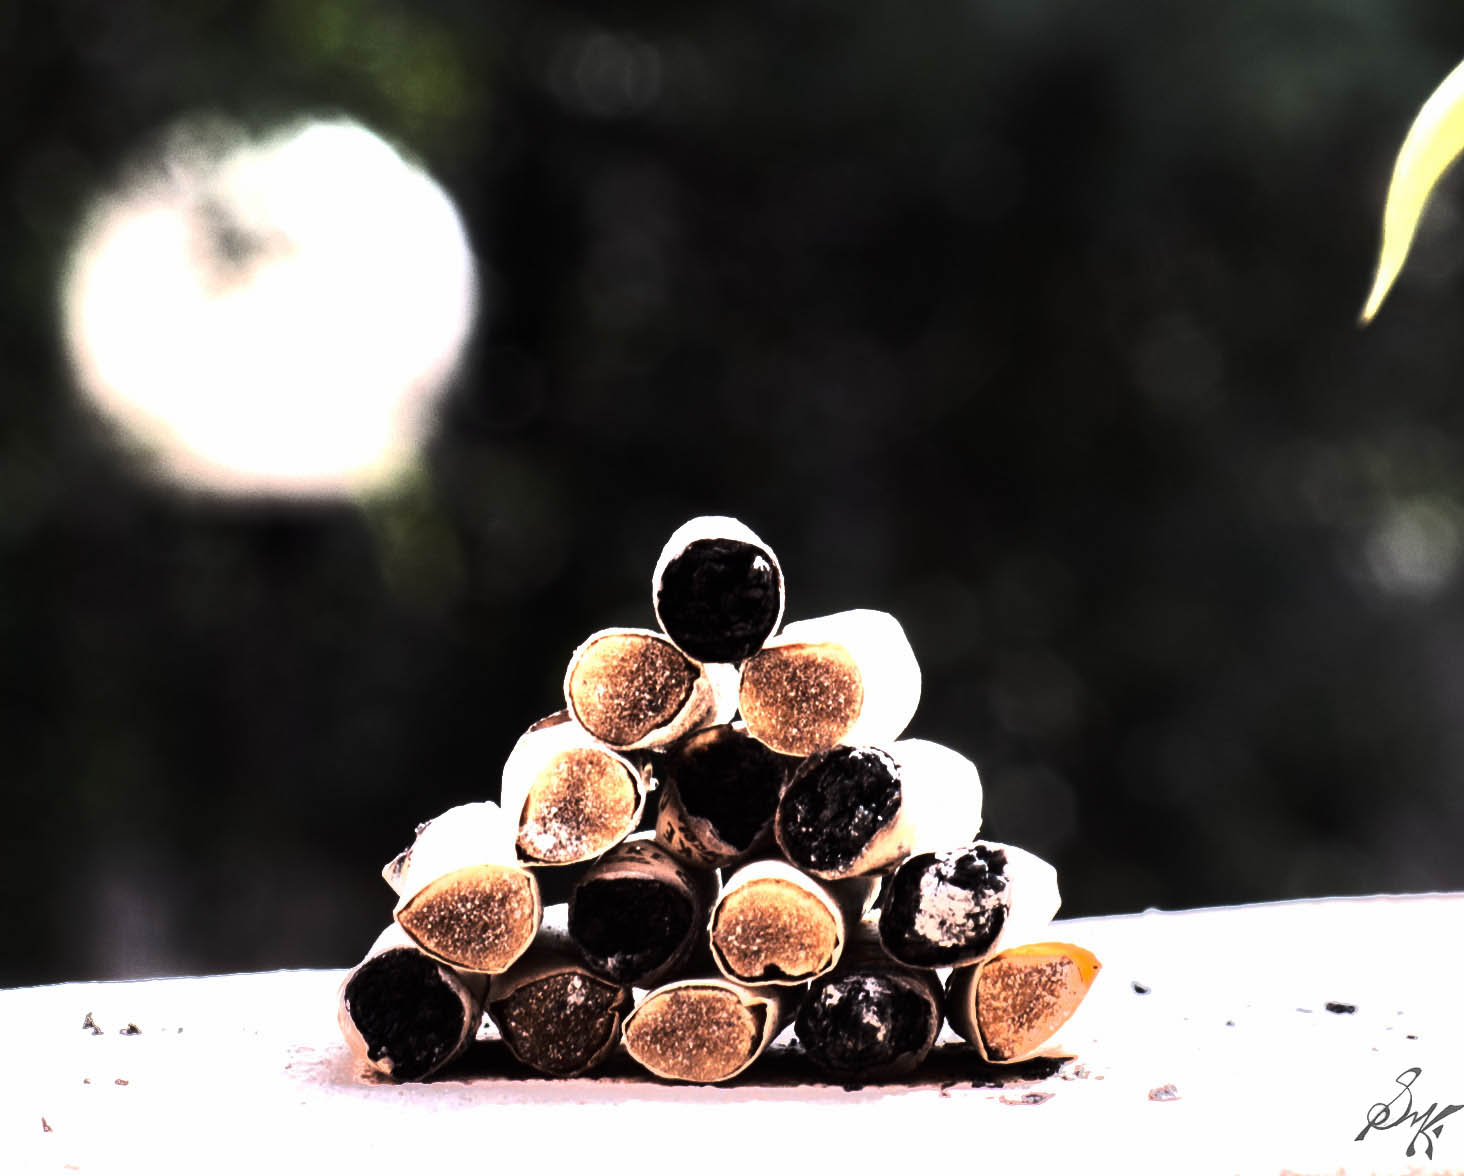
Repurposed pack clipped on on board flash

Repurposed pack clipped on on board flash another view

Results:


Brain coral, loses detail due to white out by direct flash
Normal flash


Brain coral, much more detailed due to diffused light
Same settings, with the diffuser

I hope you have found this useful. This is quick fix solution, a typical Jugaad 🙂

Cheers!!

OCOL: Exams are approaching

Hi there all,

Am beginning a regime, and also a new category of posts named One Camera One Lens (OCOL). This has been inspired by a lot of amazing photographers and is a tough thing to do too. But then again, this is the only way I ll ever come close to mastering a focal length. My camera is Nikon D3100, and the lens, 50 mm f1.8 D manual focus prime.

Here I begin with the first photo of the regime.

DSC_1977-1_Agnes
My worktable amid exam preparations

The only way to improve, is to strive hard.  And yes, dont smoke, they kill, eventually.

Cheers!!

Toxic

Hi there all,

Of the numerous requests I receive to make a photo in a certain way, few of them materialize in the way we want it to be. Here is one of the rare cases, when things went favorably. A little less windy, and results would have been marvelous.

Parul, I hope breath is illustrated here, though toxic in nature  🙂

As the name of the post suggests, cigarette smoking is toxic, and it will cause health issues for anyone who inhales the smoke, active or passive. So, kindly refrain from smoking in company of non smokers, let them live, and yeah, quitting helps too!

DSC_3630-2

DSC_3709-4

DSC_3623-1

The model here, is my buddy since we were toddlers, Archit Dutta! Thanks man, for posing and being patient.

Related to this post, is my entry for the Weekly Prompt for Intricate. I find the ash to have a very interesting pattern, unique, and intricate. Have a look at the other takes here.

DSC_3734-6

DSC_3739-8


Keep shooting!

Cheers!!

9. HDR Photography

Hi there…another post on photo techniques…
Today, I share, HDR Photography. HDR stands for High Dynamic Range. Dynamic range, in a photo basically means the span of the photo’s lighting conditions from the
highlights to the shadows. Suppose in a photo, involving both land and bit of sky. On a normal day time shot, we can expect that the sky will be brighter than the
foreground, the land. Now, the question comes up, which brightness will be your benchmark. If you take the sky as the reference, then the foreground will be
underexposed and all dark, whereas, if you take the foreground as the reference, the sky will appear as a white sheet and lose any and all details.
One way to compensate this, is by using gradient filters, which act as a sunglass for the part of the photo with the sky and making the light levels comparable and
hence a cleaner photo. But, these filters, the good quality ones, they do cost, not heftily..but significantly.
The other way is the HDR way. In the HDR, what we do is, take multiple photos, same focus, same focal length, except, different exposure values. A sturdy surface or a tripod is must for HDR photos. Different exposure values, are attained by varying the shutter speed. I take Optimum plus 1 and plus 2 stop photos and minus 2 and minus
2 and one with the optimum. And then, I stack them up in Photoshop. Other HDR making software are readily available online. Do put special attention so that the frame doesnt shift between the photos or ghosting (multiple copies) issues come up and they do not look pleasing or artsy at all.
HDR photos enhance bits of details too but in a close up shot, as the one which follows, the difference is very limited though.
I do not take a lot of HDR photos, not because I do not like them or some biasness, but because after I bought my camera, I havent visited much places where HDR photos are warranted.
Check out these two photos. They are both correctly exposed. The first one is a optimally exposed photo where as the other one is the HDR rendition comprised of 5 photos.

Optimum exposure
Optimum exposure


HDR version
HDR version

Cheers!