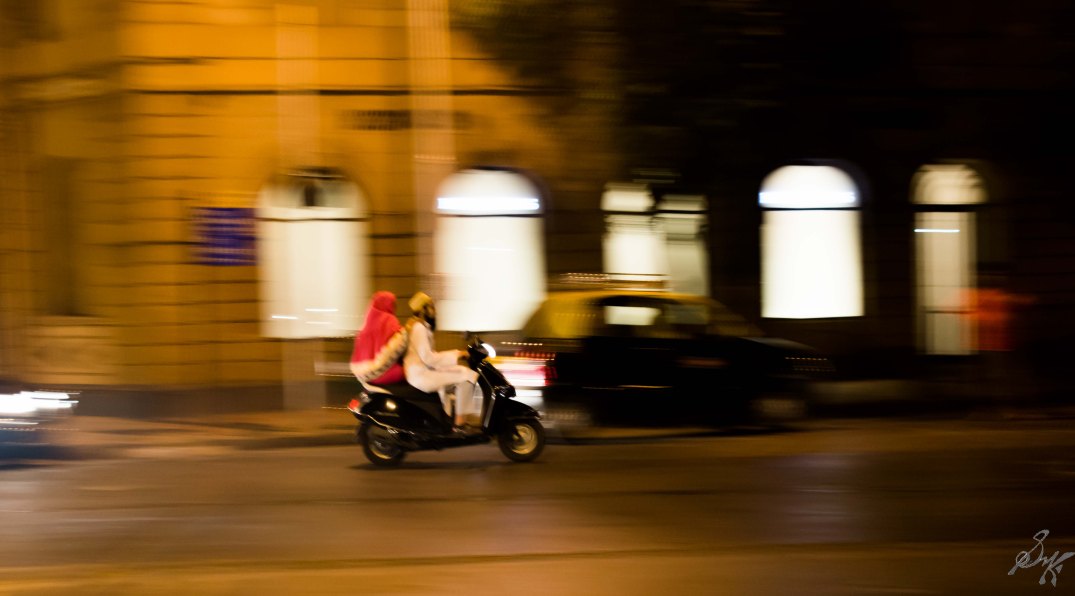
To pan is to move from side to side, holding a fixed vertical level. In photography, the concept is similar, except, this time, we try to match the speed of the subject, and the speed of panning, while controlling the shutter speed.
The idea is to shoot slow enough to capture motion, while moving in the direction of the subject, at the speed at which the subject crosses the frame, so that the relative speed between the camera and the subject is zero. The outcome, in a proof of concept mode, is the photo below.
With practice, one can nail tack sharp panned photos and let me tell you this, they look amazing.
Go out, give panning a try. It is worth learning how.
Hi there…another post on photo techniques…
Today, I share, HDR Photography. HDR stands for High Dynamic Range. Dynamic range, in a photo basically means the span of the photo’s lighting conditions from the
highlights to the shadows. Suppose in a photo, involving both land and bit of sky. On a normal day time shot, we can expect that the sky will be brighter than the
foreground, the land. Now, the question comes up, which brightness will be your benchmark. If you take the sky as the reference, then the foreground will be
underexposed and all dark, whereas, if you take the foreground as the reference, the sky will appear as a white sheet and lose any and all details.
One way to compensate this, is by using gradient filters, which act as a sunglass for the part of the photo with the sky and making the light levels comparable and
hence a cleaner photo. But, these filters, the good quality ones, they do cost, not heftily..but significantly.
The other way is the HDR way. In the HDR, what we do is, take multiple photos, same focus, same focal length, except, different exposure values. A sturdy surface or a tripod is must for HDR photos. Different exposure values, are attained by varying the shutter speed. I take Optimum plus 1 and plus 2 stop photos and minus 2 and minus
2 and one with the optimum. And then, I stack them up in Photoshop. Other HDR making software are readily available online. Do put special attention so that the frame doesnt shift between the photos or ghosting (multiple copies) issues come up and they do not look pleasing or artsy at all.
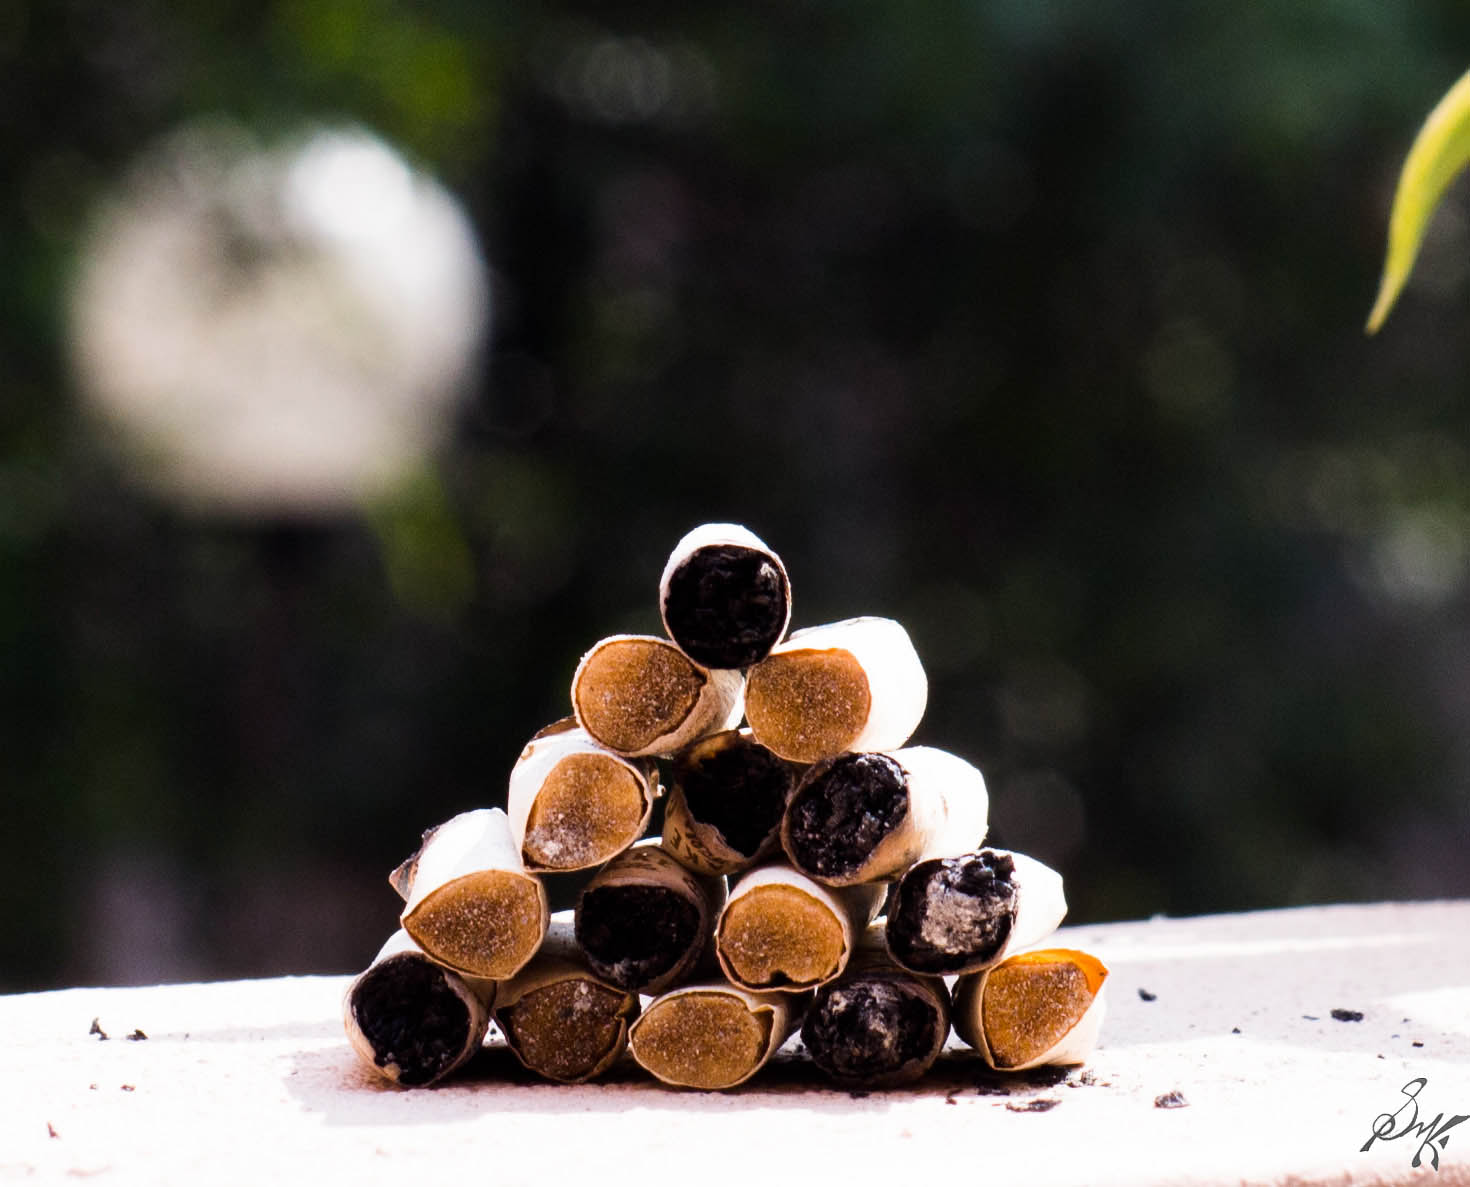
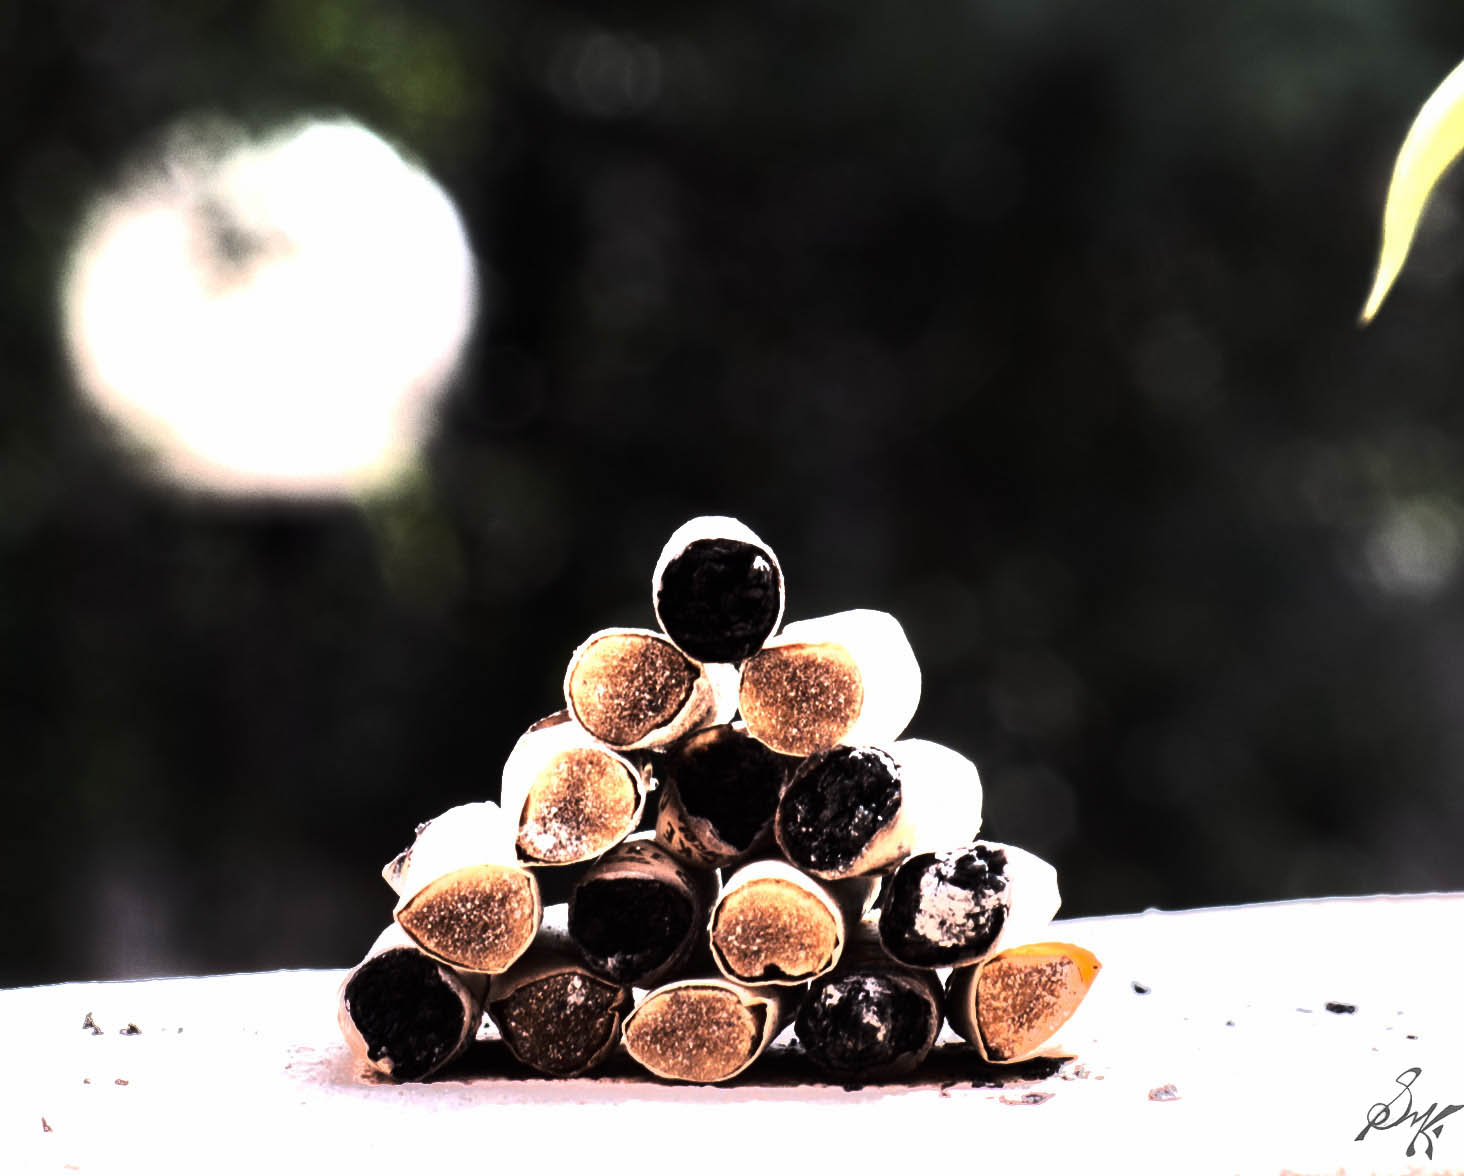
HDR photos enhance bits of details too but in a close up shot, as the one which follows, the difference is very limited though.
I do not take a lot of HDR photos, not because I do not like them or some biasness, but because after I bought my camera, I havent visited much places where HDR photos are warranted.
Check out these two photos. They are both correctly exposed. The first one is a optimally exposed photo where as the other one is the HDR rendition comprised of 5 photos.