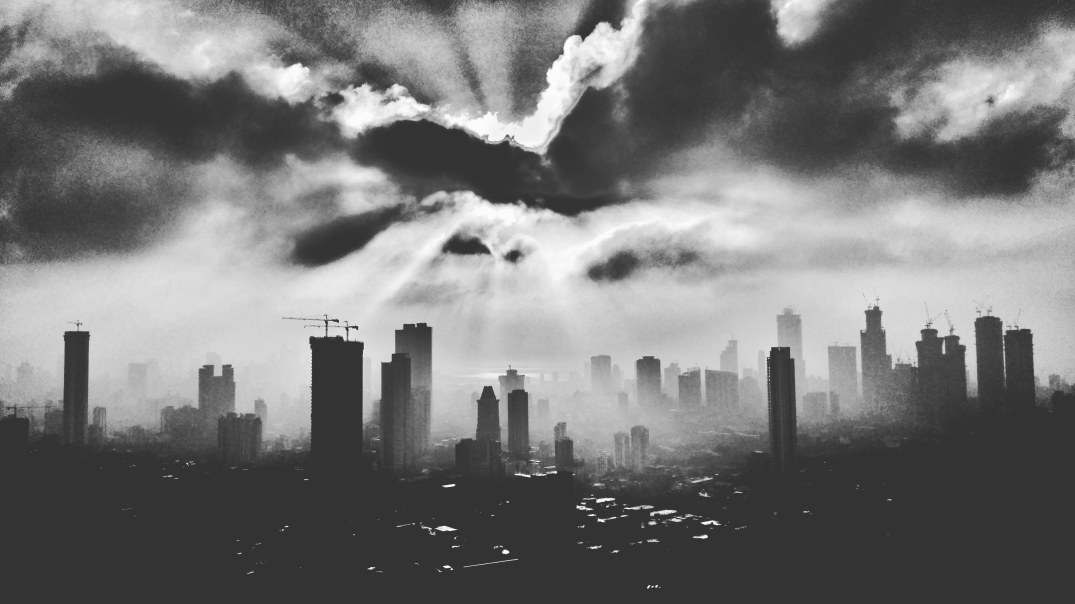
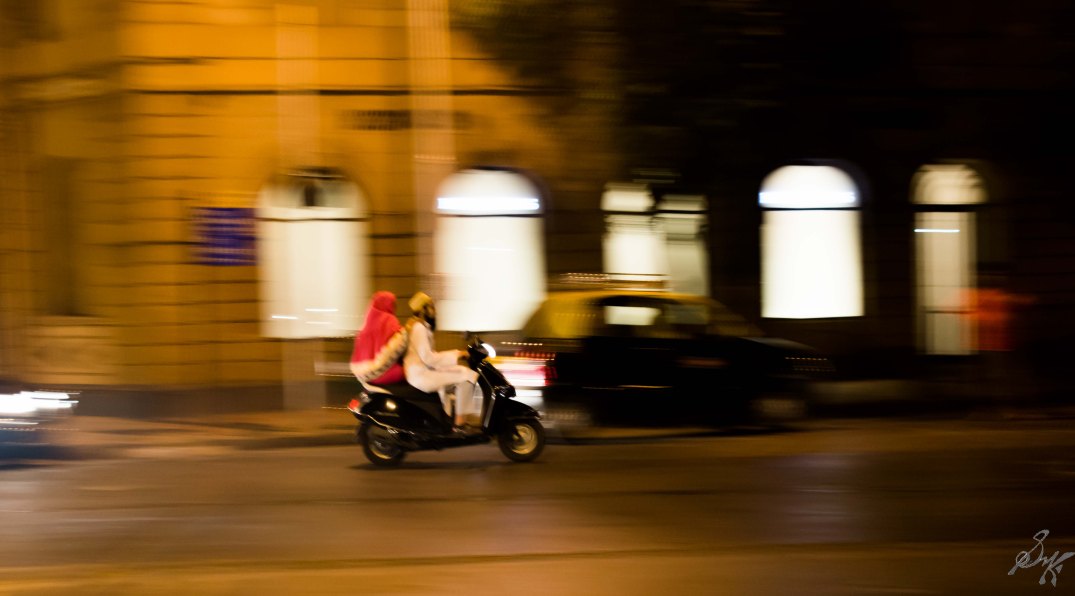
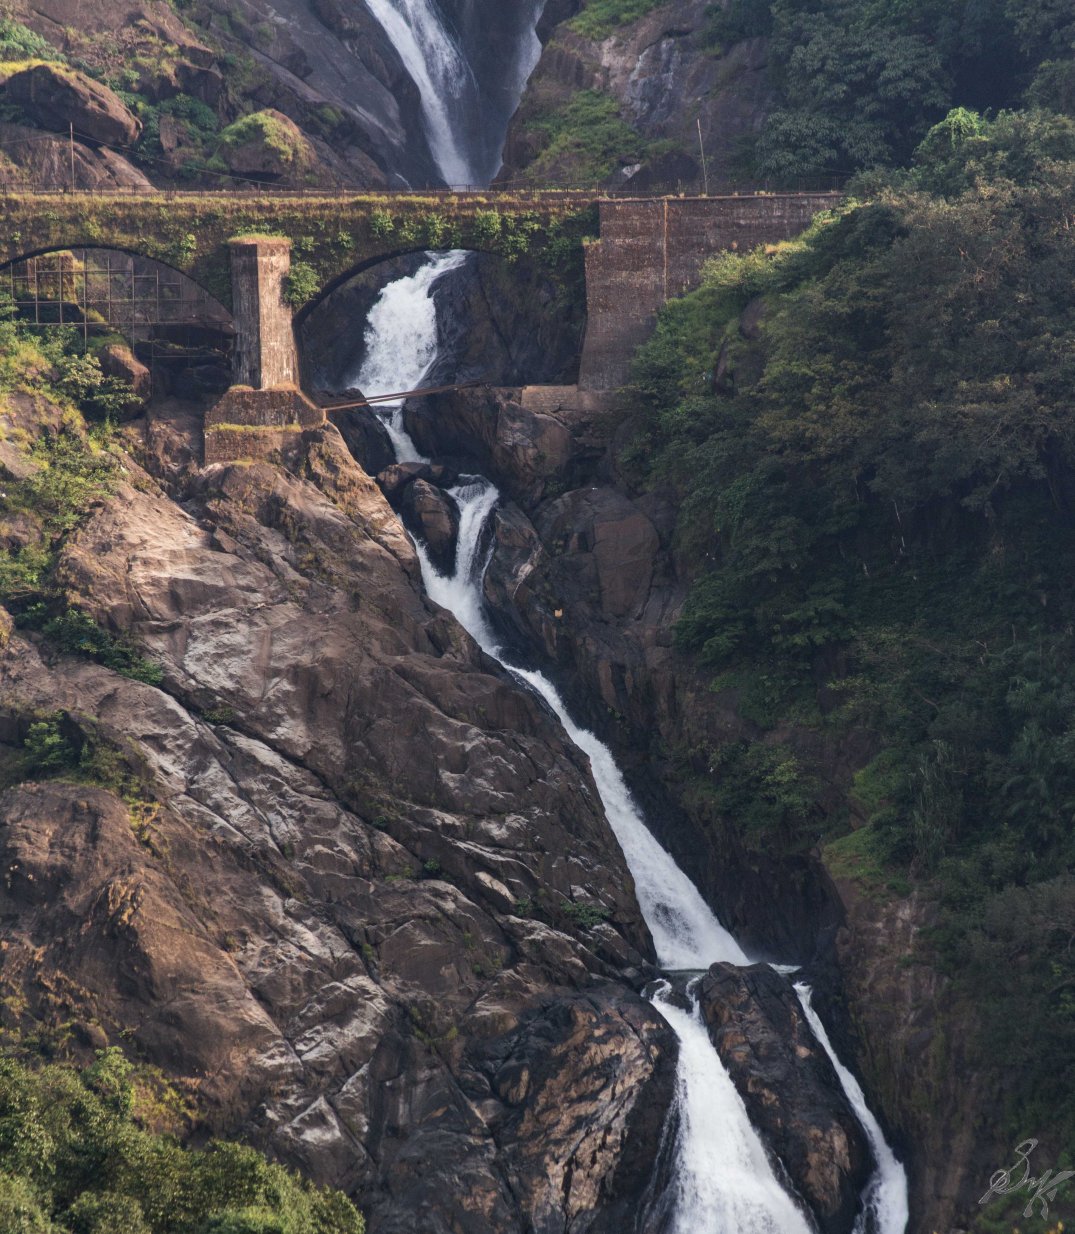
AtoZ Challenge: Z – Zoom (Digital)

Zoom (Digital)

We all know what zoom is and that there are two types, optical zoom and digital zoom. Optical zoom changes the focal length of the lens and closes in on the subject, while the digital zoom uses algorithms and software to do the same. The effects, however are not similar.
Optical zoom shall not degrade a picture quality, where as digital zoom will. To demonstrate, this post.

Below is a photo of a cute shih-tzu puppy named Bitsy.

Shih tzu puppy

And then I was curious to see what has reflected off her eyes, so, I zoom in digitally.

shih tzu puppy, zoomed

What I get is a blur. A pixellated image with horrible quality.

On the contrary, in a previous occasion, I had optically zoomed in to the eyes of a squirrel and the result is shown below.

squirrel

I hope the comparisons shall make it evidently clear that no matter what the camera companies publish in their camera brochures about the digital zoom capability, one must always base their opinions on the optical zoom provided.

In the previous series, Z was for Zoom Burst.

This post finishes up the A to Z series, for the second time. I ll summarize all the phrases in a separate post, and then, you, my dear reader shall have glossary of 52 terms, related to photography with suitable images and explaination for your ready reference.

See you all in the upcoming posts soon.

Cheers!!


AtoZ Challenge: Y – Your Rapport

You and Your Rapport

This is not a photographic term, as one may call the others, but rather is an important supporting virtue to have if you intend on taking portraits. In my opinion, it is best to establish a rapport with your subject before you proceed to take a photo.

It puts them at ease and the expressions that you get and genuine.

And, it also helps you to know, who can help you produce the shot that you want.

The above photo needed to have someone with a super expressive eyes, and knowing Gowri, I knew she was the perfect choice.

Even if you are shooting someone new, for the first time, take a moment, talk to the person, and then take the shot, makes things easy.

In the last series, Y was for You.

Cheers!!

A to Z Challenge: X – X Speed

X- Speed

Also known as the shutter sync speed, is the maximum speed at which you can take a photo so that the frame is exposed correctly. You can shoot at speeds slower than the sync speed, but what happens if you shoot faster, I ll show you here.

The following photo is the auto exposed photo, no flash.

Scene exposed. No flash.

The one below is at 1/200 shutter speed. The max sync speed is 1/320.

Scene exposed by flash, Sync speed 1/320, shutter speed 1/200

The one below is at 1/320. Notice that there is a subtle difference in the light level, though not very noticeable.

Scene exposed by flash, Sync speed 1/320, shutter speed 1/320

The one below is at 1/400th of a second. Do you see a very thin line of black fringe beginning to show up in the photo?

Scene exposed by flash, Sync speed 1/320, shutter speed 1/400

Next, we go 1/500. The band is more visible now.

Scene exposed by flash, Sync speed 1/320, shutter speed 1/500

Here we go with 1/640. The band takes up about 1/3rd of the frame.

Scene exposed by flash, Sync speed 1/320, shutter speed 1/640

At 1/800th of a second, half of the frame is gone. The flash fires at the first curtain. So, by the time the flash is able to fire and light up the scene, the second curtain has already covered half the sensor.

Scene exposed by flash, Sync speed 1/320, shutter speed 1/800

At 1/1000th of a second, there is no effect of the flash and it as if the shot has been taken at 1/1000 speed without the flash on.

Scene exposed by flash, Sync speed 1/320, shutter speed 1/1000

Now, if you are using only the onboard flash, chances are that the camera will not let you go past your sync speed as long as the flash is active. Same with the use of proprietary flashes from Nikon, Canon etc. But sync speed is an issue that must be tackled if using third party non sync flashes (the cheaper variety ones). To ensure that your photos don’t have the two-face kind of a situation, pay due heed to the flash sync speed of your camera.

Last time, X was for X Process.

As the last post of the year, I take this opportunity to thank all my readers and followers who have come here maybe to clear some doubts, learn something new or just enjoy the photos, thank you, thank you all. I wish for all of you to have a wonderful time, be closer to achieving your dreams and making them real, and to having a superb year ahead! Happy New Year!

Cheers!!

AtoZ Challenge: W – Watermark

Watermark

How important is a watermark? In my opinion, very! Times are such that it is important to take credit for your job, to ensure that no one else cashes in on it. A watermark is the simplest way to attempt this. You let a sign, a name, a phrase, that identifies uniquely to you be in the photo and proclaim that copying it unauthorized is a copyright violation. If, someday, someone steals your photos and you want to pursue them, having an inconspicuous watermark tucked in is useful.

Sometimes though, this philosophy is taken to the extreme and the watermark is made in a way that it is not worth taking the pains to edit it out, serves the purpose though.

Tell me about your thoughts on watermarking of photos.

Last time, W was for White Balance.

Cheers!!

AtoZ Challenge: V – Vignetting

Vignetting

In the olden days, when the lens and the film quality were not as amazing as today, the edges of the photos would become dark. With advent of better technology and processes, now a days, one has to to critical search to find vignetting occurring natively in the photos. Where we see more of its use is as filters.

This photo above, has been edited using a vignetting filter, for my camera in this case, a Lenovo K6 Power, doesn’t have vignetting issues.

Tell me about your views on vignetting in the comments section.

Previously, V was for Vibration Reduction.

Cheers!!

AtoZ Challenge: U – Urban Landscape

Urban Landscape

Today, in every major city, the common thread that links all of them is that there is development in the real estate sector. The  landscape of the city, the skyline, is constantly changing and evolving. From a beautiful vantage point, to shoot the urban landscape, is quite a joy.
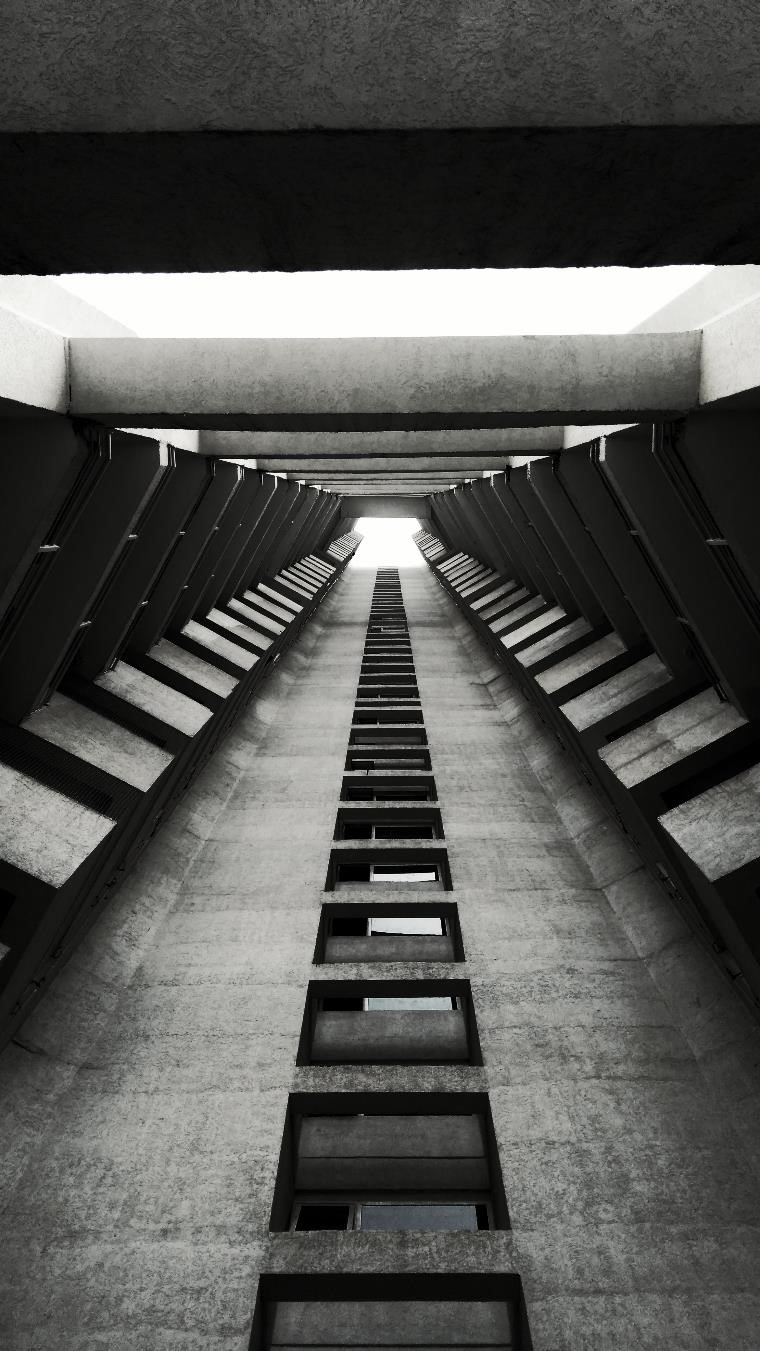
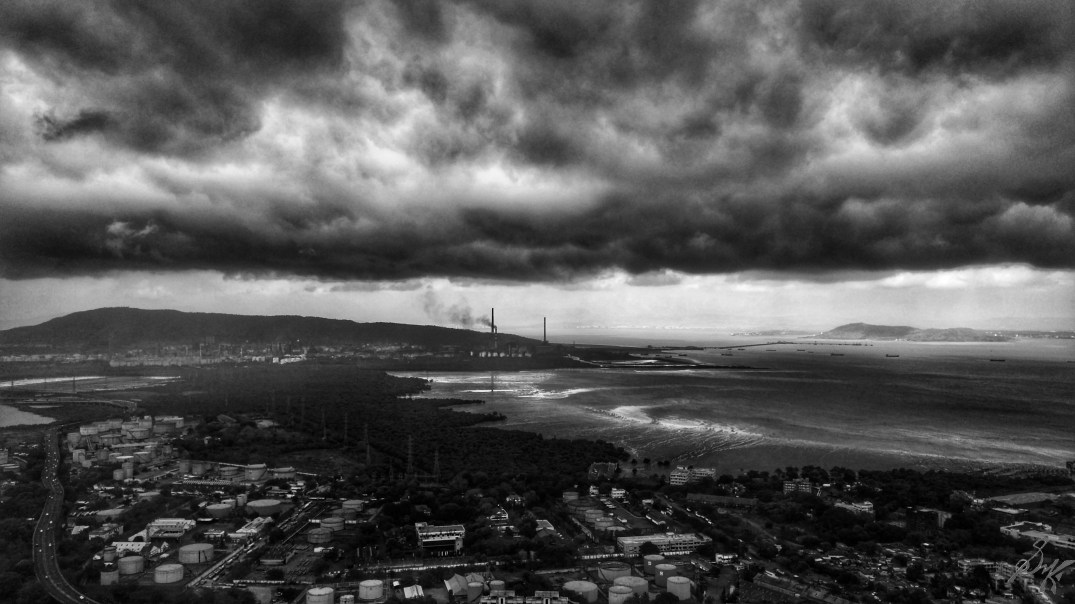
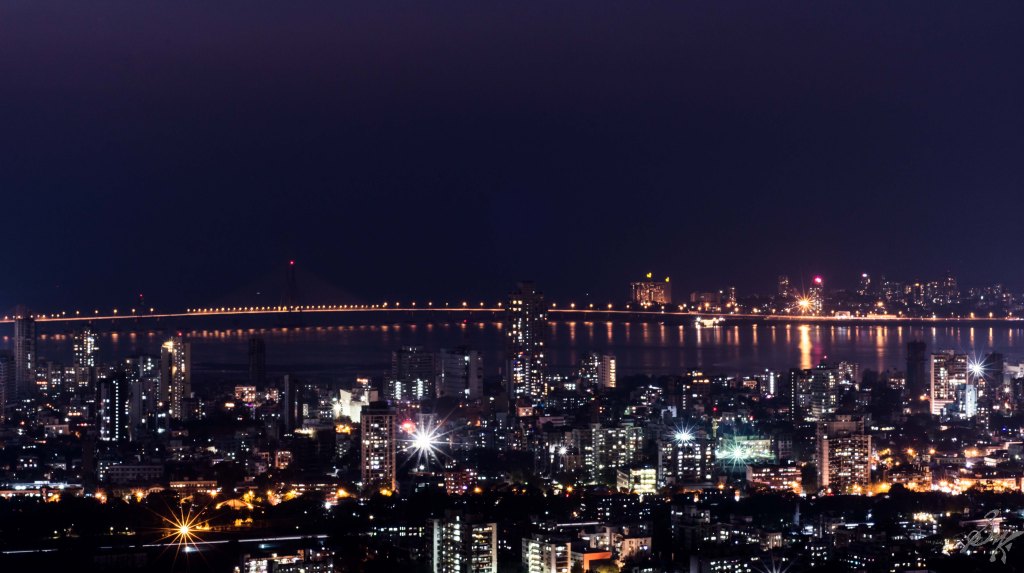
Below are some of my examples of Mumbai’s concrete(land)scape.

Mumbai Cityscape at night, Sea Link

High Rise buildings at Mumbai

Clouds form on the Sewri Mudflats

Tell us about your favourite spots for shooting urban landscapes.

In the previous series, U was for Underexposure.

Cheers!!

AtoZ Challenge: T – Tonal Range

Tonal Range

This can be defined as the range of tones, both coloured and black and white which span from the lightest to the darkest areas in the photo.
A photo with a wide tonal range shall have areas which exhibit dark areas and white areas while the ones with a narrow range shall have more of gray shades.

The photo above has a a majority of black areas while the tonal range extends to the other end of the spectrum too.

While, in the photo below, the range is more concentrated in the mid ranges and is hence overall grayish in colour.

The wider the tonal range, better shall be contrast in the photo. While striving to achieve a wide tonal range, one must also keep in mind not to overdo the exposure and exceed into the clipping regions.

Tell me about your ideas on this topic in the comments.

In the earlier series, T was for TTL Metering.

Cheers!!

AtoZ Challenge: S – Spot Metering

Spot Metering

Metering is the camera’s means to evaluate the light and shadow in a particular scene and adjust accordingly. In general, there are three main metering modes:

  1. Evaluative/ Matrix metering: This is where the entire frame is taken up for evaluation and the exposure is adjusted accordingly. Good for all round photography.
  2. Centre Weighted: Here a patch of the frame is used to evaluate the optimum exposure. It can generally be selected by the user for fine tuning.
  3. Spot Metering: This brings the area under consideration to a spot in the frame, which can be selected as per need. Very useful if the photograph is of the moon or something bright in a sea of darkness sort. Then the spot can be fixed on the bright bit and the metering can be adjusted accordingly.

It pays well to be adept at the metering modes and experimenting with them so that one can know what to use when.

The featured image of the post has been shot using spot metering, where the metering reference was the sun.

Last time, S was for Shutter Speed.

Cheers!!

AtoZ Challenge: R – Red Eye Reduction

Red Eye Reduction

The phenomenon of red eye occurs when the flash is incident on the eyes and gets reflected back by a dilated pupil.
The eye’s pupil dilates and shrinks as per the need for an optimum eye sight. In case there is low light, the pupil dilates to let in more light, while it shrinks if there is excess light.

When, in a low light condition, a flash is fired, the pupil doesn’t get enough time to shrink and the light illuminates the retina, which is captured by the camera. This causes the red eye effect. The following photo of Nikhila exhibits the issue.

The above shot was taken at a low light condition with flash being fired directly at her.

In the following shot, also in a low light condition, the flash was fired with the Red Eye Reduction mode enabled.

What this mode does is, in Nikon cameras, it lets out a strong light from a bulb at the subject so that their pupils shrink, and then the photo is taken; while in Canon cameras, the flash strobes and then the actual shot is taken, giving similar results.

Red Eye is not an issue if there is already a sustained light incident on your subject, as evident from the following shot of Milind Soman.

DSC_2701-10

So, while shooting in a low light condition, if you are forced to use flash, it is useful to have a red eye reduction mode switched on, or have some sort of light on your subject’s face.

The Red Eye phenomenon has a medical aspect to it too. In case, in any of your photos, you notice that a person is exhibiting red eye in just one of the eyes, do recommend a visit to the doctors to that person, for it may be a case of leukocoria.

Let me know about your brushes with red eye in the comments.

Last time, R was for Rear Curtain.

Cheers!!

AtoZ Challenge: Q – Quality

Quality

Today, we talk about quality of a photo. Not of what has been shot, but rather the format it has been shot on.
In today’s day to day use, a full frame sensor can be considered to be the gold standard in terms of quality. But with increasing technological advancements, the crop sensors are catching up too.

I used to use a Nikon D3100, which would start graining up at ISO 800, while now, in the D7200, ISO 12800 is still quite grainless. In comparison, Nikon full frame, D750 shoots excellent shots at ISO 25600 without a hitch.
Then there is the JPEG vs RAW war raging. JPEG is fine if you abhor editing or have to submit the shots on a very short notice. RAW is amazing for pulling out details which may have been originally not visible.

In the end, it shall all come down your application and use. Here, on this site, every single photo, is less than 1 MB in size for I am not using them to print, but while printing, I go for the uncompressed 28/30 MB photo.

Tell me what are your preferences in the comments!

Last time, Q was for Quiet Release.

Cheers!!

AtoZ Challenge: P – Panning

Panning

To pan is to move from side to side, holding a fixed vertical level. In photography, the concept is similar, except, this time, we try to match the speed of the subject, and the speed of panning, while controlling the shutter speed.

The idea is to shoot slow enough to capture motion, while moving in the direction of the subject, at the speed at which the subject crosses the frame, so that the relative speed between the camera and the subject is zero. The outcome, in a proof of concept mode, is the photo below.

Panning, Mumbai

With practice, one can nail tack sharp panned photos and let me tell you this, they look amazing.

Go out, give panning a try. It is worth learning how.

Last time, P was for Post Processing.

Cheers!!
AtoZ Challenge: O – Optical Zoom

Optical Zoom

Zoom can be described as to close in on your subject. In a camera, it can be achieved in mainly three different ways.

The first one is the basic one, which involves the photographer moving close to the subject.
The second type of zoom is what we are going to talk about here today, optical zoom. It is when the lens within the barrel actually moves to change the focal length and hence zoom. This change in focal length causes the subject to appear closer or farther away depending on the use. Image quality does not degrade while using optical zoom.

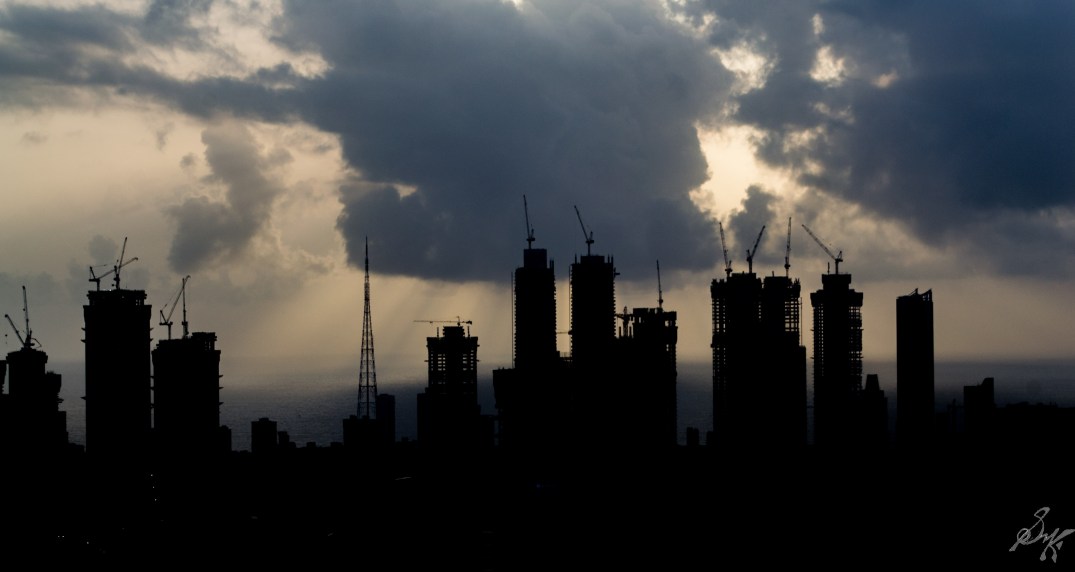
The images below show the use of optical zoom. The viewpoint has not changed, just the focal length has changed from about 55mm to 180/200mm.

Optical zoom, trains, Dudhsagar

At the far end, Trains, Dudhsagar

The third type is the digital zoom. This is where the camera, using its own algorithms, zooms in on the image. It has the previously captured image to begin with and then works on it. The photo quality degrades and after a certain point, it begins to pixellate.

So, dear readers, if you are buying a new point and shoot camera, it is always the optical zoom that you should pay heed to.

Last time, O was for Overexposure.

Cheers!