This is here is a term which is used to describe a range. Common usage being, a certain camera provides more/less latitude than another one. The range in question is the exposure range, over which one can produce acceptable results.
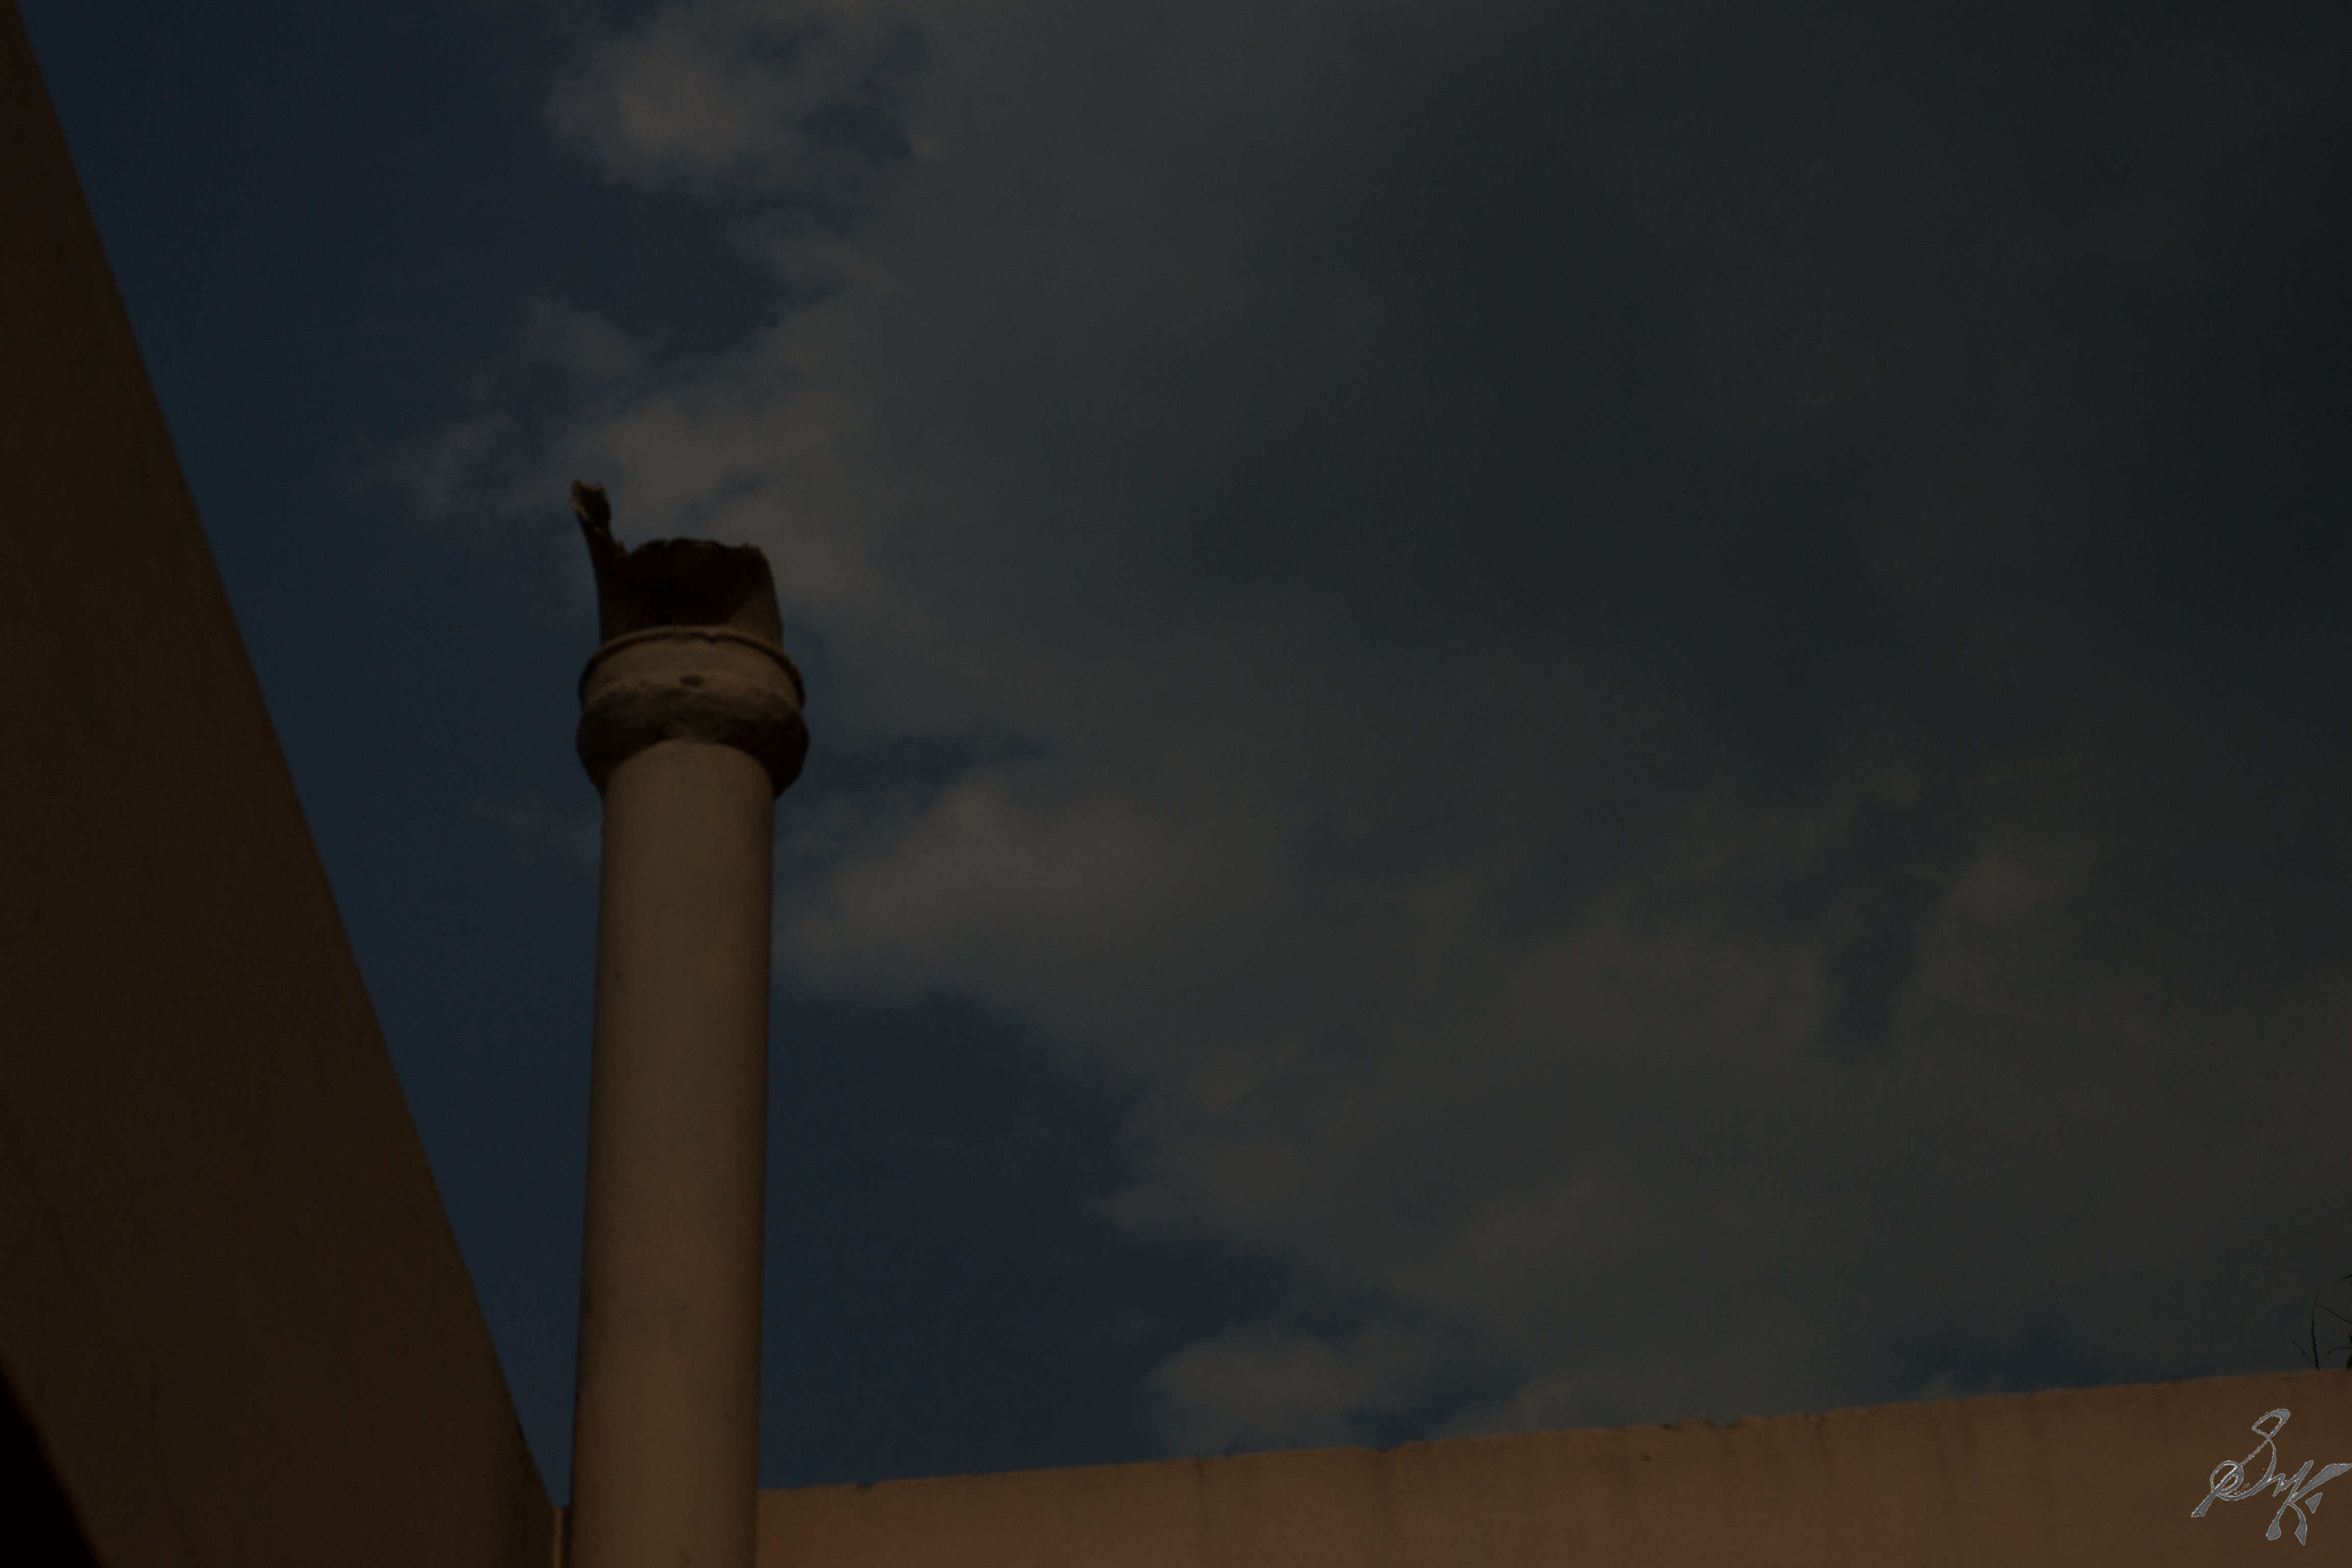
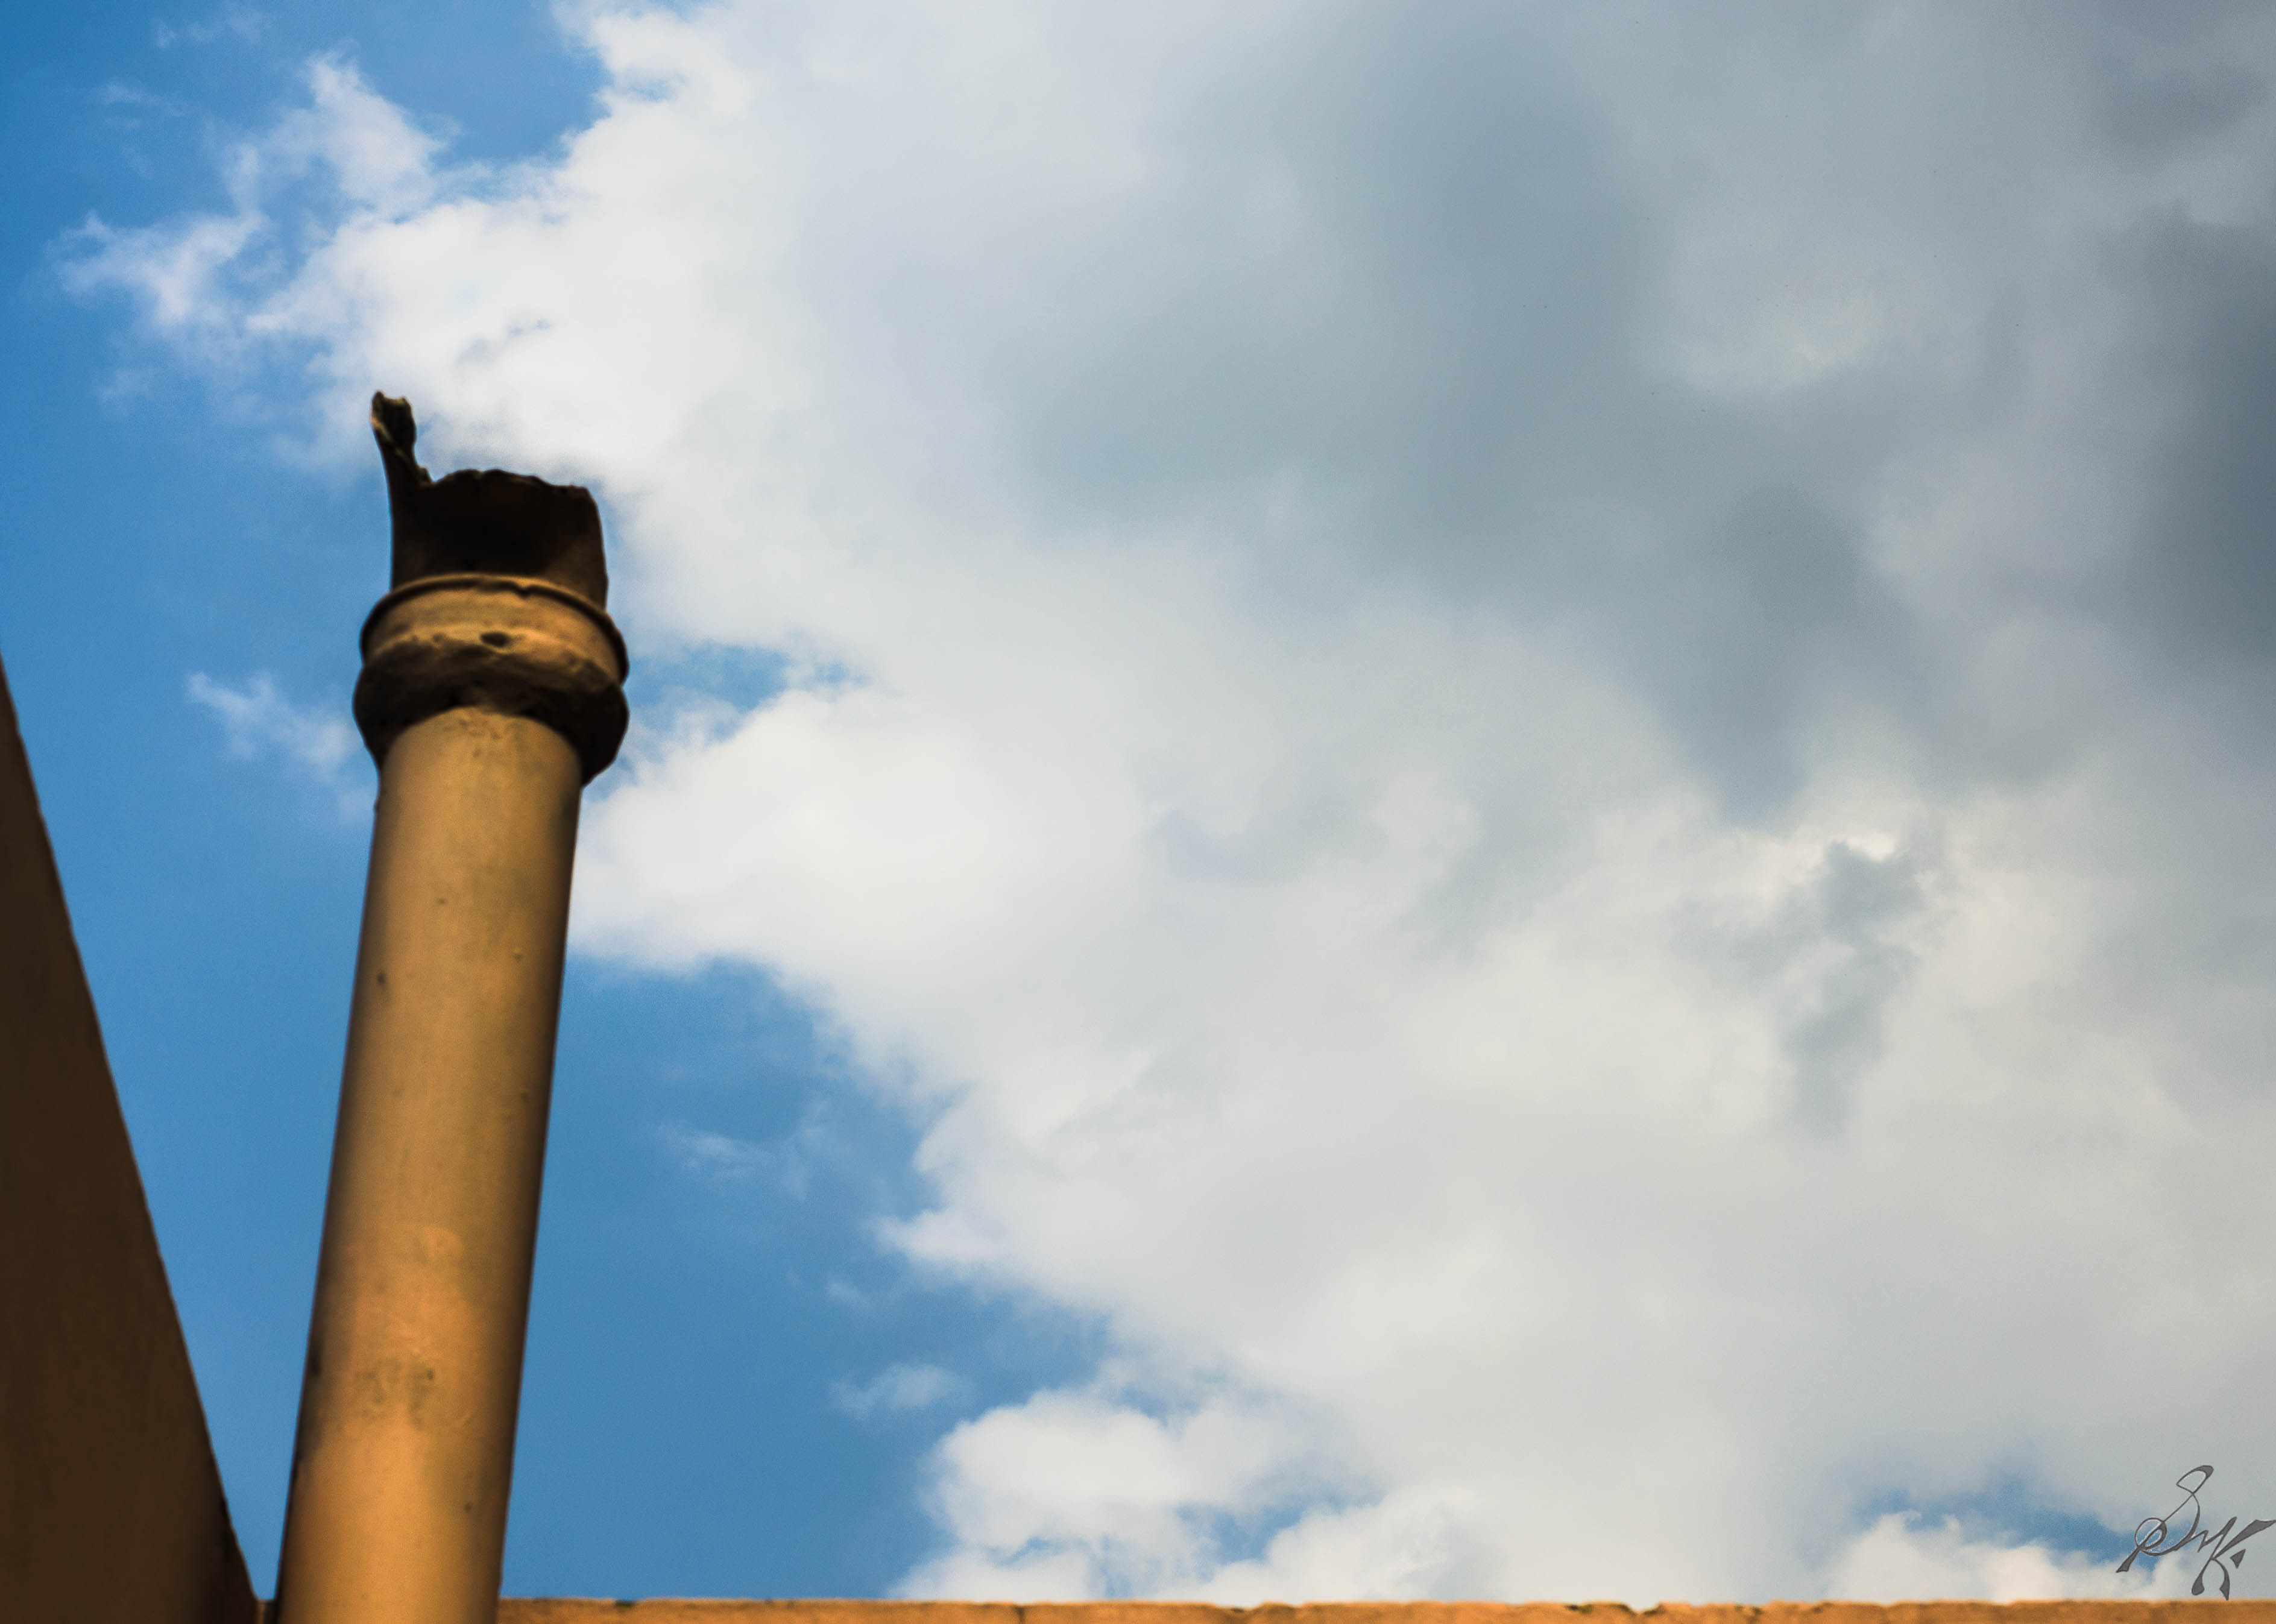
The above photo is “As shot” +2 exposure value, while the one below is -1.
So, one can say that the latitude from -1 to +2 for the camera. The definition is subjective and shall vary from person to person and on their opinion on what acceptable means to them.
Latitude is not the same as Dynamic Range. DR is the range in which, either in highlights or in shadows, details can be obtained before they white or black out, respectively. They are instead related in the manner that, a sensor with a higher dynamic range shall produce photos which have a wider latitude. I had covered basics of High Dynamic Range photos earlier, here!
In my previous post, I mentioned that I take a tiny hop to a place to shoot a very particular signal, well, this is the one. Whats so special about it, you may ask, well, it was a pre decided and pre conceived shot. I knew the angles, knew the locations, just went in and took the shot.
Here are the results.
The first photo is a product of a merging of 4 photos shot in quick succession from the same location, settings unchanged and then merged in Photoshop.
The next post, is one that is long overdue. I climbed the top floor of the site of my work, with the camera and shot Mumbai. The results, shall form the next post. Keep an eye out.
Grain, is the old age, film days term for what we know as Noise now. Since most of us, wont see grains in photos anymore, lets talk about the Noise. When we increase the sensitivity of the sensor, we make it responsive to stray signals too. Being increased over a certain limit, based on the cameras, the extra signals start to show and reduce the image quality. Often noise is evident in low light photos, and/or when highly tweaked. HDR gets around it often, but if it doesnt ruin the photo, leave it be.
This is the raw material for the slightly advanced HDR (High Dynamic Ratio) photos. Suppose, in a landscape, if we correctly expose the sky, the foreground is dark, and if we meter the foreground correctly, the sky is washed away. Instead, we take a series of photos exposing the various parts correctly, then we combine them in photo-editing software, and we have a composite photo, where everything is exposed correctly. Be careful though, aperture, focus and white balance must not change during the series. In some cameras, its an inbuilt function, others vary the shutter speed.
Optimum exposure minus 1 stop
Optimum exposure
Optimum exposure plus 1 stop
Resulting HDR photo
This is a part of the April AtoZ Challenge. A, B, C, D, E are done. Rest to follow. Follow me and have fun.
Hi there…another post on photo techniques…
Today, I share, HDR Photography. HDR stands for High Dynamic Range. Dynamic range, in a photo basically means the span of the photo’s lighting conditions from the
highlights to the shadows. Suppose in a photo, involving both land and bit of sky. On a normal day time shot, we can expect that the sky will be brighter than the
foreground, the land. Now, the question comes up, which brightness will be your benchmark. If you take the sky as the reference, then the foreground will be
underexposed and all dark, whereas, if you take the foreground as the reference, the sky will appear as a white sheet and lose any and all details.
One way to compensate this, is by using gradient filters, which act as a sunglass for the part of the photo with the sky and making the light levels comparable and
hence a cleaner photo. But, these filters, the good quality ones, they do cost, not heftily..but significantly.
The other way is the HDR way. In the HDR, what we do is, take multiple photos, same focus, same focal length, except, different exposure values. A sturdy surface or a tripod is must for HDR photos. Different exposure values, are attained by varying the shutter speed. I take Optimum plus 1 and plus 2 stop photos and minus 2 and minus
2 and one with the optimum. And then, I stack them up in Photoshop. Other HDR making software are readily available online. Do put special attention so that the frame doesnt shift between the photos or ghosting (multiple copies) issues come up and they do not look pleasing or artsy at all.
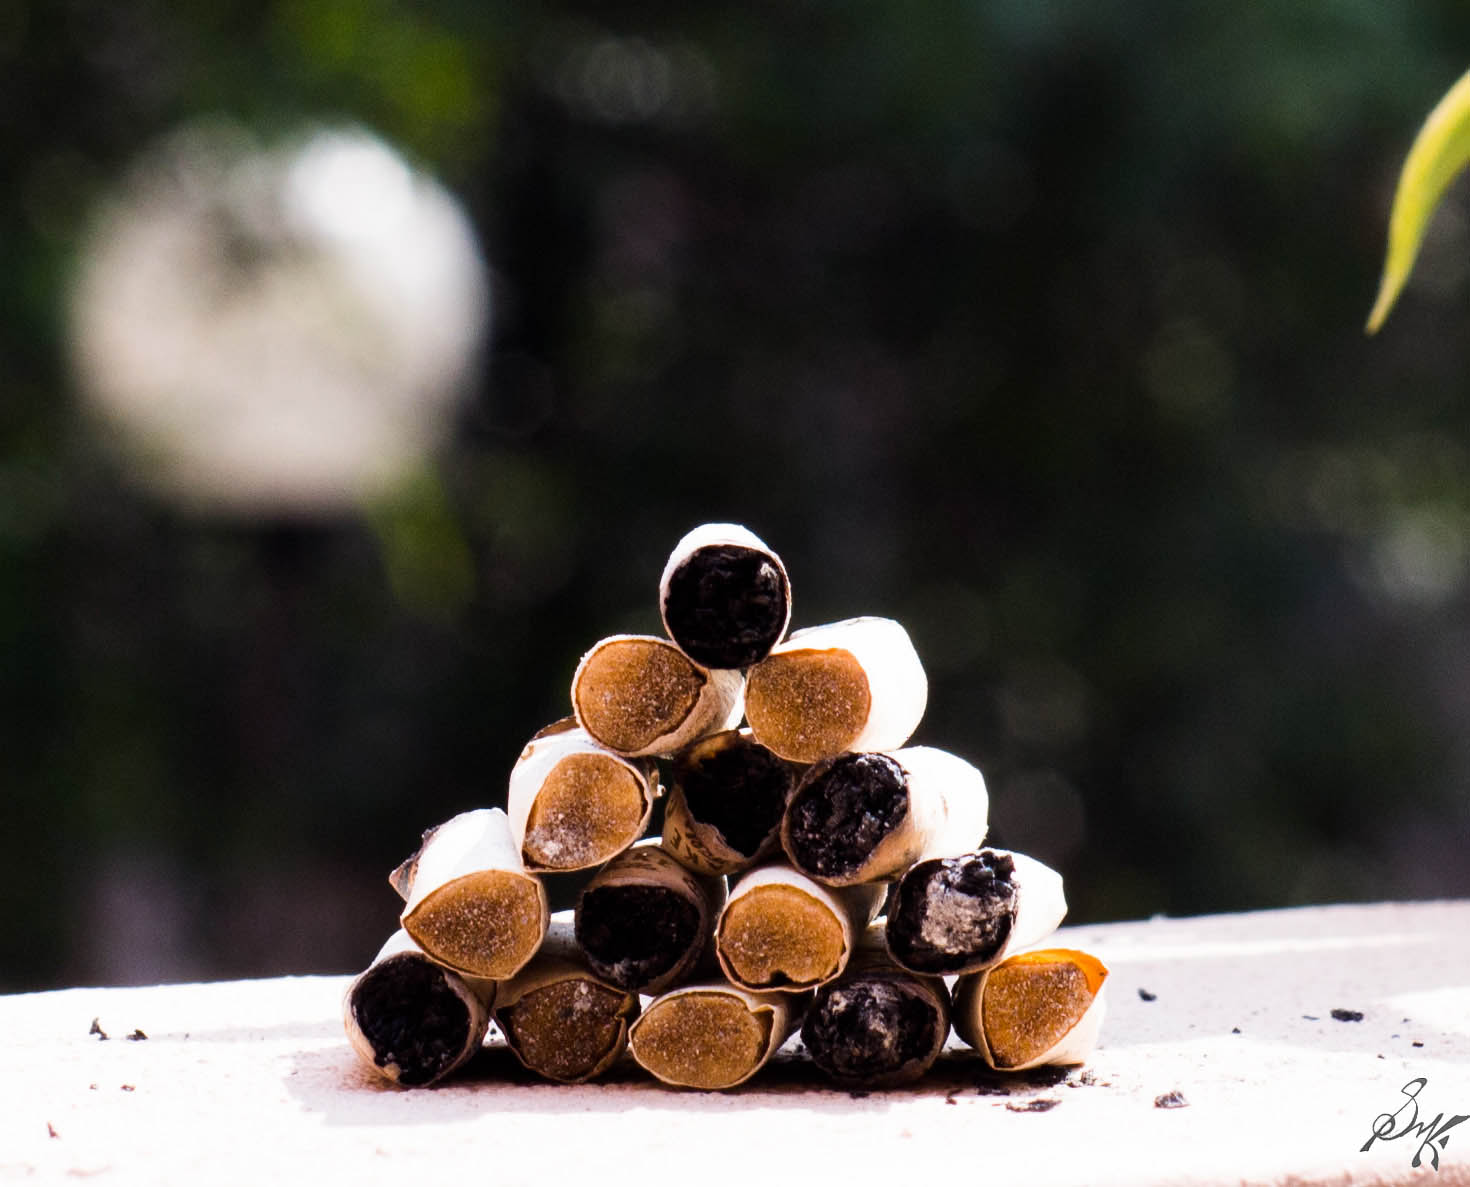
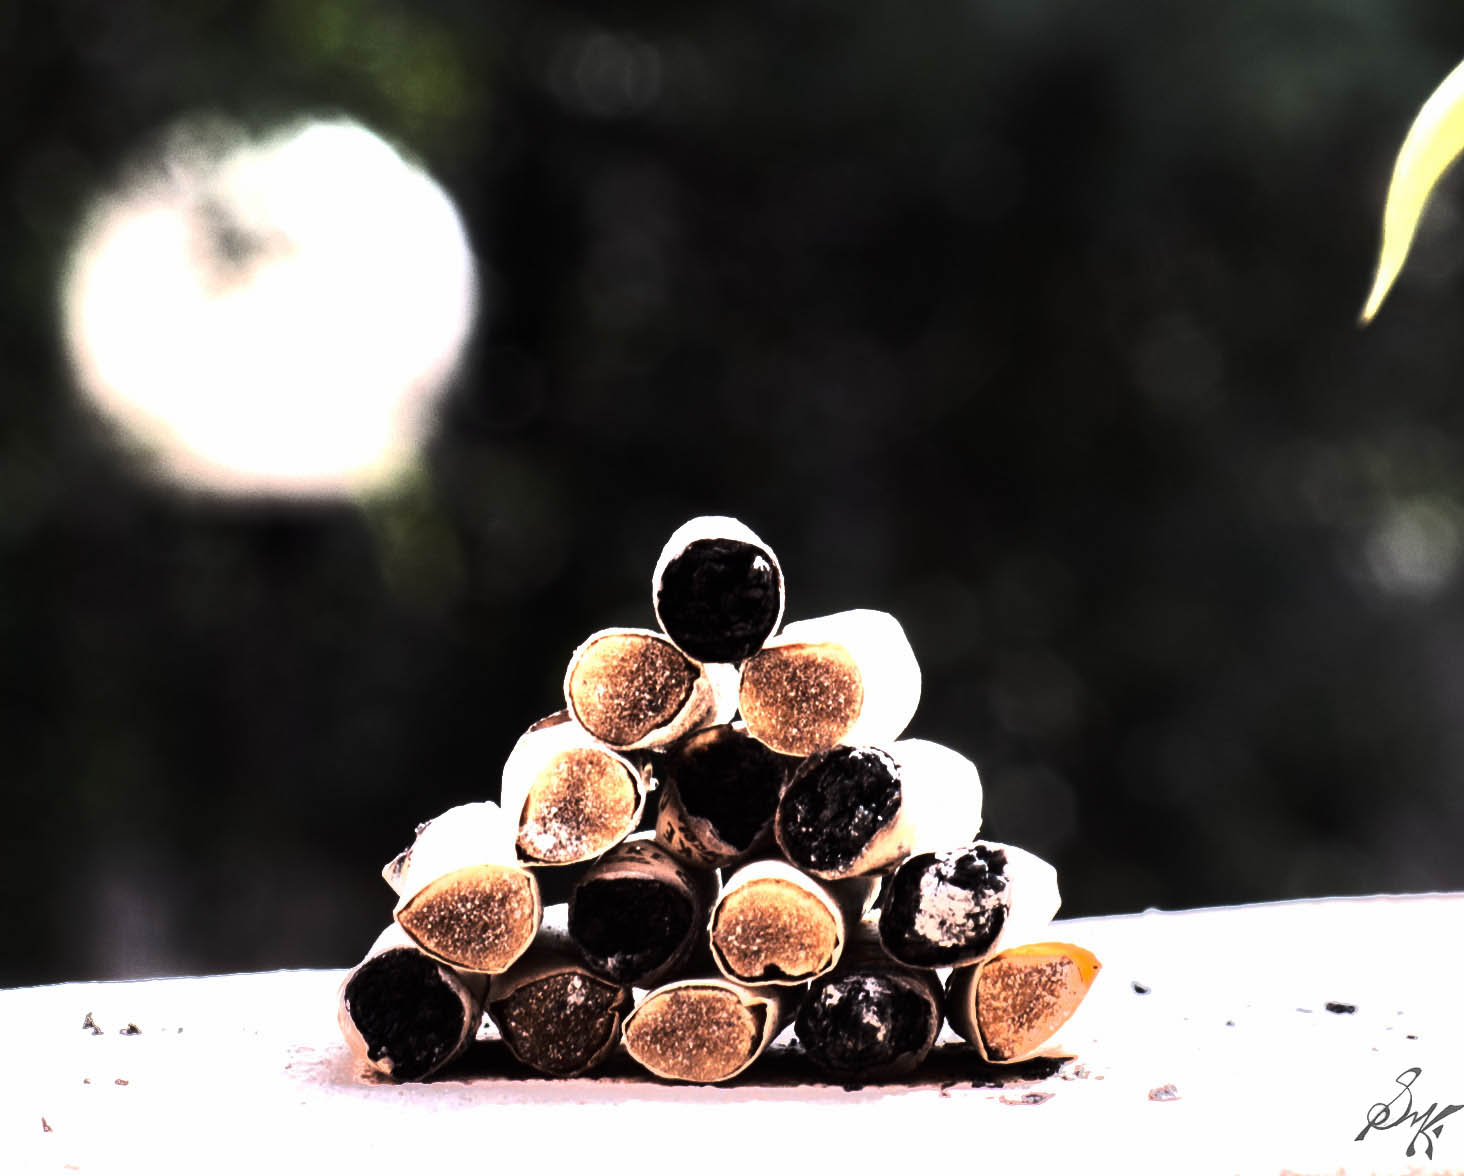
HDR photos enhance bits of details too but in a close up shot, as the one which follows, the difference is very limited though.
I do not take a lot of HDR photos, not because I do not like them or some biasness, but because after I bought my camera, I havent visited much places where HDR photos are warranted.
Check out these two photos. They are both correctly exposed. The first one is a optimally exposed photo where as the other one is the HDR rendition comprised of 5 photos.