Hi there all, today, its all about dilation and depth…Aperture and DOF (Depth of Field)
Aperture is the slit or opening through which light enters the camera through the lens. The aperture is the characteristic of the lens and not the camera body. It is denoted by the F/- numbers, in the format of f/2, f/3.6, etc.
You might have heard people say, photos taken at “widest aperture” or “aperture fully open”, what they essentially mean is that the aperture is open at the maximum to open the maximum amount of light. The smaller the f/- number, the wider the aperture. The below photos show the apertures at various f/- numbers.


The wider the aperture, to get a shot properly exposed, you get more light coming in at an instant…so that reduces the need to increase the ISO. Another way of saying this would be, suppose at f/5.6, you need ISO 400 to properly expose a shot, other conditions remaining constant, then, if you open up the aperture to f/1.8, then ISO 100 would cater to the shot adequately. How is this helpful…it reduces noise that are introduced with higher ISO.
Now, the other factor that is directly related to aperture values, is depth of field (DOF).
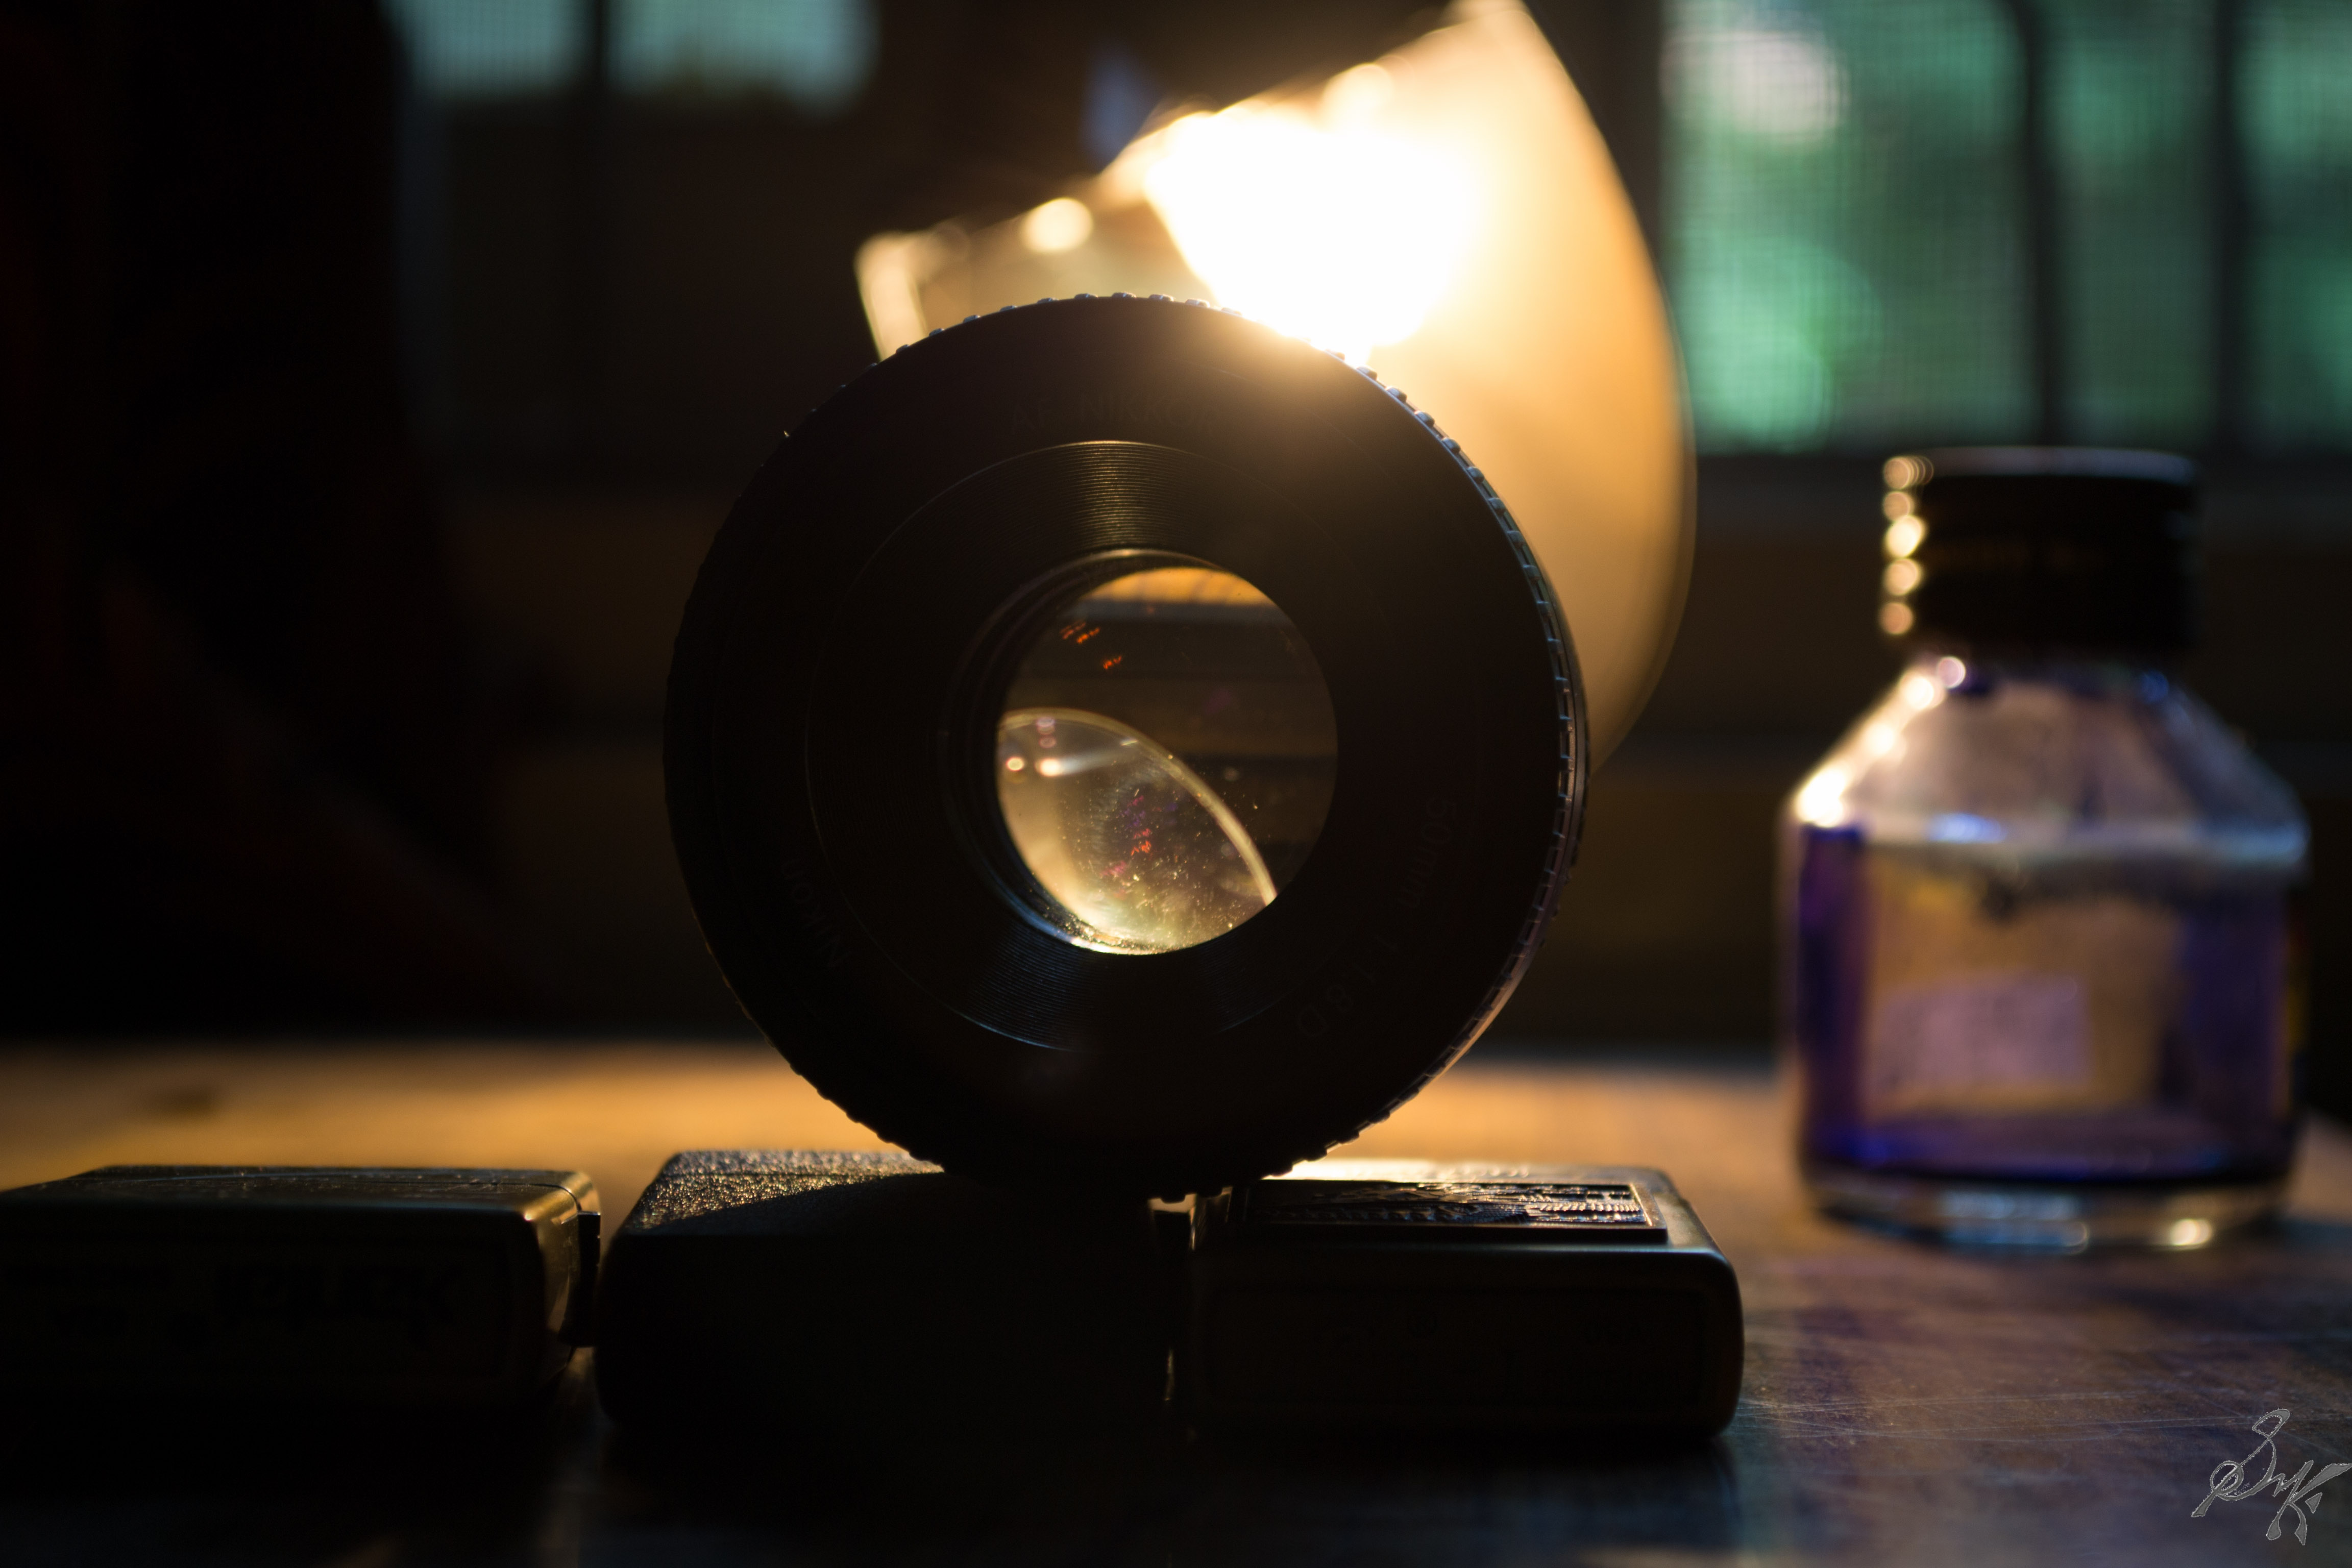
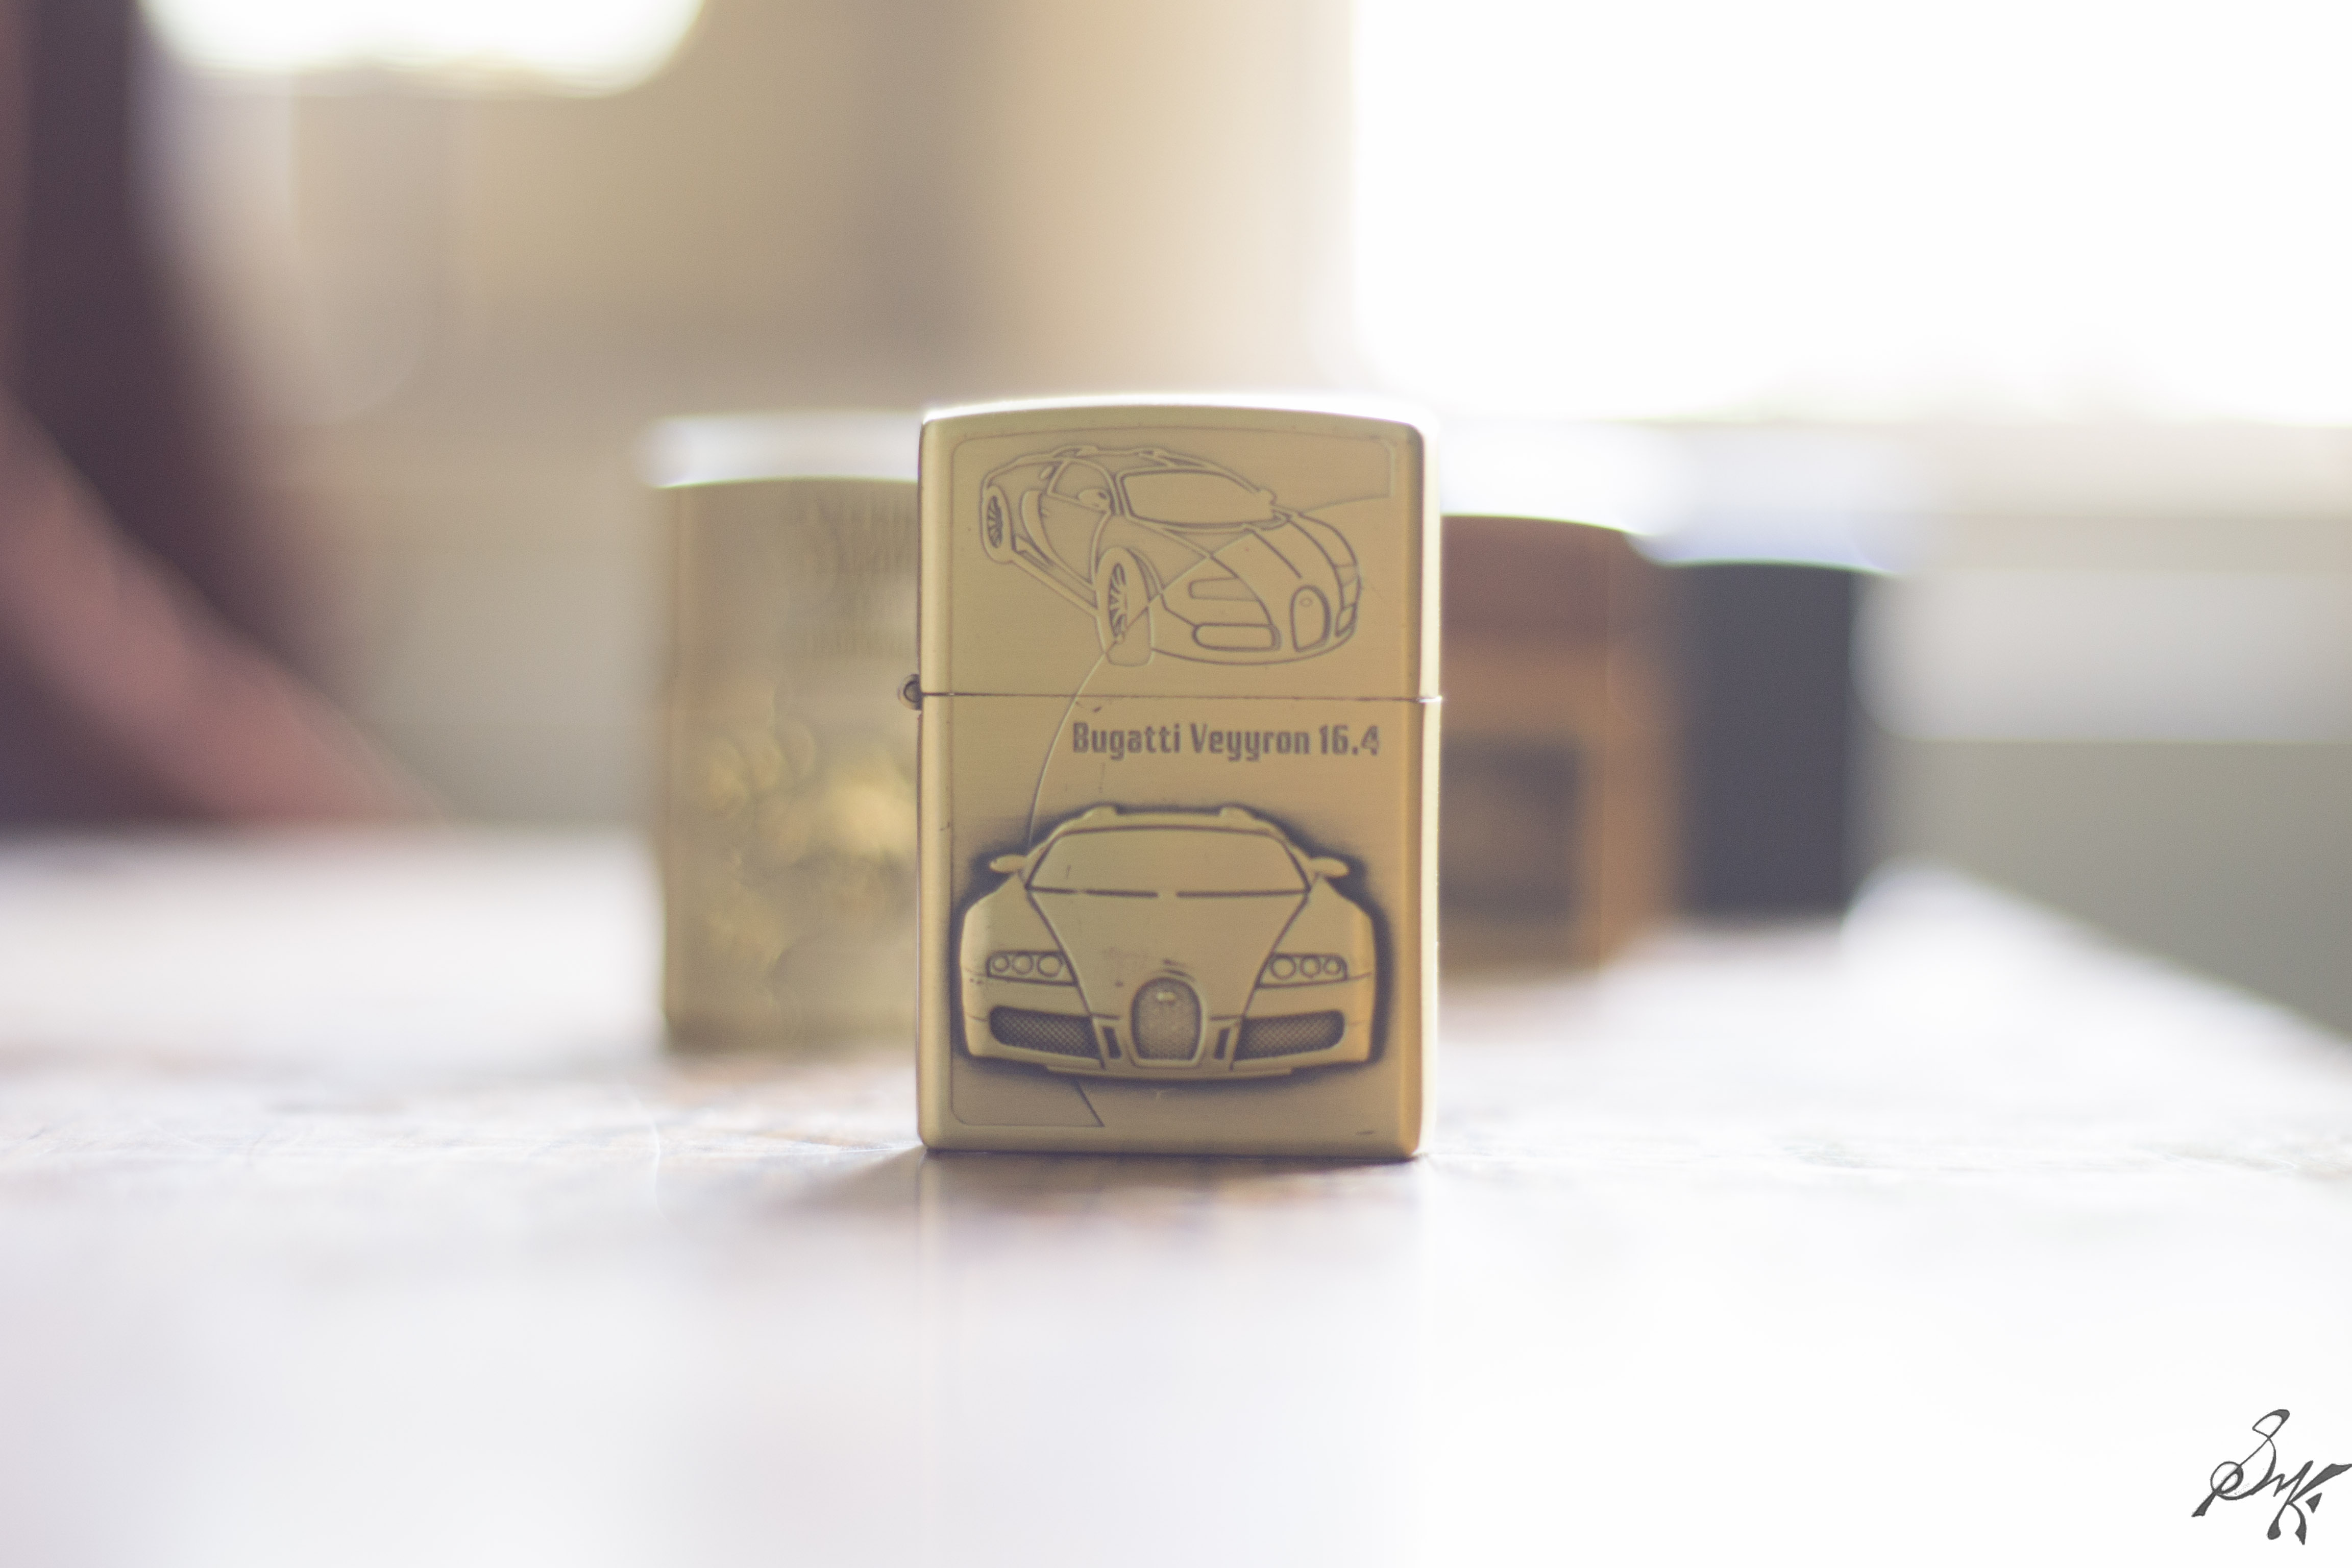
DOF refers to the part of the photo that will remain in focus when you take the shot. You might have seen and marveled at the photos, where the subject is in sharp focus and the background is a dreamy blur…that is to say, the DOF extends over the subject only. With the increase in the F/- numbers, the DOF increases i.e region of photo that will show up in sharp focus increases.
There might and will be times, when we want some of the background to show up, we would just increase the DOF, that’s all. This also acts as a buffer for the people who are unsure while using manual focus. You focus to the best of your ability, and have a fairly deep DOF, chances are very high that the subject will be in focus, but this technique is generally avoided and discouraged.
Similarly, for a shallow DOF, dial down the aperture value and hence open it up and you have yourself a very isolated subject..perfect for those portraits of your loved ones 😉
These photos below have been taken varying only the F stops to give an idea of what it is.


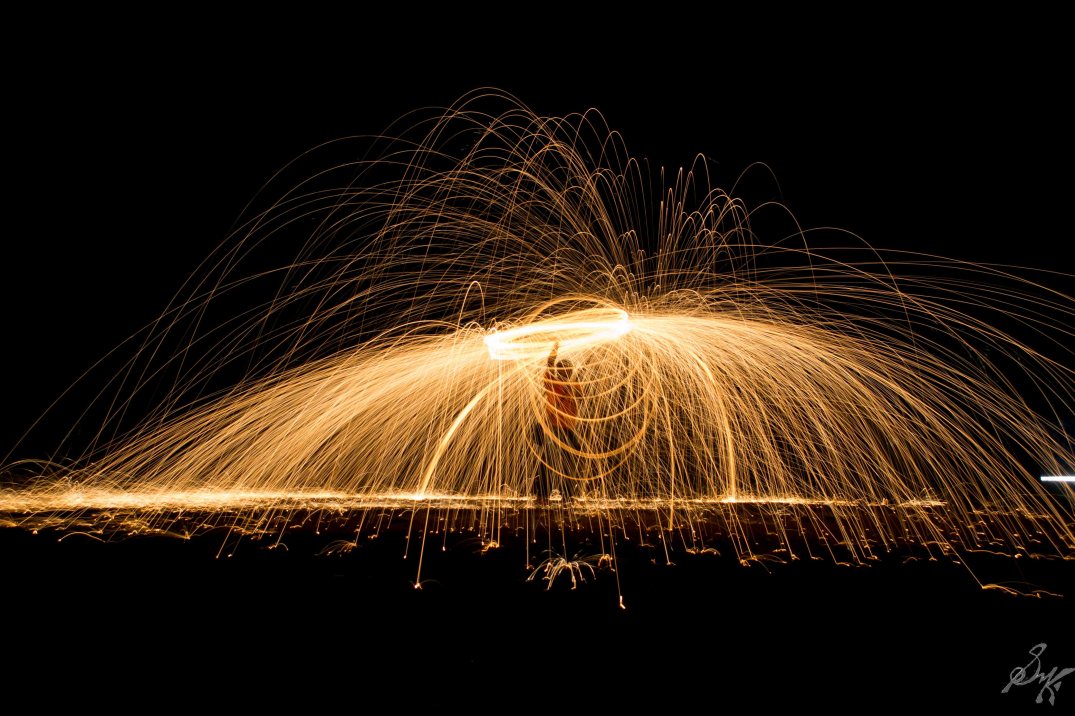
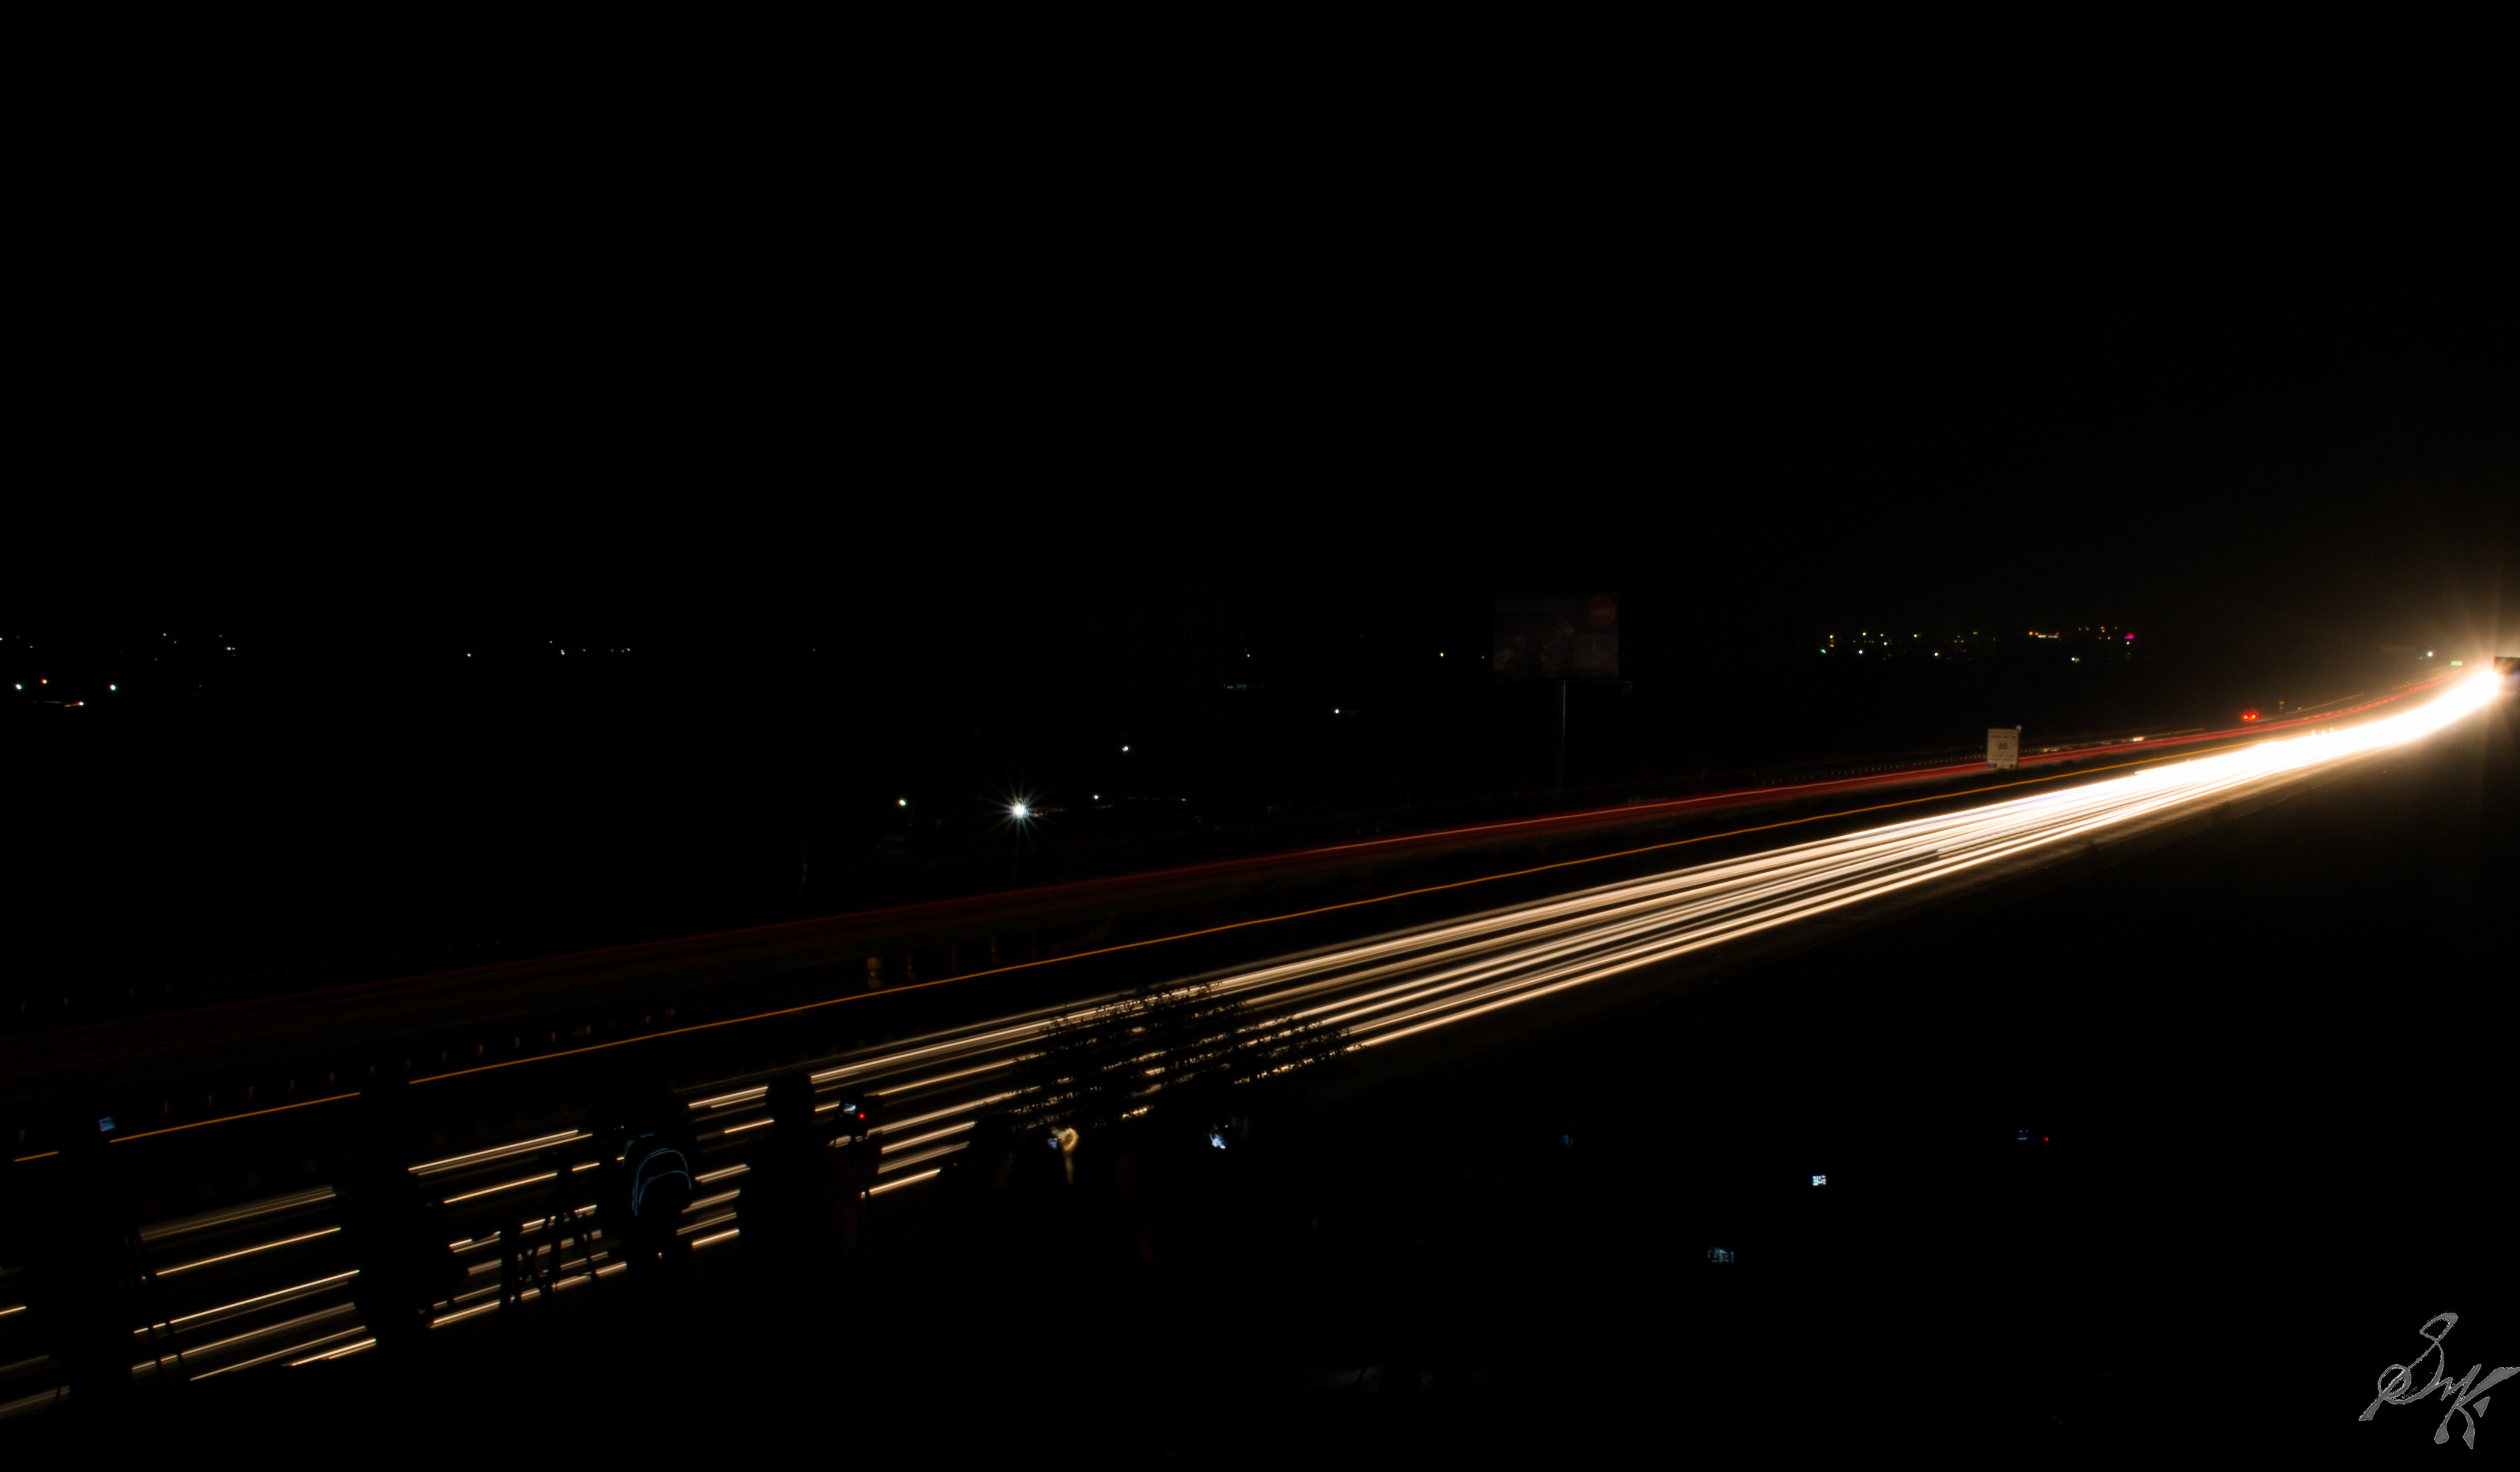
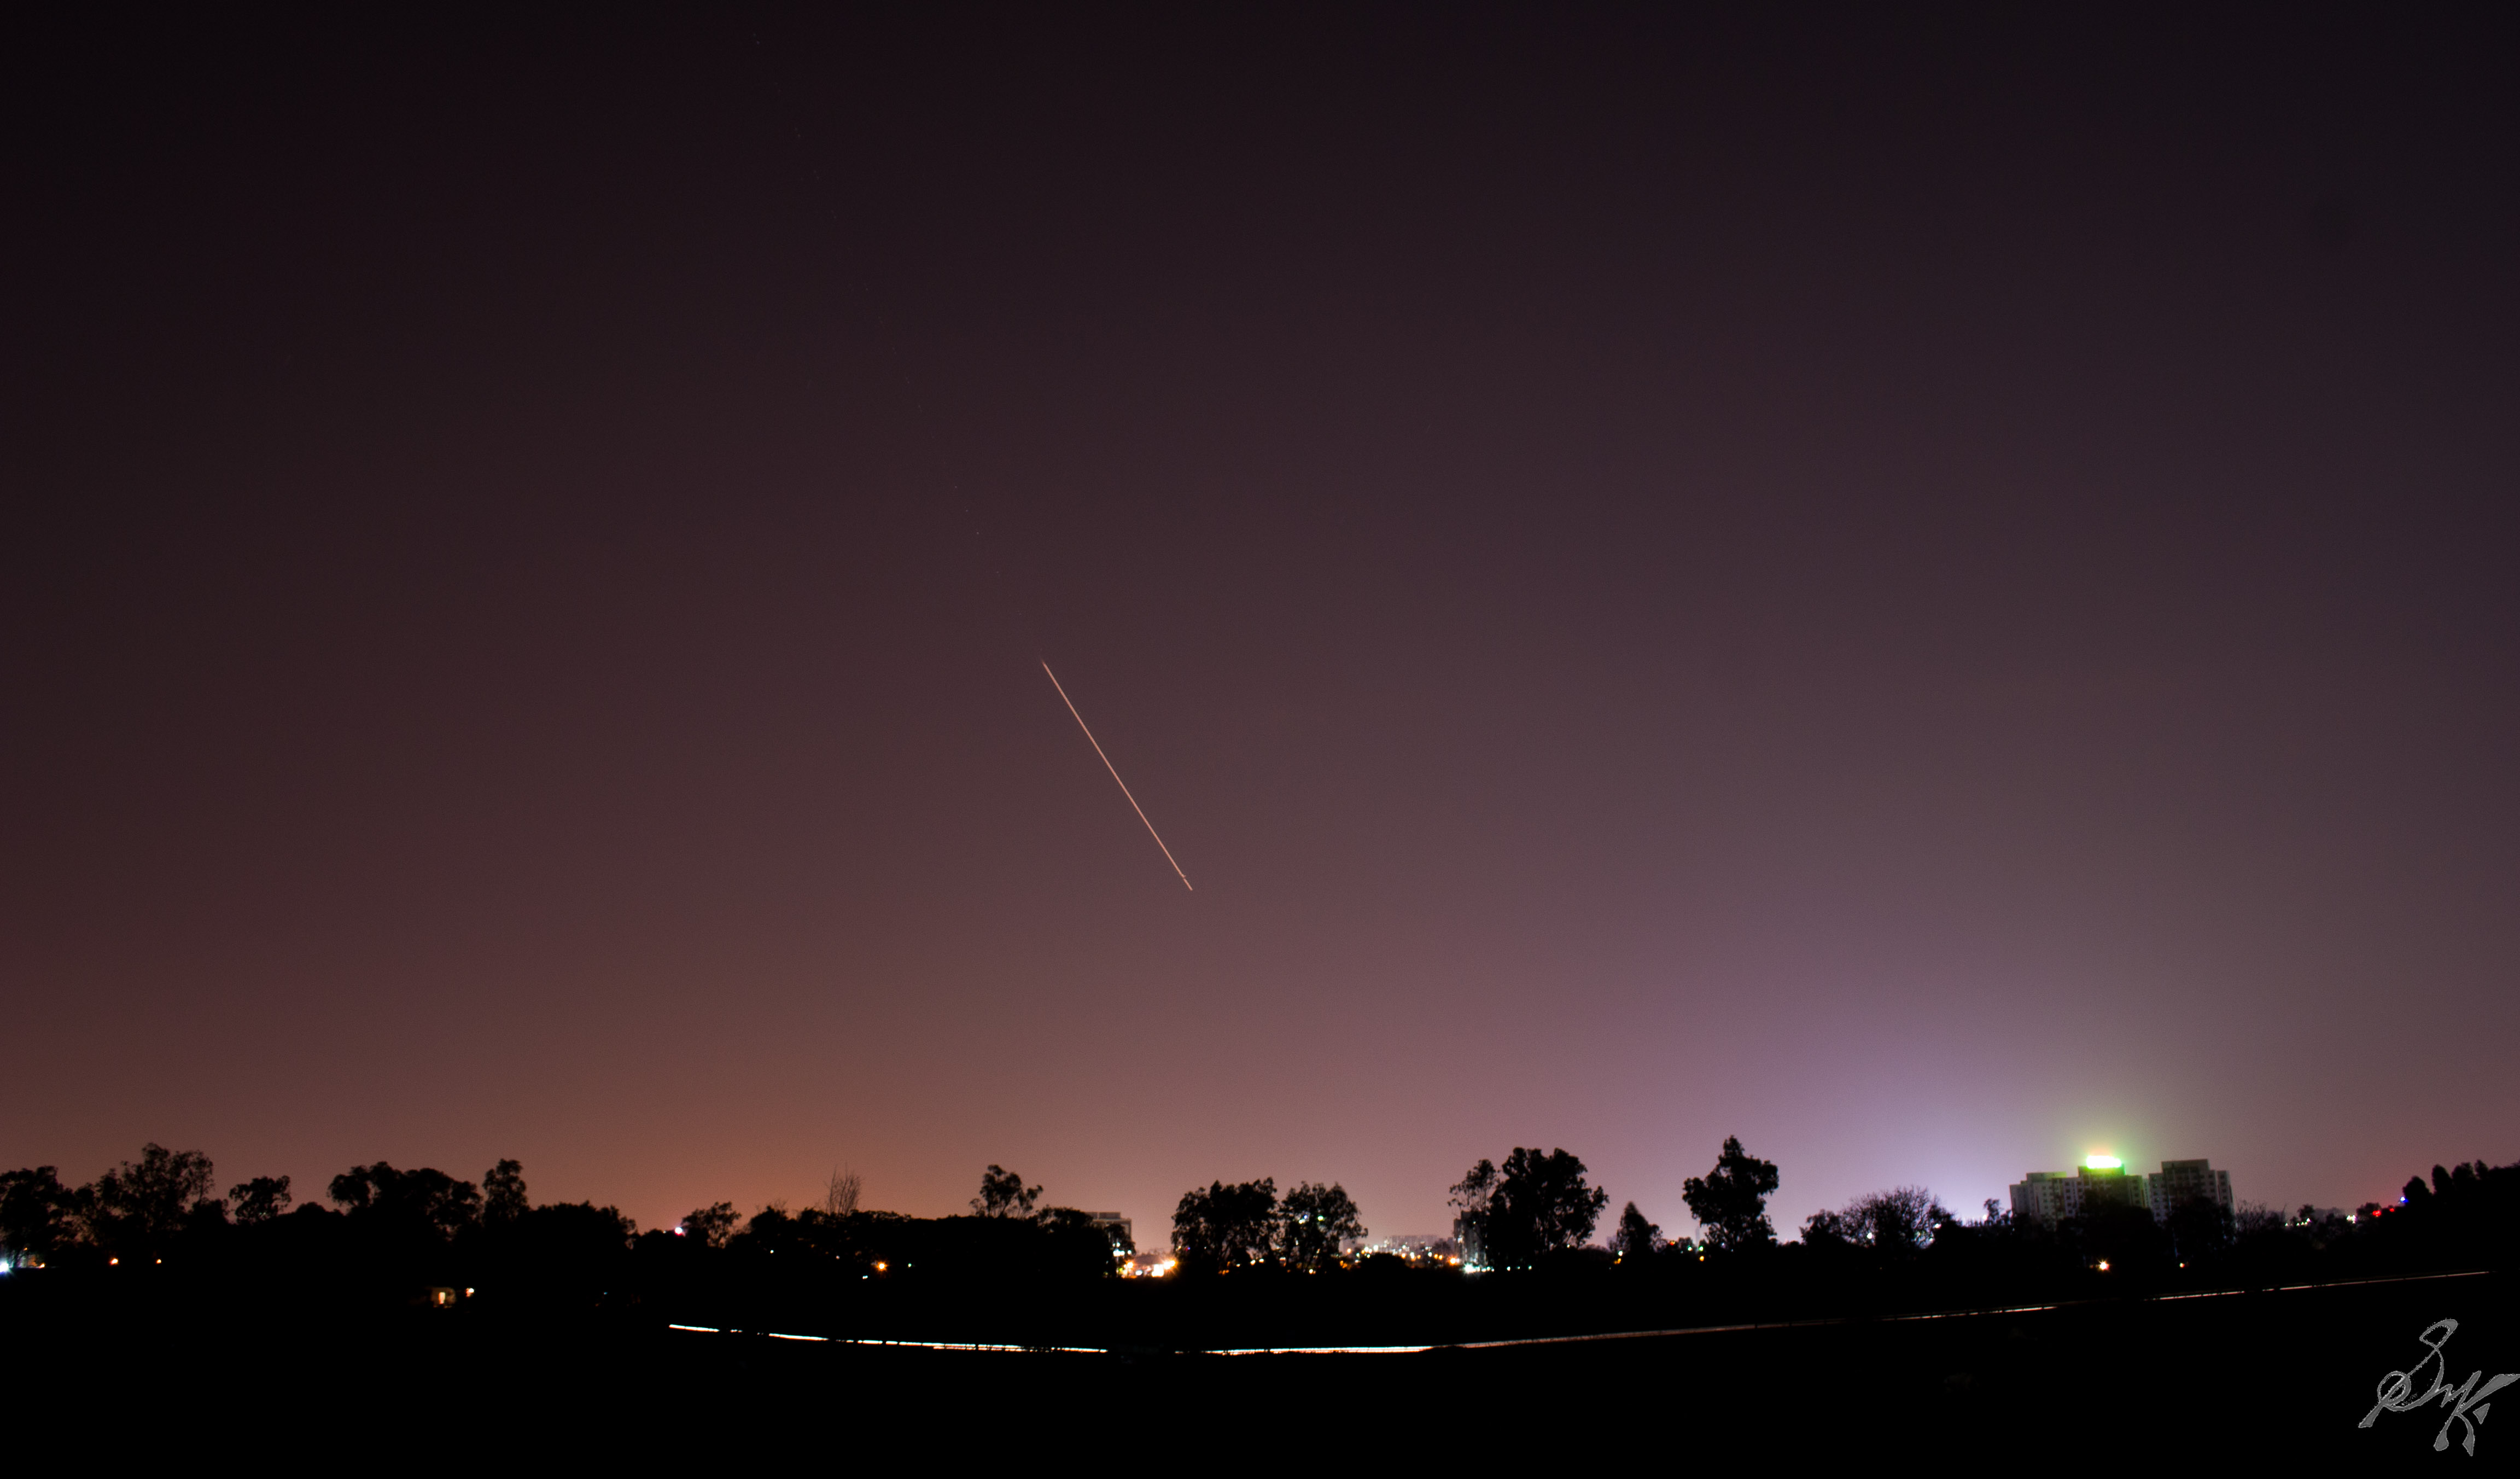
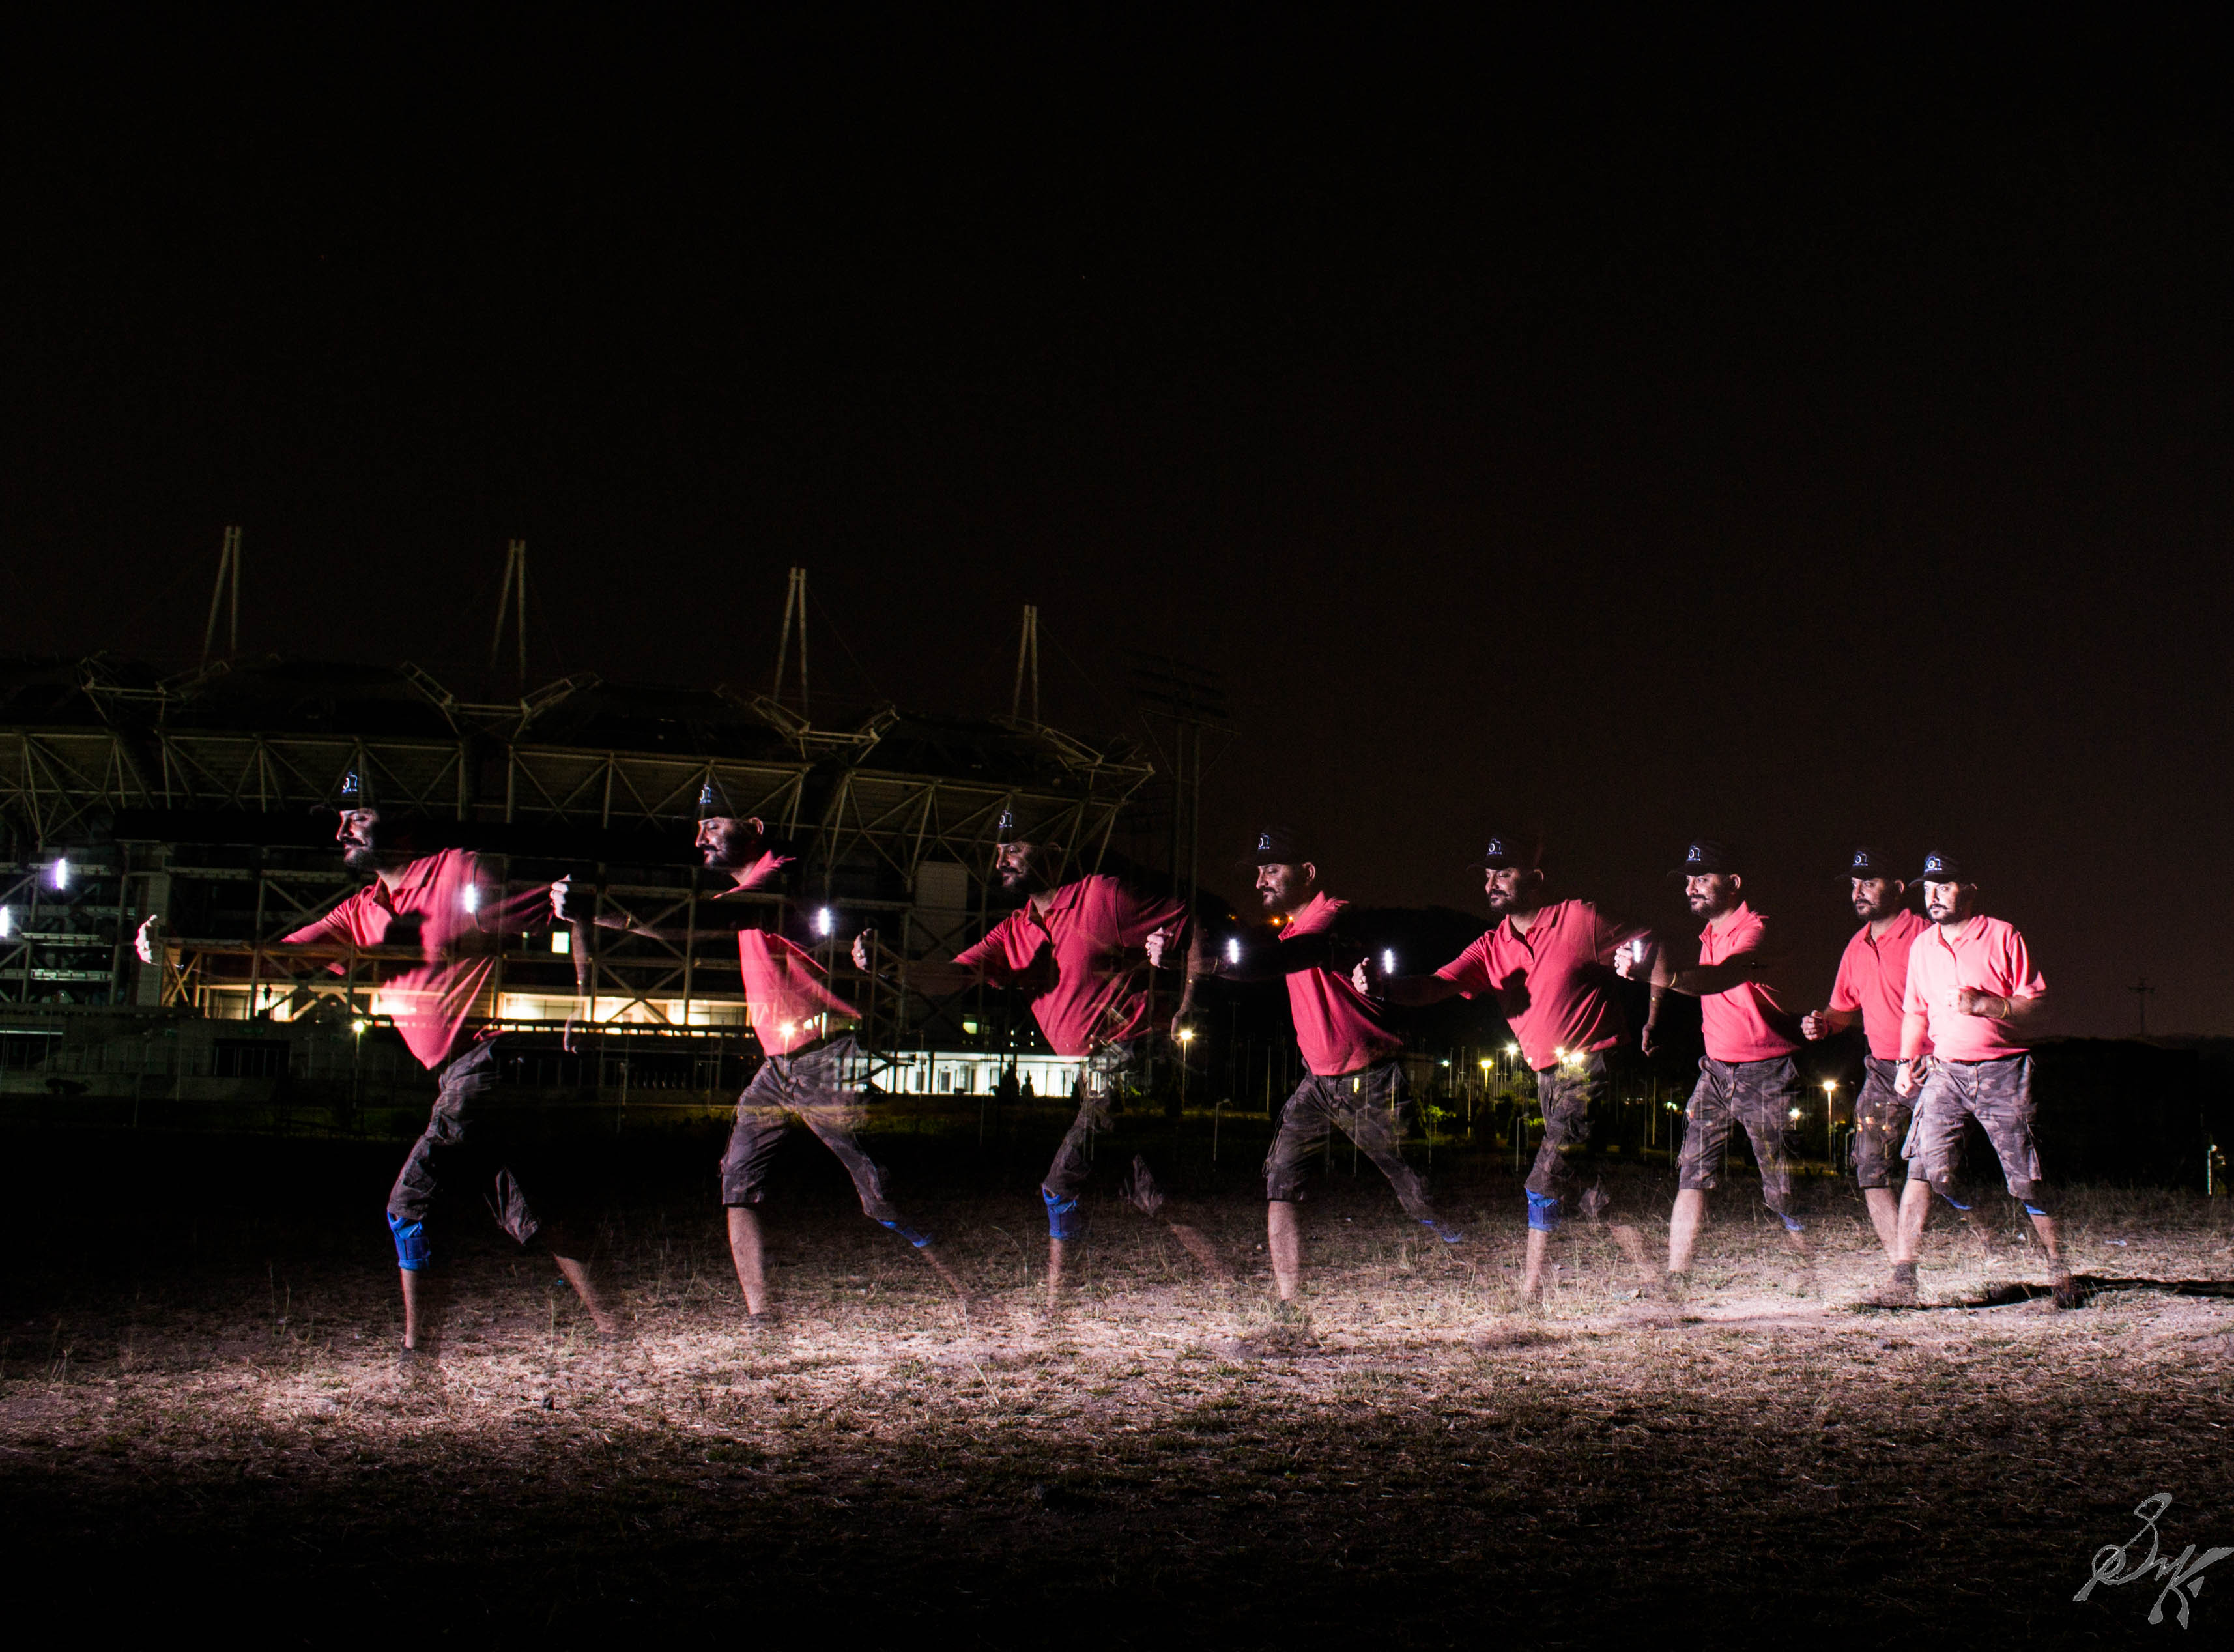
Now, in the following ones, are more like real situations where, with the change of F stops, DOF changes , and so does the amount of light coming in. With increase in F stops, light entry will decrease proportionately.


Now, with tweaking the ISO and changing the F stop numbers (that’s what F/- numbers are called, by the way), you can manage the photos all right, the photos of still life objects, landscapes, basically, objects which wont move. How do you take a noiseless photo, with nice DOF and proper exposure too? Or how do you capture or restrict motion…that’s where shutter speed comes into play. Coming up next…
Cheers!