TLR Camera : What it is and how to use one

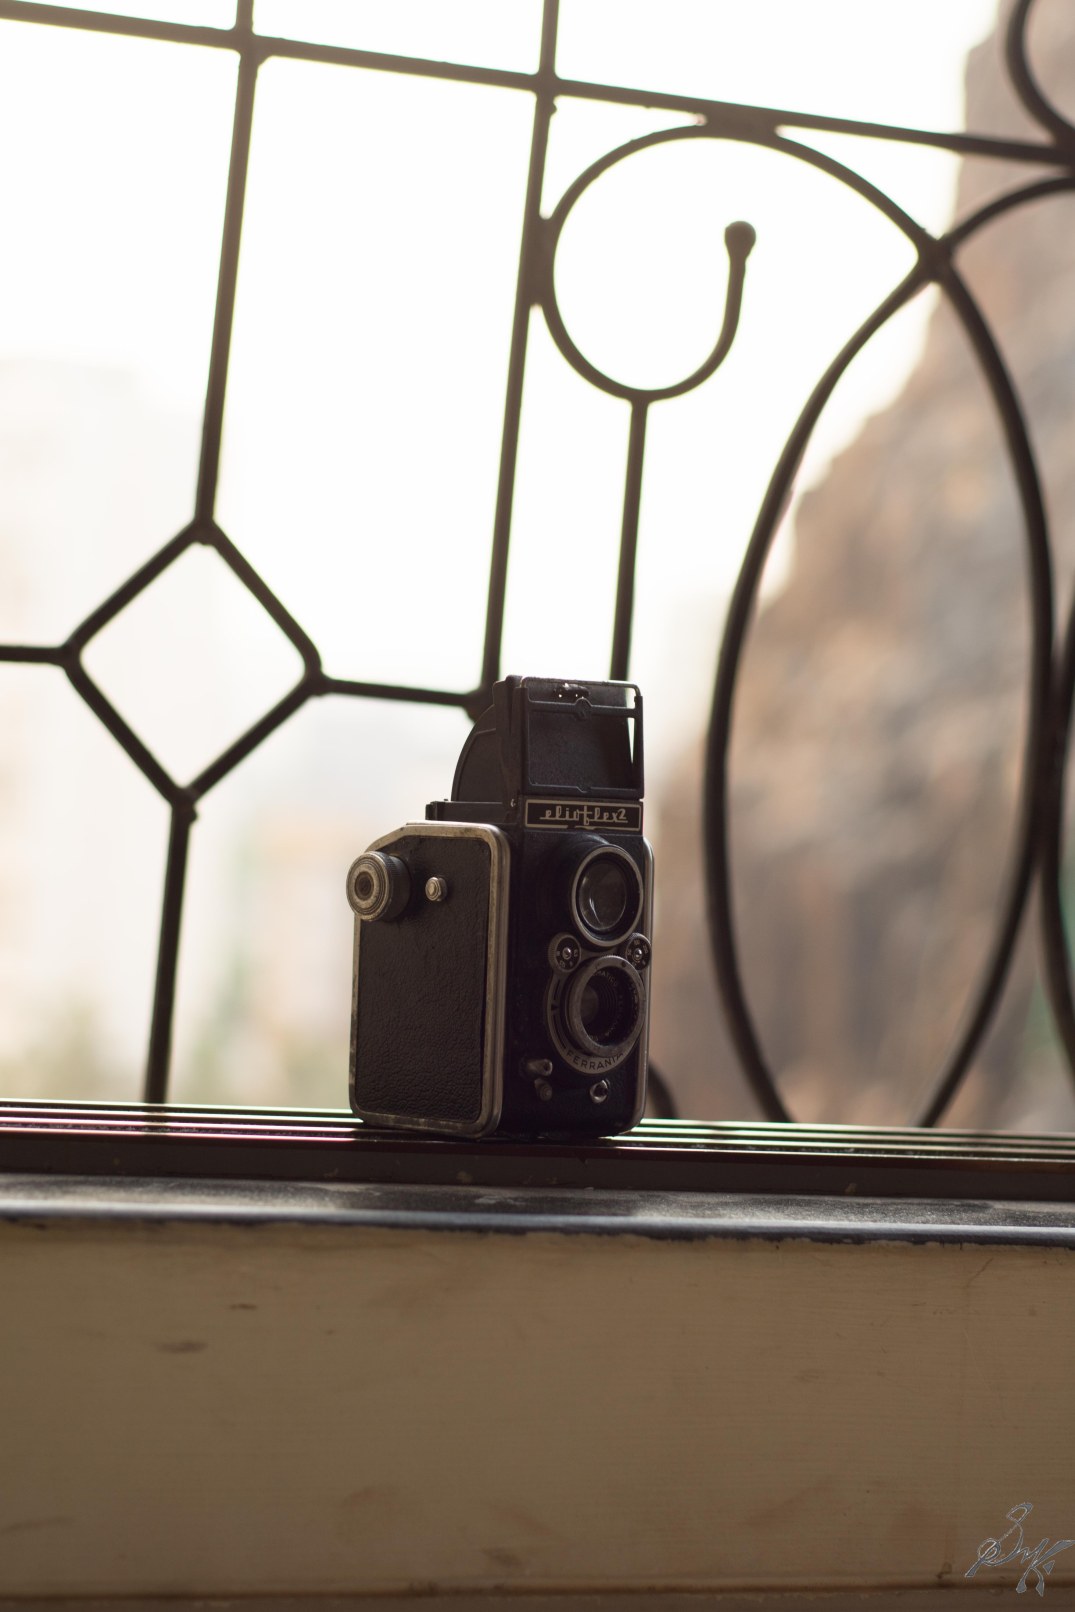
Readers who are millennials or older, would recognize this camera either because someone in their family owned it, or they may seen it in the movies.

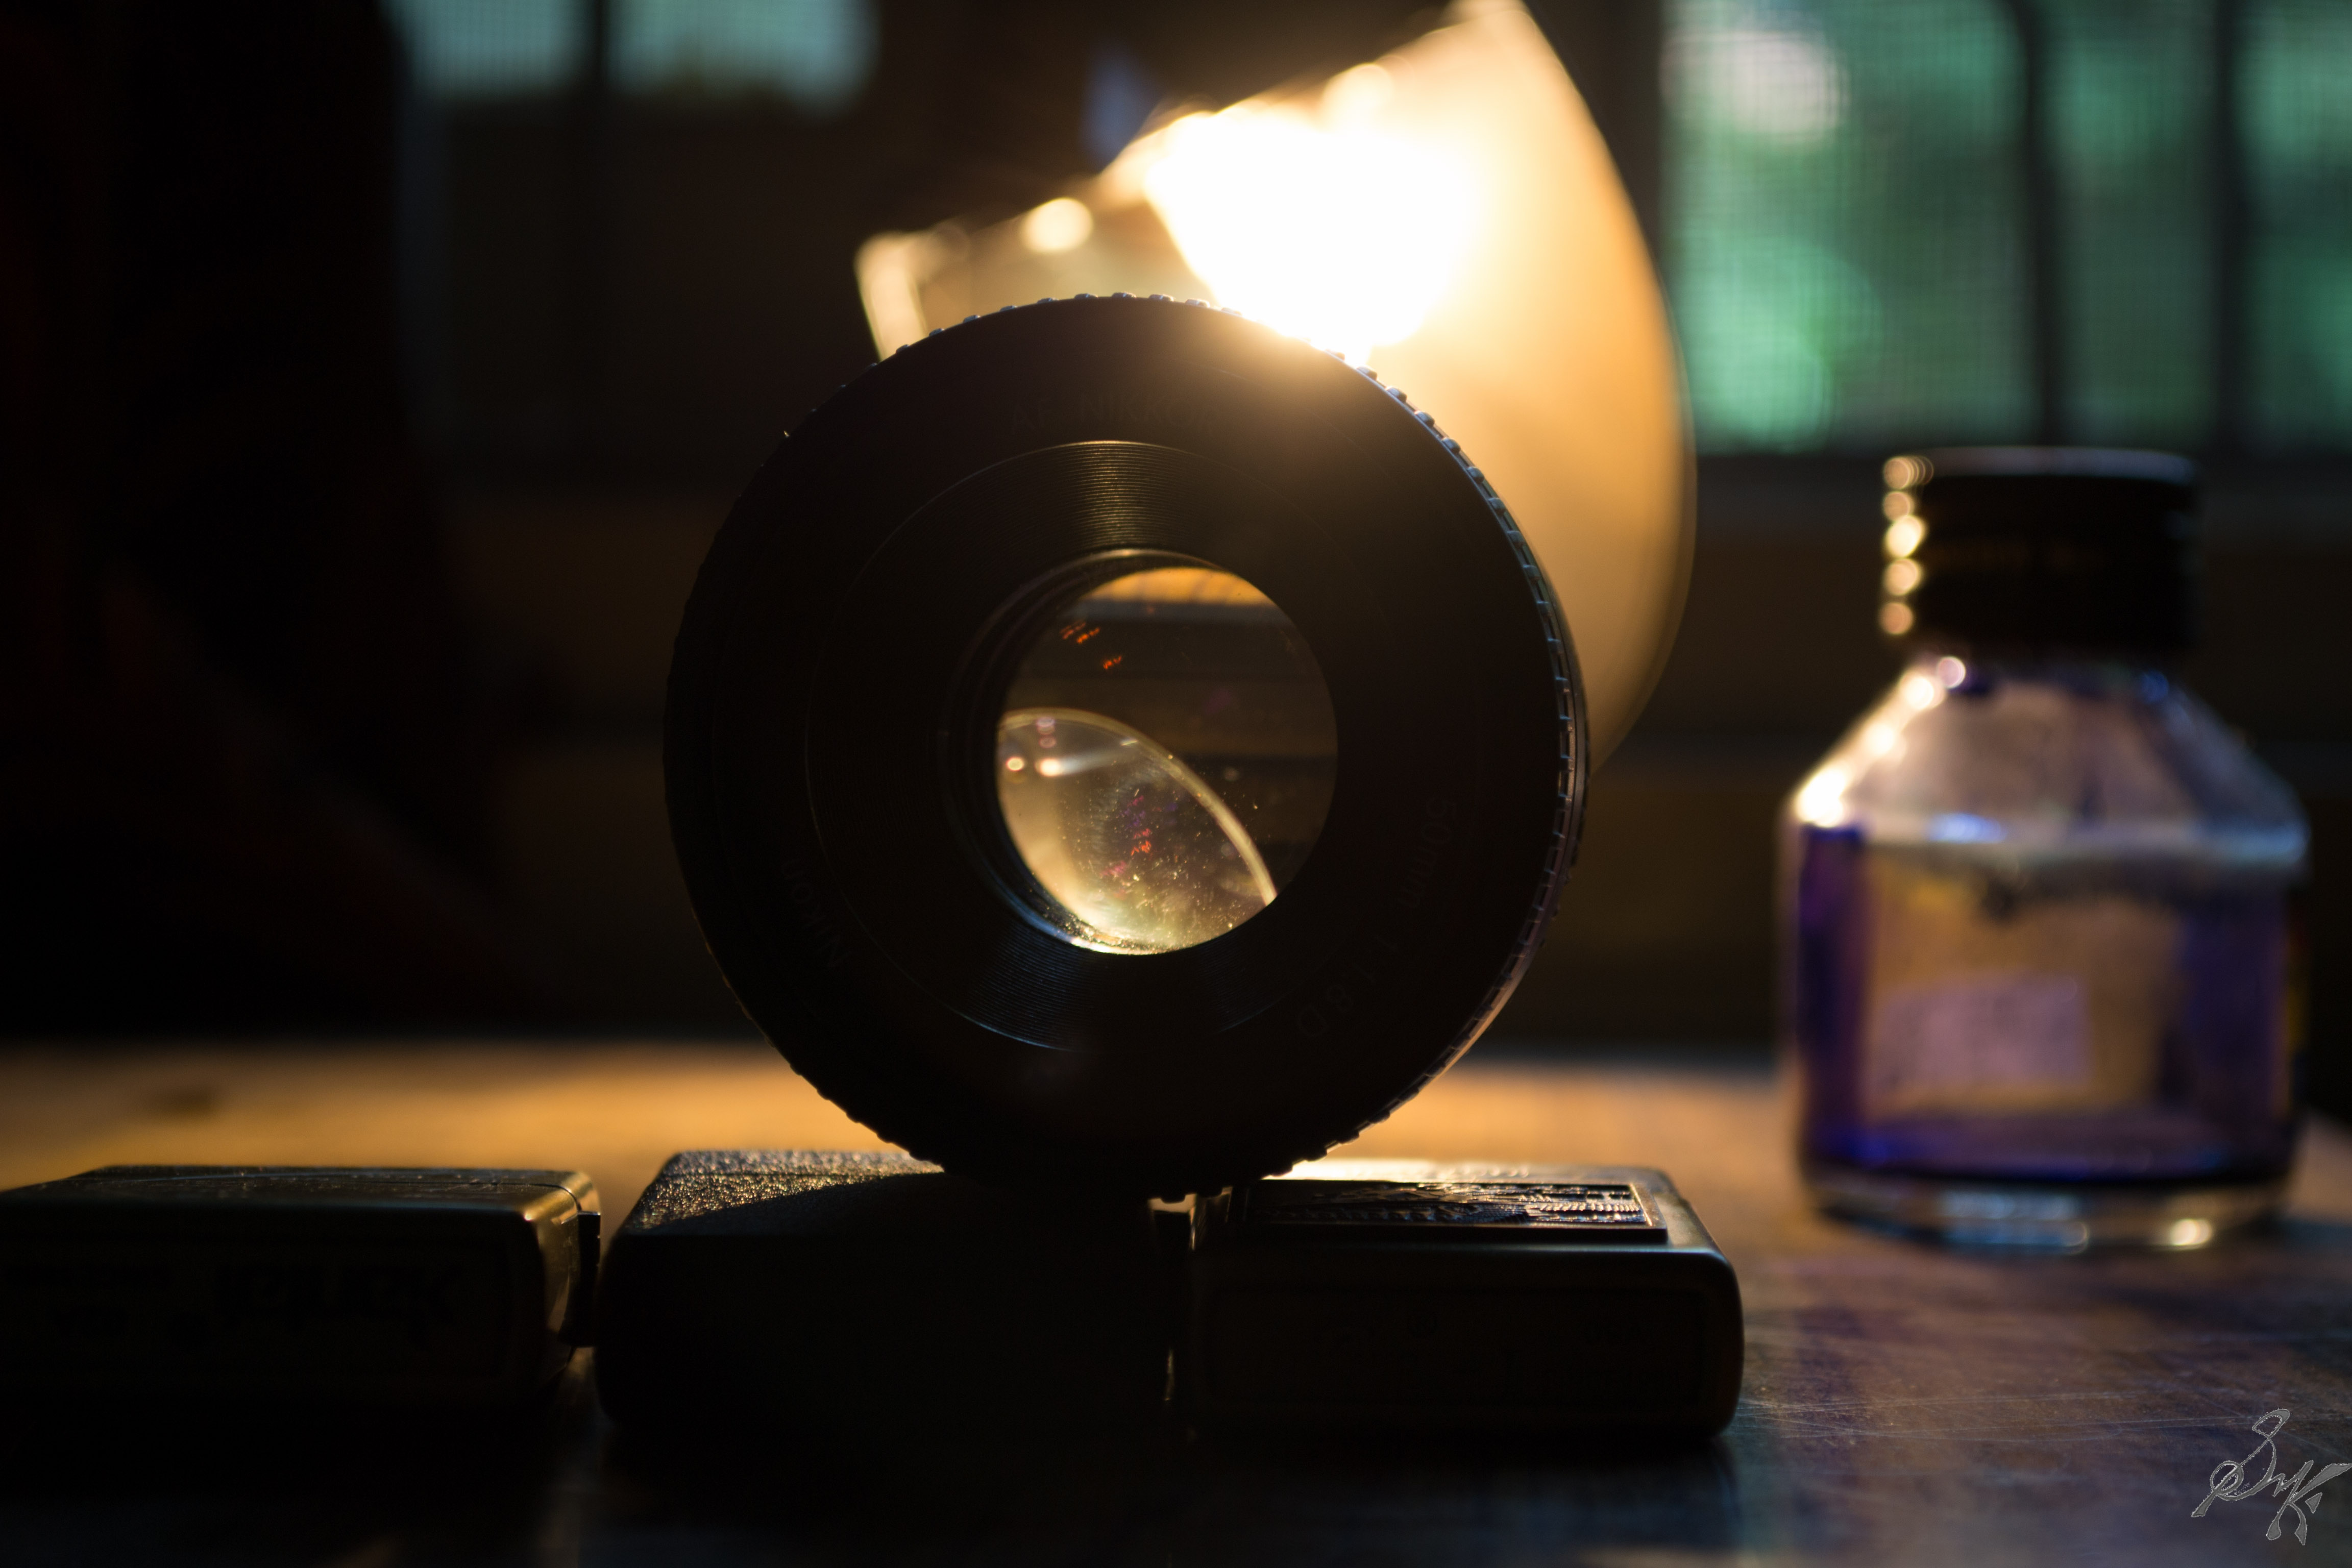
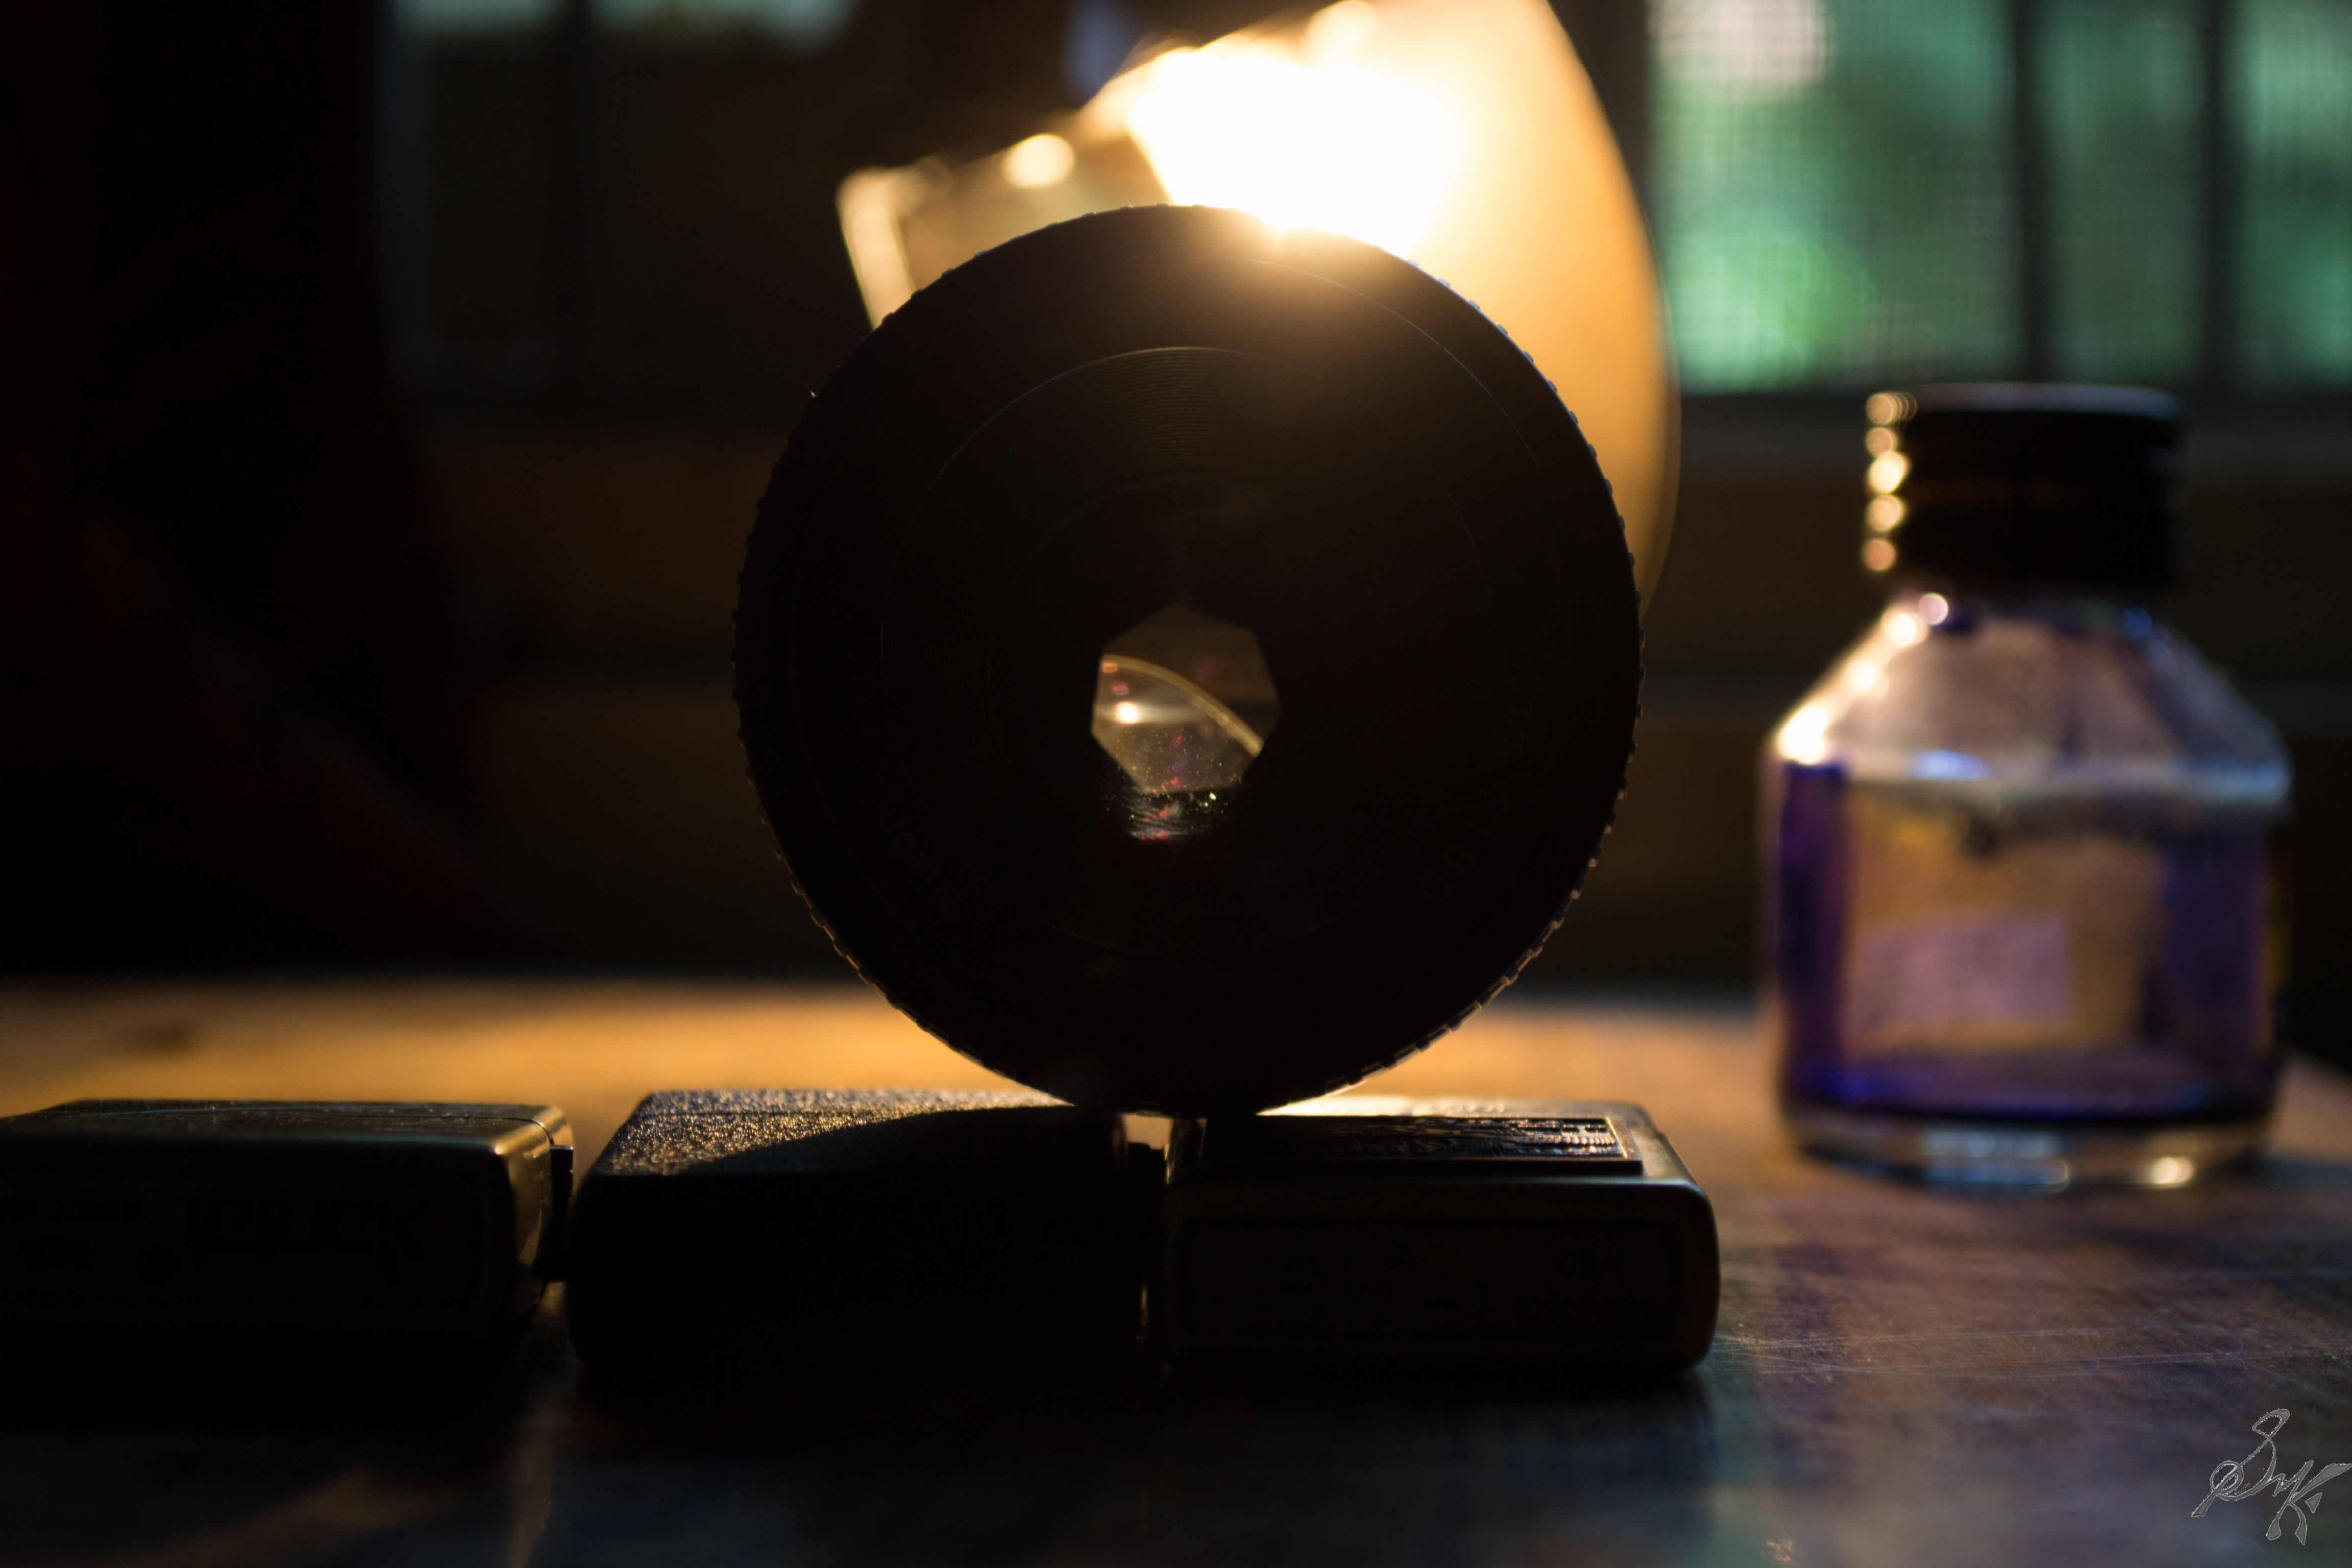
This here, is what a TLR looks like.

A TLR Camera, Mumbai, India

A TLR is a twin lens reflex camera, where there are two lens, which help in taking the images. The lens above lets you view your subject and focus by rotating the ring, which in turn focuses the bottom lens. The major advantage a TLR has over other formats is that your image does not get shut out due to the mirror movement as with SLRs. You also get a lower than eye level perspective of the scene. On the downside, there is parallax error and the options to stop down to preview the photo will not be available.

Front view of a TLR Camera, Mumbai, India

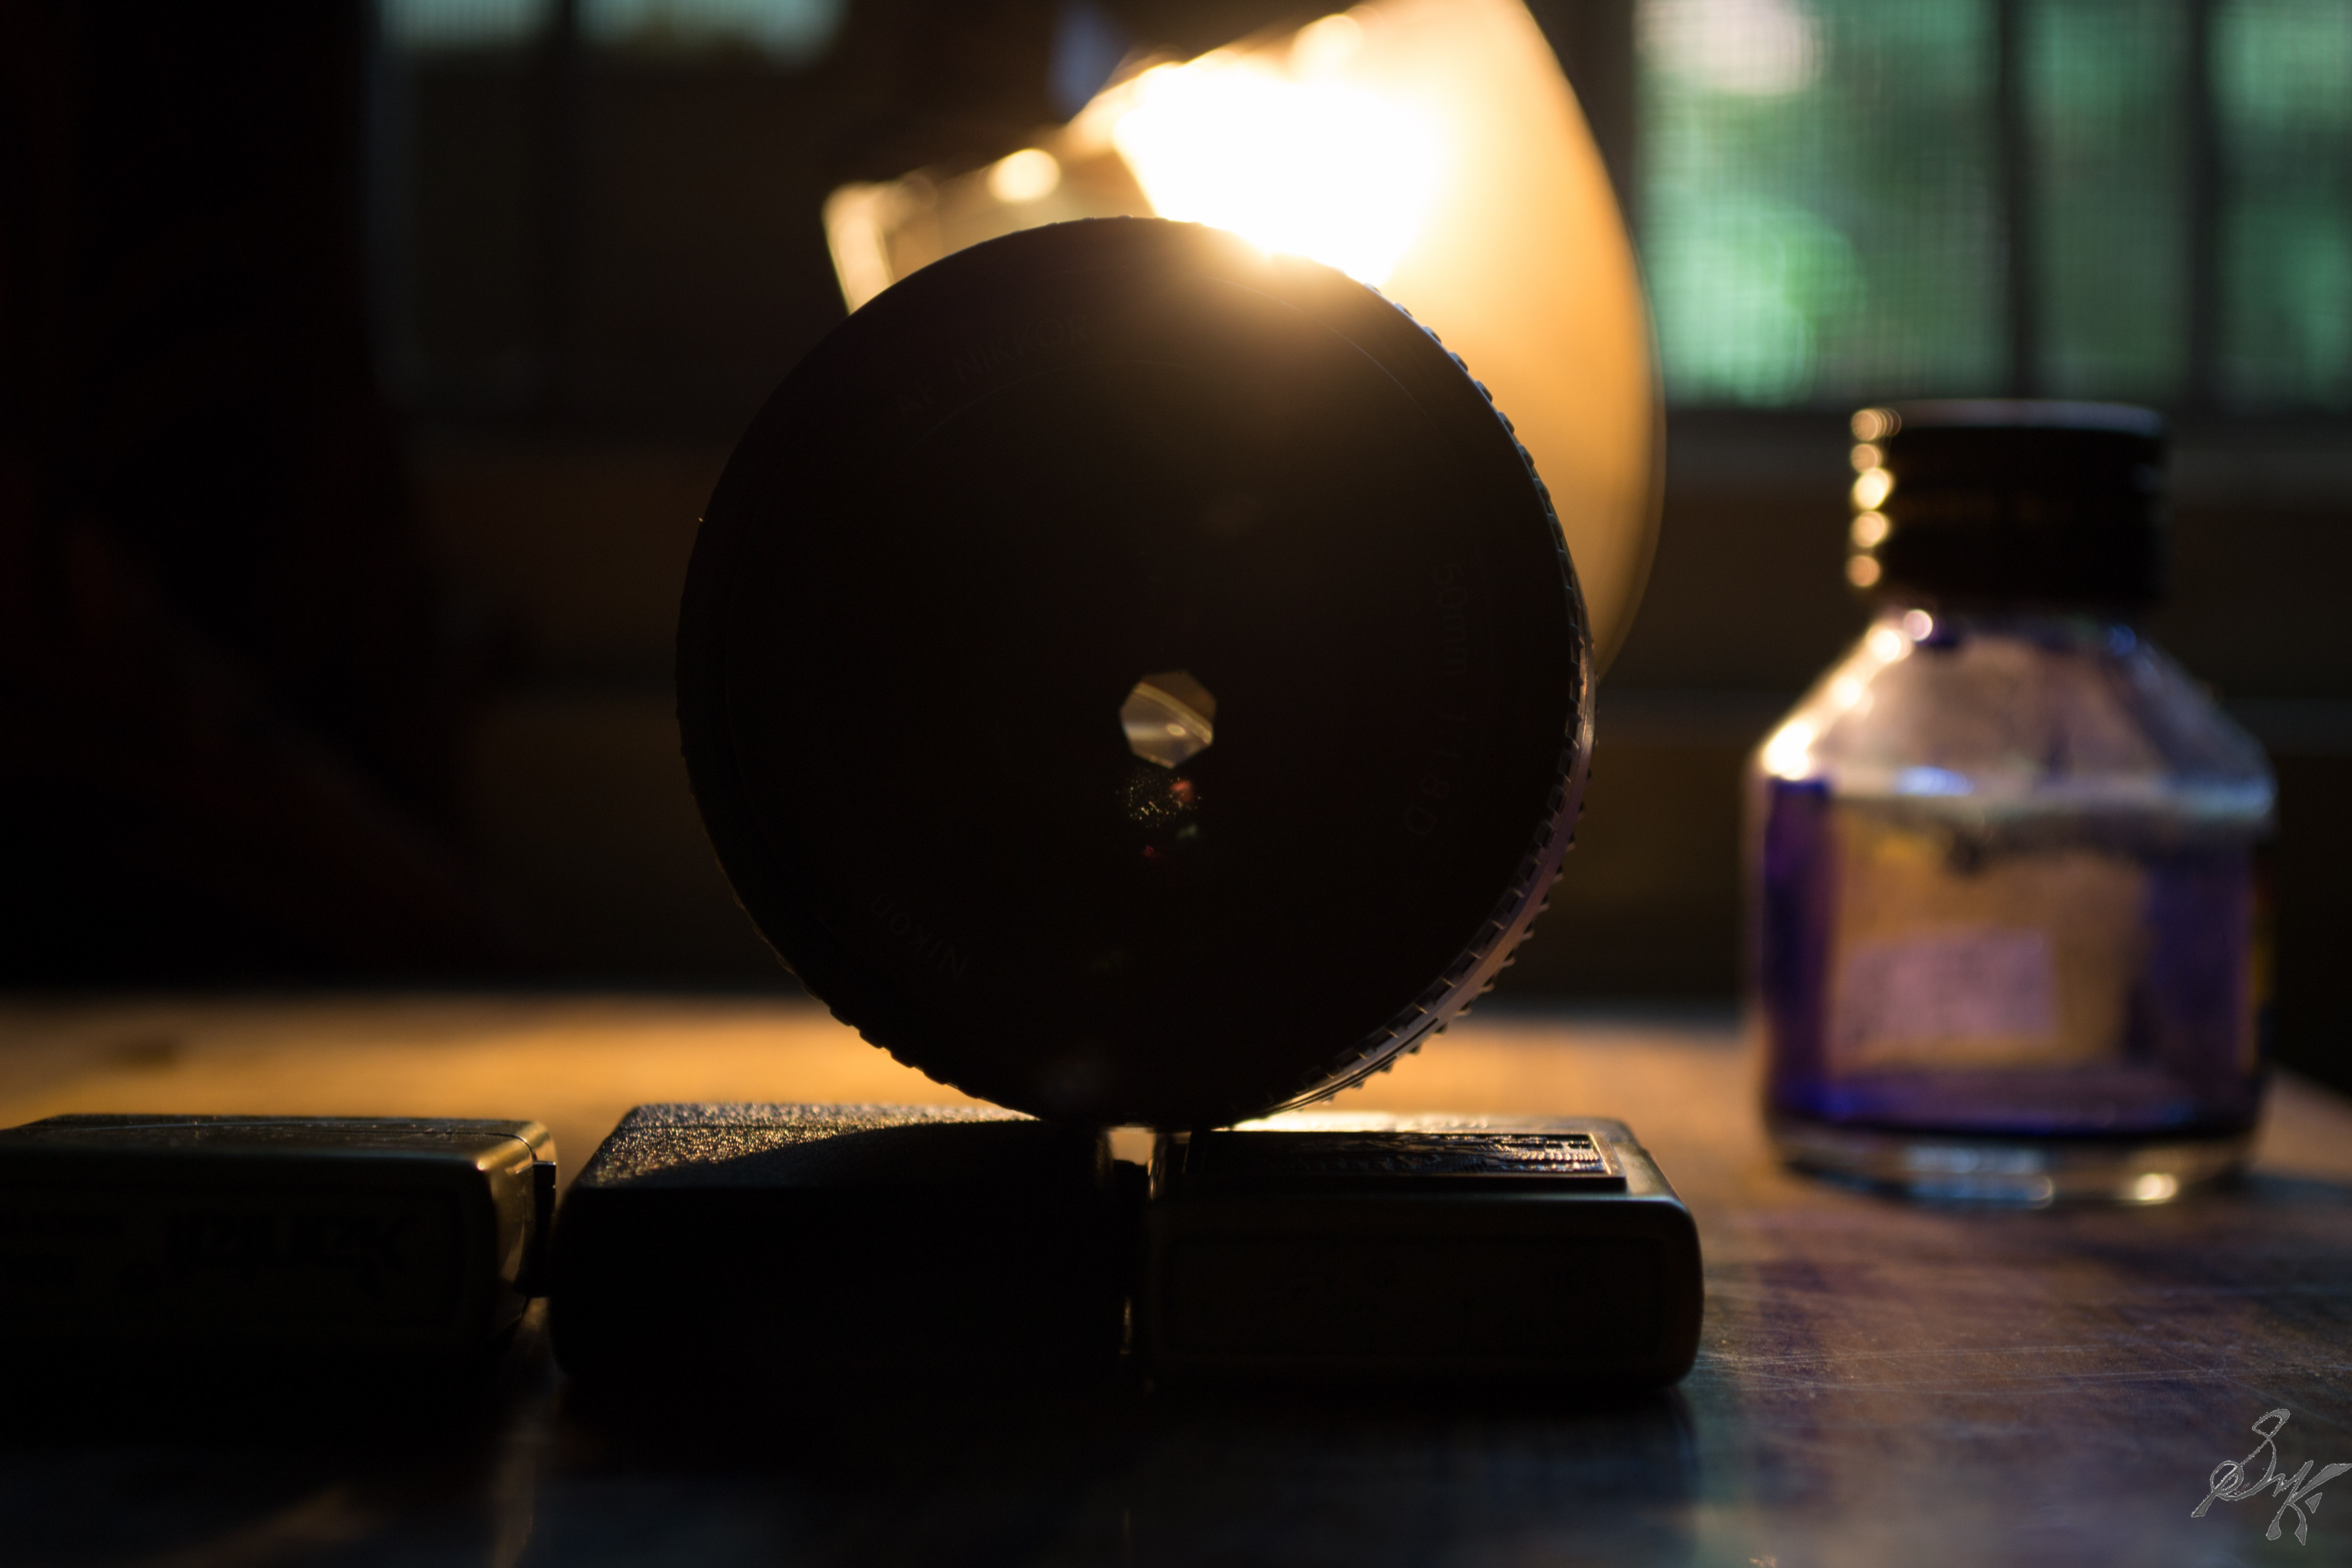
Behind the bottom lens, sits the shutter, and your film.

Back view of a TLR Camera, Mumbai, India

You view your would be photo from the top of the camera.

A view through the viewfinder of a TLR camera, Mumbai, India

The basic functions available on the camera are similar to the ones we use today. It has shutter speeds and aperture values that can be set easily. A unique thing was the distance scale on the bottom lens, which may be featuring here for this specimen here is more of a pseudo TLR, since the focus is fixed.

So, in a pseudo TLR, how to achieve sharp focus?? Flip the camera to the other side and read the scale.

Table of depth of field on the back of the TLR camera, Mumbai, India

This scale gives the hyperfocal distances and the appropriate DOF based on the aperture and the distance from the subject. You read the details off the scale and dial them in, and voila! you have a sharp image. One thing to note is that the image formed in the viewfinder is laterally inverted. Takes a little time to get used to, but once you do, it is quite fun.

Some may say that it is too much work, I ll say it is an amazing learning experience. This specimen on the 1950s Elioflex 2 from the Italian Ferrania was a gift to a dear friend Tara (a calligraphy expert by the way) scrounged from Chor Bazaar of Mumbai.

Maybe I ll go get a film camera and try out some film photography, what say readers?? Let me know of your opinions in the comments below!

Cheers!!

AtoZ Challenge: The Glossary

The AtoZ Challenge has already come to an end for the second time, and as a result, now a glossary of the terms can be made. I believe this shall come handy for future references!

A – Aperture, Artificial Horizon

B – Bulb Mode, Bokeh

C – Colour Temperature, Composition

D – Double Exposure , Depth of Field

E – EXIF Data, Exposure Bracketing

F – Forced Perspective, Focus Stacking

G – Ghosting, Grain

H – Hot Shoe, Hyperfocal Distance

I – Infinity Focus, ISO

J – Juxtapose, JPEG vs RAW

K – Keylight, Kelvin

L – Latitude, Lens Distortion

M – Manual Mode, Macro

N – Normal Lens, Noise Reduction

O – Optical Zoom, Overexposure

P – Panning, Post Processing

Q – Quality, Quiet Release

R – Red Eye Reduction, Rear Curtain

S – Spot Metering, Shutter Speed

T – Tonal Range, TTL Metering

U – Urban Landscape, Underexposure

V – Vignetting, Vibration Reduction

W – Watermark, White Balance

X – X Speed, X Process

Y – Your Rapport, You

Z – Zoom (Digital), Zoom Burst

Have a look at these terms and let me know if I ought to add some to the list.

Cheers!!

AtoZ Challenge: D – Double Exposure

Double Exposure

The origin of this interesting bit of art probably occured when someone, while shooting film, forgot to forward the roll to the next empty slot. As they shot, the already exposed negative got re-exposed and the photos superimposed creating something interesting and Voila! double exposure is born.
Now a days, we dont need to fiddle with the films, maybe just a bit in the digital darkrooms to get ourselves a nice double exposure photo. Some cameras and apps on phones allow you to take amazing double exposure shots.

Bike, Open Roads, Double Exposure
The shots here are proof of concept shots of double exposure.

Man, Moon, Double Exposure
The thing about double exposure is that one must be able to blend the photos and make some sense out of them.

Go ahead and make wonderful surreal photos and share them away!

Last time, D was for Depth of Field.

Light Trails

Photography is all about how you play with light. Whatever be the kind of photography you do, light is the essential common denominator, be it portrait, landscape, macro, or any other thing you can think of.

Light trails are a mix of use of depth of field, controlled shutter speed and ISO. Along with the basic trinity, you also bring in creativity, and different props. The understanding of how a shot is being taken, or how it should be taken, is paramount while doing light trails, light paintings and such.

DSC_2735-5

DSC_2747-7

DSC_2749-8

DSC_2754-9

Its not always that a slow shutter is all you need. Sometimes, varying the light source also helps.

DSC_2758-11

DSC_2756-10

In the end, all that matters is, that you must have a lot of fun.

DSC_2761-12

DSC_2762-Edit-14

Have fun experimenting with different light sources. Understand this, when your shutter is open during an exposure, any and every movement of the light source pointing towards the camera, shall be captured by it. Use this to make shapes, letters, drawings .. the possibilities are limitless.

Good luck.

Cheers!!

AtoZ Challenge: PH – H: Hyperfocal Distance

for Hyperfocal Distance

Its basically, the focusing distance at which both the foreground and background are in focus. Generally, if we keep a fairly deep DOF, while focusing at infinity, almost everything stays in focus. But, if your photo has an object of interest in the foreground, that is comparatively closer to you, then Hyperfocal Distance comes into play. Two ways to do this. One, work out the actual point of focus and use it, else, focus almost one-third into the frame, and it should be fine. Else, go with focus stacking 🙂 Do bear in mind, this needs practice.

DSC_a-0280


DSC_a-0324

This is a part of April AtoZ Challenge. A, B, C, D, E, F, G, H are done. Rest of the letters are lined up too.

Cheers!!


AtoZ Challenge: PH – D: Depth Of Field

for Depth of Field (DOF)

DOF is significant in deciding if a photo is amazing or little off! As the name suggests, DOF is the part of the photo, which is in sharp focus. Its not a single point, but rather a span, a vertical plane. The depth varies directly with aperture. Smaller F number, smaller DOF. If you want a portrait, a smaller DOF is suitable, and in a landscape, for having both foreground and background in focus, a large DOF i.e a large F number. Having a large DOF helps, if you miss pinpoint focus. More, here.

 f1.8

f1-14

DSC_7111


This is a part of the April AtoZ Challenge. Letters A, B, C, D done. Follow me, for rest of the series is coming up next.

Cheers!!

3. Aperture (F-stop) and Depth of Field

Hi there all, today, its all about dilation and depth…Aperture and DOF (Depth of Field)
Aperture is the slit or opening through which light enters the camera through the lens. The aperture is the characteristic of the lens and not the camera body. It is denoted by the F/- numbers, in the format of f/2, f/3.6, etc.
You might have heard people say, photos taken at “widest aperture” or “aperture fully open”, what they essentially mean is that the aperture is open at the maximum to open the maximum amount of light. The smaller the f/- number, the wider the aperture. The below photos show the apertures at various f/- numbers.

  f-1.8    f-5.6    f-11    f-22

The wider the aperture, to get a shot properly exposed, you get more light coming in at an instant…so that reduces the need to increase the ISO. Another way of saying this would be, suppose at f/5.6, you need ISO 400 to properly expose a shot, other conditions remaining constant, then, if you open up the aperture to f/1.8, then ISO 100 would cater to the shot adequately. How is this helpful…it reduces noise that are introduced with higher ISO.
Now, the other factor that is directly related to aperture values, is depth of field (DOF).
DOF refers to the part of the photo that will remain in focus when you take the shot. You might have seen and marveled at the photos, where the subject is in sharp focus and the background is a dreamy blur…that is to say, the DOF extends over the subject only. With the increase in the F/- numbers, the DOF increases i.e region of photo that will show up in sharp focus increases.
There might and will be times, when we want some of the background to show up, we would just increase the DOF, that’s all. This also acts as a buffer for the people who are unsure while using manual focus. You focus to the best of your ability, and have a fairly deep DOF, chances are very high that the subject will be in focus, but this technique is generally avoided and discouraged.
Similarly, for a shallow DOF, dial down the aperture value and hence open it up and you have yourself a very isolated subject..perfect for those portraits of your loved ones 😉

These photos below have been taken varying only the F stops to give an idea of what it is.

    f/1.8     f/3.2     f/4

        f/7.1     f/22     f/14

Now, in the following ones, are more like real situations where, with the change of F stops, DOF changes , and so does the amount of light coming in. With increase in F stops, light entry will decrease proportionately.


  f1.8     f2.5     f3.2

 f5     f7.1

Now, with tweaking the ISO and changing the F stop numbers (that’s what F/- numbers are called, by the way), you can manage the photos all right, the photos of still life objects, landscapes, basically, objects which wont move. How do you take a noiseless photo, with nice DOF and proper exposure too? Or how do you capture or restrict motion…that’s where shutter speed comes into play. Coming up next…
Cheers!