New Year :)

Another year gone! A year which had more of dips than the ups in whole. Settled in a new city for the greater part of the year, made some friends, developed a few crushes….met some disappointments too. The good things … got my first camera, got appreciated at work, started the blog…not bad in total. Anyway, thats past, wont come back and the year hasnt been that awful that it would come back to haunt me…so…am done with it. For the new year, I hope to obtain new educational qualifications, some new camera gears, lots of views and comments on the posts and a lot of opportunities to explore and experience the world.

Enough with musings. This photo was shot yesterday as I was returning home via the highway. I love the way the cooling towers of the power plant give boundary to the scene. Shot on aperture priority mode on my zoom, lowest ISO. Hope you like it. Happy New Year to my dear readers, and I hope that this year, is better than the previous 🙂

DSC_9785-Edit

Smokes II (Psychedelic)

Heyy all,

Part 2 of the smoke photos, these here are the psychedelic ones. Wont talk much, lets just enjoy the mood 🙂

Check the cheap lighting processes here :
https://senkaustav.wordpress.com/iinnovate/

Smoke Mask 2

Psychedelic 5

Smoke Mask

Smoke Pattern 1

Smoke Demon 2


Psychedelic 4

Smoke Face

Psychedelic 2

Smoke heart

psychedelic 1

Hope I got you trippin!

Cheers!!


Smokes I

Hi there!!
Often we come across varied photos of smoke and are simply awestruck at their beauty and randomness. They have weird shapes, but are very fluidic in nature and have a sense of tranquility in them. And sometimes, some appear to be simply supernatural. Here are some of my spoils.
In this post am putting up the solo smoke photos. These have been achieved from incense sticks, mainly!
The black background and a light to the smoke makes the whole thing stand out better.
Check the cheap way on the DIY page here:
https://senkaustav.wordpress.com/iinnovate

Experiment is the key, and go on and shoot!

Blue Smoke

Blue smoke

Smoke fall


DSC_9217

Pink Smoke

DSC_9198

I know, some of you, my dear readers, might be pondering, as to what and why is there so much of noise and why has something not been done about them. The thing is, the noise creeps in when you try balancing a moderate ISO, around 800 and 1600 here along with the absence of the traditional way to light the smoke up. Check out the link in the beginning of the page to find out the simpler and cheaper way to the lighting. The noise is the trade off.
Let me know about your views!

Cheers!

9. HDR Photography

Hi there…another post on photo techniques…
Today, I share, HDR Photography. HDR stands for High Dynamic Range. Dynamic range, in a photo basically means the span of the photo’s lighting conditions from the
highlights to the shadows. Suppose in a photo, involving both land and bit of sky. On a normal day time shot, we can expect that the sky will be brighter than the
foreground, the land. Now, the question comes up, which brightness will be your benchmark. If you take the sky as the reference, then the foreground will be
underexposed and all dark, whereas, if you take the foreground as the reference, the sky will appear as a white sheet and lose any and all details.
One way to compensate this, is by using gradient filters, which act as a sunglass for the part of the photo with the sky and making the light levels comparable and
hence a cleaner photo. But, these filters, the good quality ones, they do cost, not heftily..but significantly.
The other way is the HDR way. In the HDR, what we do is, take multiple photos, same focus, same focal length, except, different exposure values. A sturdy surface or a tripod is must for HDR photos. Different exposure values, are attained by varying the shutter speed. I take Optimum plus 1 and plus 2 stop photos and minus 2 and minus
2 and one with the optimum. And then, I stack them up in Photoshop. Other HDR making software are readily available online. Do put special attention so that the frame doesnt shift between the photos or ghosting (multiple copies) issues come up and they do not look pleasing or artsy at all.
HDR photos enhance bits of details too but in a close up shot, as the one which follows, the difference is very limited though.
I do not take a lot of HDR photos, not because I do not like them or some biasness, but because after I bought my camera, I havent visited much places where HDR photos are warranted.
Check out these two photos. They are both correctly exposed. The first one is a optimally exposed photo where as the other one is the HDR rendition comprised of 5 photos.

Optimum exposure
Optimum exposure


HDR version
HDR version

Cheers!

Monochrome II

Hi there…monochrome fever is still on…and during this epic time fever…rolled in two of my old friends with their mean machines…and what followed was…little talk and lots of photos. These were the ones which stood out immediately!

DSC_6044-2DSC_6047-2

DSC_6056-2DSC_6068-2

DSC_6062-2

Cheers!

Monochrome

An ongoing trend amongst  the photographers is nominating each other for various different photo ops, recently, the black and white. I got nominated too by my brother..who is an awesome photographer himself. I put up my share of black and whites but today, I thought of trying to mix two of the classic shot techniques and styles. The black and white and the falling ink drop. I let one photo be in color, while the couple more in black and white. Its a good way to kill some time for sure. And the swirling patterns do make interesting shapes too. This set is from my first attempt….I ll revisit this and put up better , more dramatic shots soon.

  DSC_6025-2      DSC_6028-2

DSC_6029-2

More shots and a very useful DIY coming up soon!

Cheers!

8. Close Up!

We love the insanely close up photos of insects, showing their eyes, or a tiny ant holding a tinier grain and truly, we are amazed by these shots. These photos are termed as macro photos. Actual definition is a big complicated thing that simply means, photos where small objects look way bigger, magnified, thats all.
All lens have some bit of magnification factor in them, but the macro lens, they are dedicated ones which have very little focusing distance, extremely high sharpness and they are very very pricey. Well, they deserve to be too.
Anyway, since my blog is all about the way I have met up to these challenges, I have opted for the easier way out…screw on close up filters. These filters are simple magnifying glass lens adapted to be mounted as a filter on the lens. They reduce the focusing distance and magnify the image. Available normally in packs of 3 or 4, these filters come in strengths of +1, +2, +4 and a macro lens (+10).

+4 lens
+4 lens
Macro
Macro

Now, you might wonder, if these screw on lens, whole set costing within 2k INR are available, why should I go for a 20k macro lens? The reason is a single word, quality! The quality of the dedicated lens are incomparably and invariably better than the screw on filters. These filters cause light loss on the edges, distortions and also vignetting. Plus, these are not the sharpest of lens at all. So, if you plan to go pro about the macro shots, or have very deep pockets, buy the dedicated ones. The screw on ones are fine for occasional close up shots!

Macro(+10) f/1.8
Macro(+10) f/1.8
Macro (+10) f/11
Macro (+10) f/11
The +4 lens
The +4 lens

Cheers!


6. Post Processing

Some call it editing, some tweaking, and some, like me, we call it post processing (Pp).
As the name suggests, here we deal with the photos once they have already been taken. Blown highlights, deep shadows, details not enough, or plain need of some special effects, they all get sorted out right here. Do not be in the illusion that the pro photographers do not post process their photos, or that if you tweak them, you lack skill. There is nothing wrong, rather, post processing is one of the necessary parts of photography I would say.

Pp constitutes of absolutely everything thats being done to make the photo look better. But be advised, I feel it to be ethically correct that during Pp, the original photo should not be distorted. Put in the effects, change the contrast, change the color, go on, but do not add or delete details from the photo, thats my policy, but then again, ideas and outlook does vary.

While Pp, the big question comes up, how much available data is there for us to do the manipulations. This is where, the format wars, RAW vs JPG begins. In the film camera era, there was just one output from the camera and that was the negative. How you process the photo depended on how you treated the negative, partial prints, superpositions, etc…In the similar terms, we can call the RAW format as the negative while the JPG format being the actual print. There is not much flexibility regarding how much data we can pull and manipulate from the JPG format photos, while the RAW ones, are much bigger files and contain more data, hence, more options.

Pp has its side effects too. It makes the photographer complacent and careless at times, because, at the back of the head, the knowledge that the issues can be fixed is always there. Some people I know, they believe on taking the photo correctly in terms of the composition and aesthetics only. This is necessary, because in the end, how the photo looks matters the most. But, being technically correct also is essential. The more you manipulate a photo, the more noise or grain you will introduce to the photo. The quality degrades. So, the way I see it, take the photo as close to as how you would want the end product to be, little variations in the levels, let the post processing handle them.
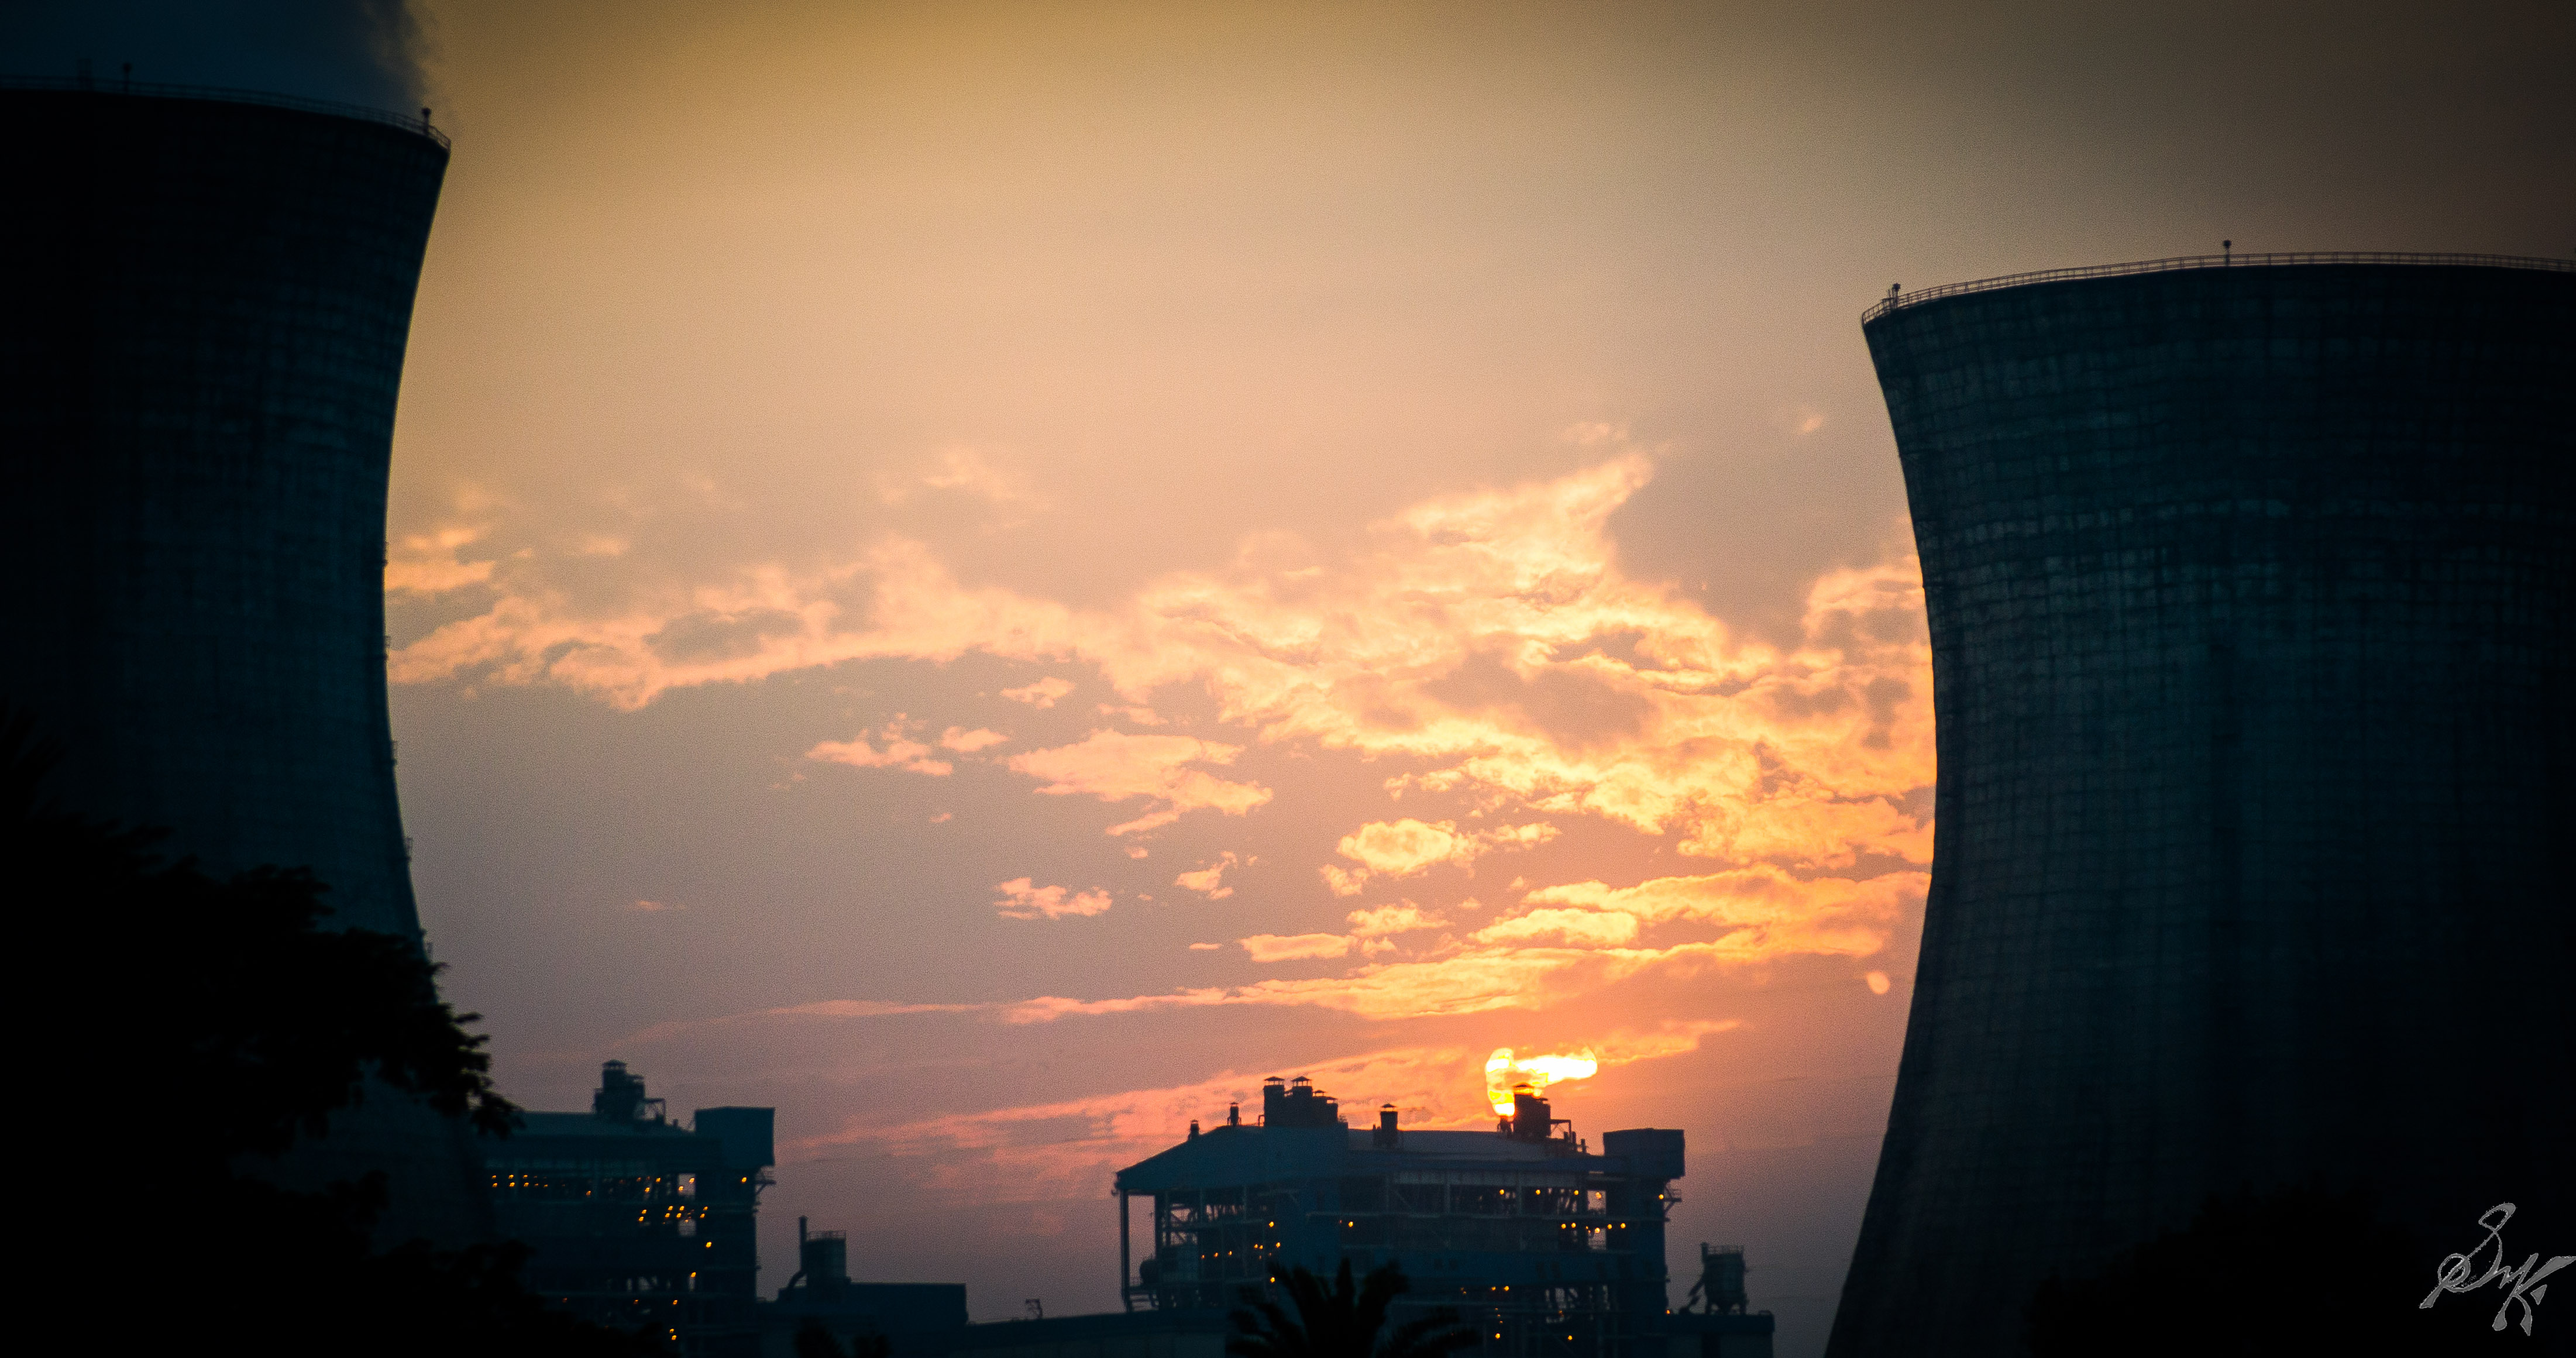
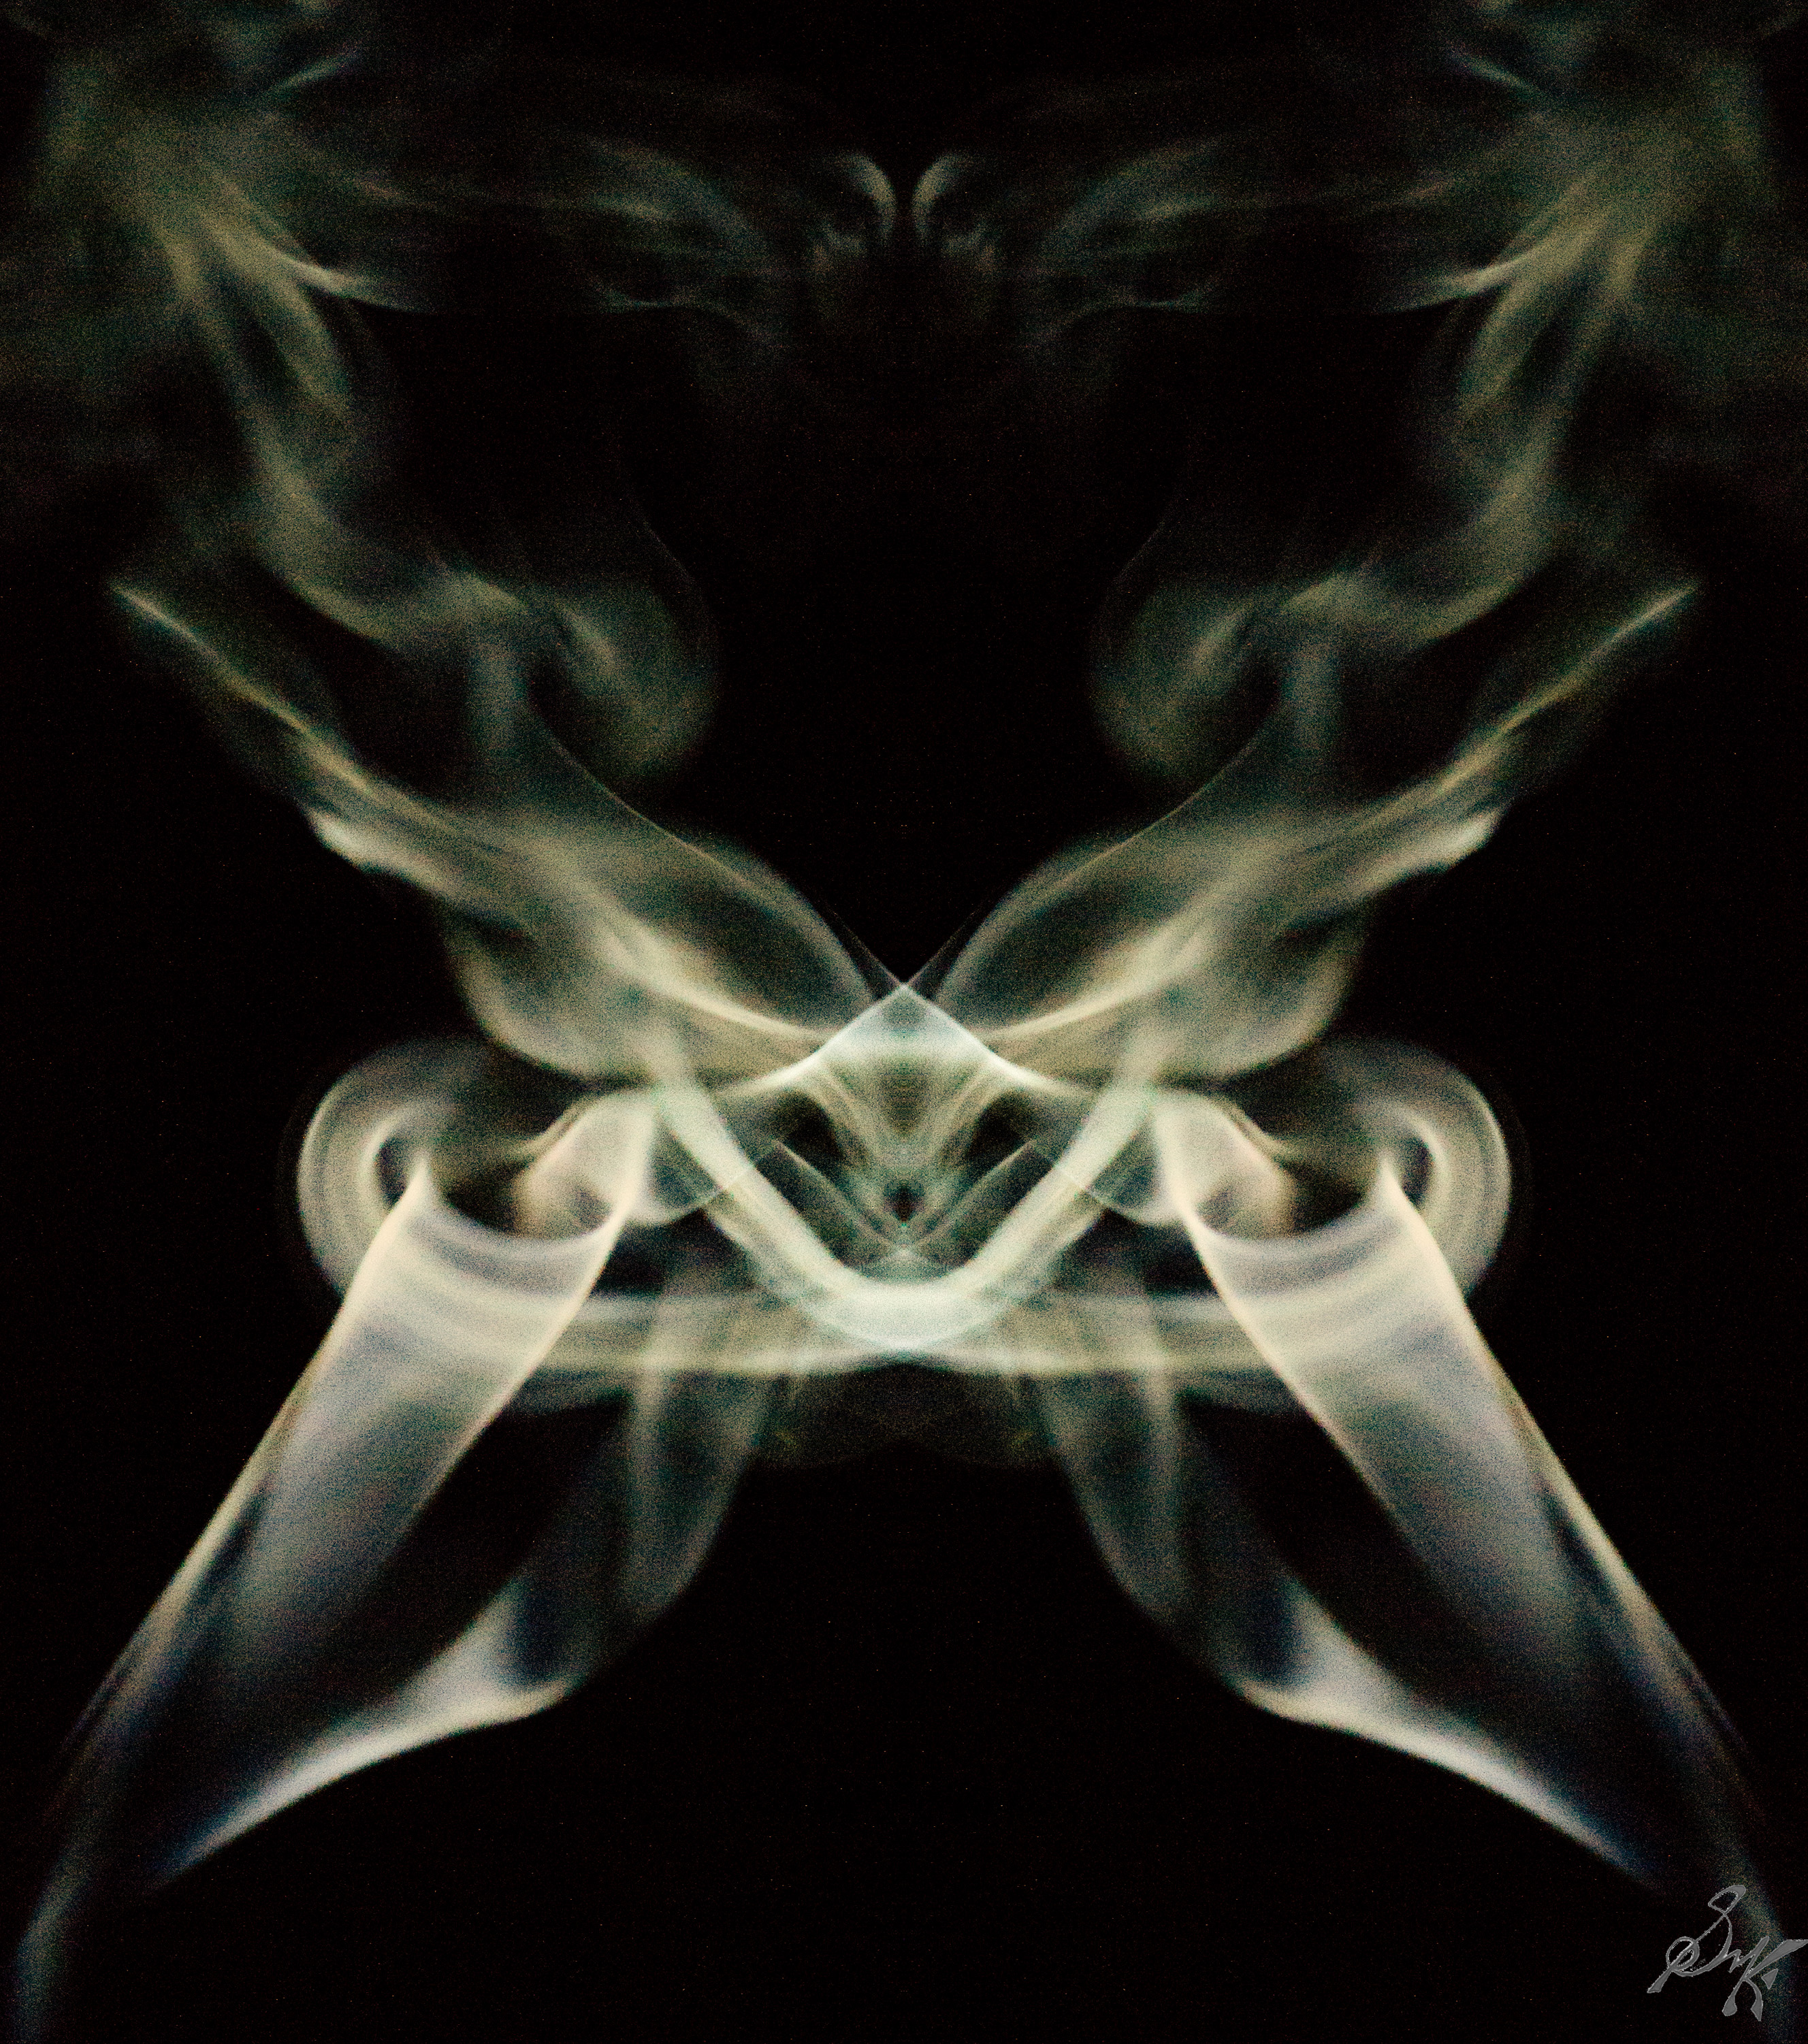
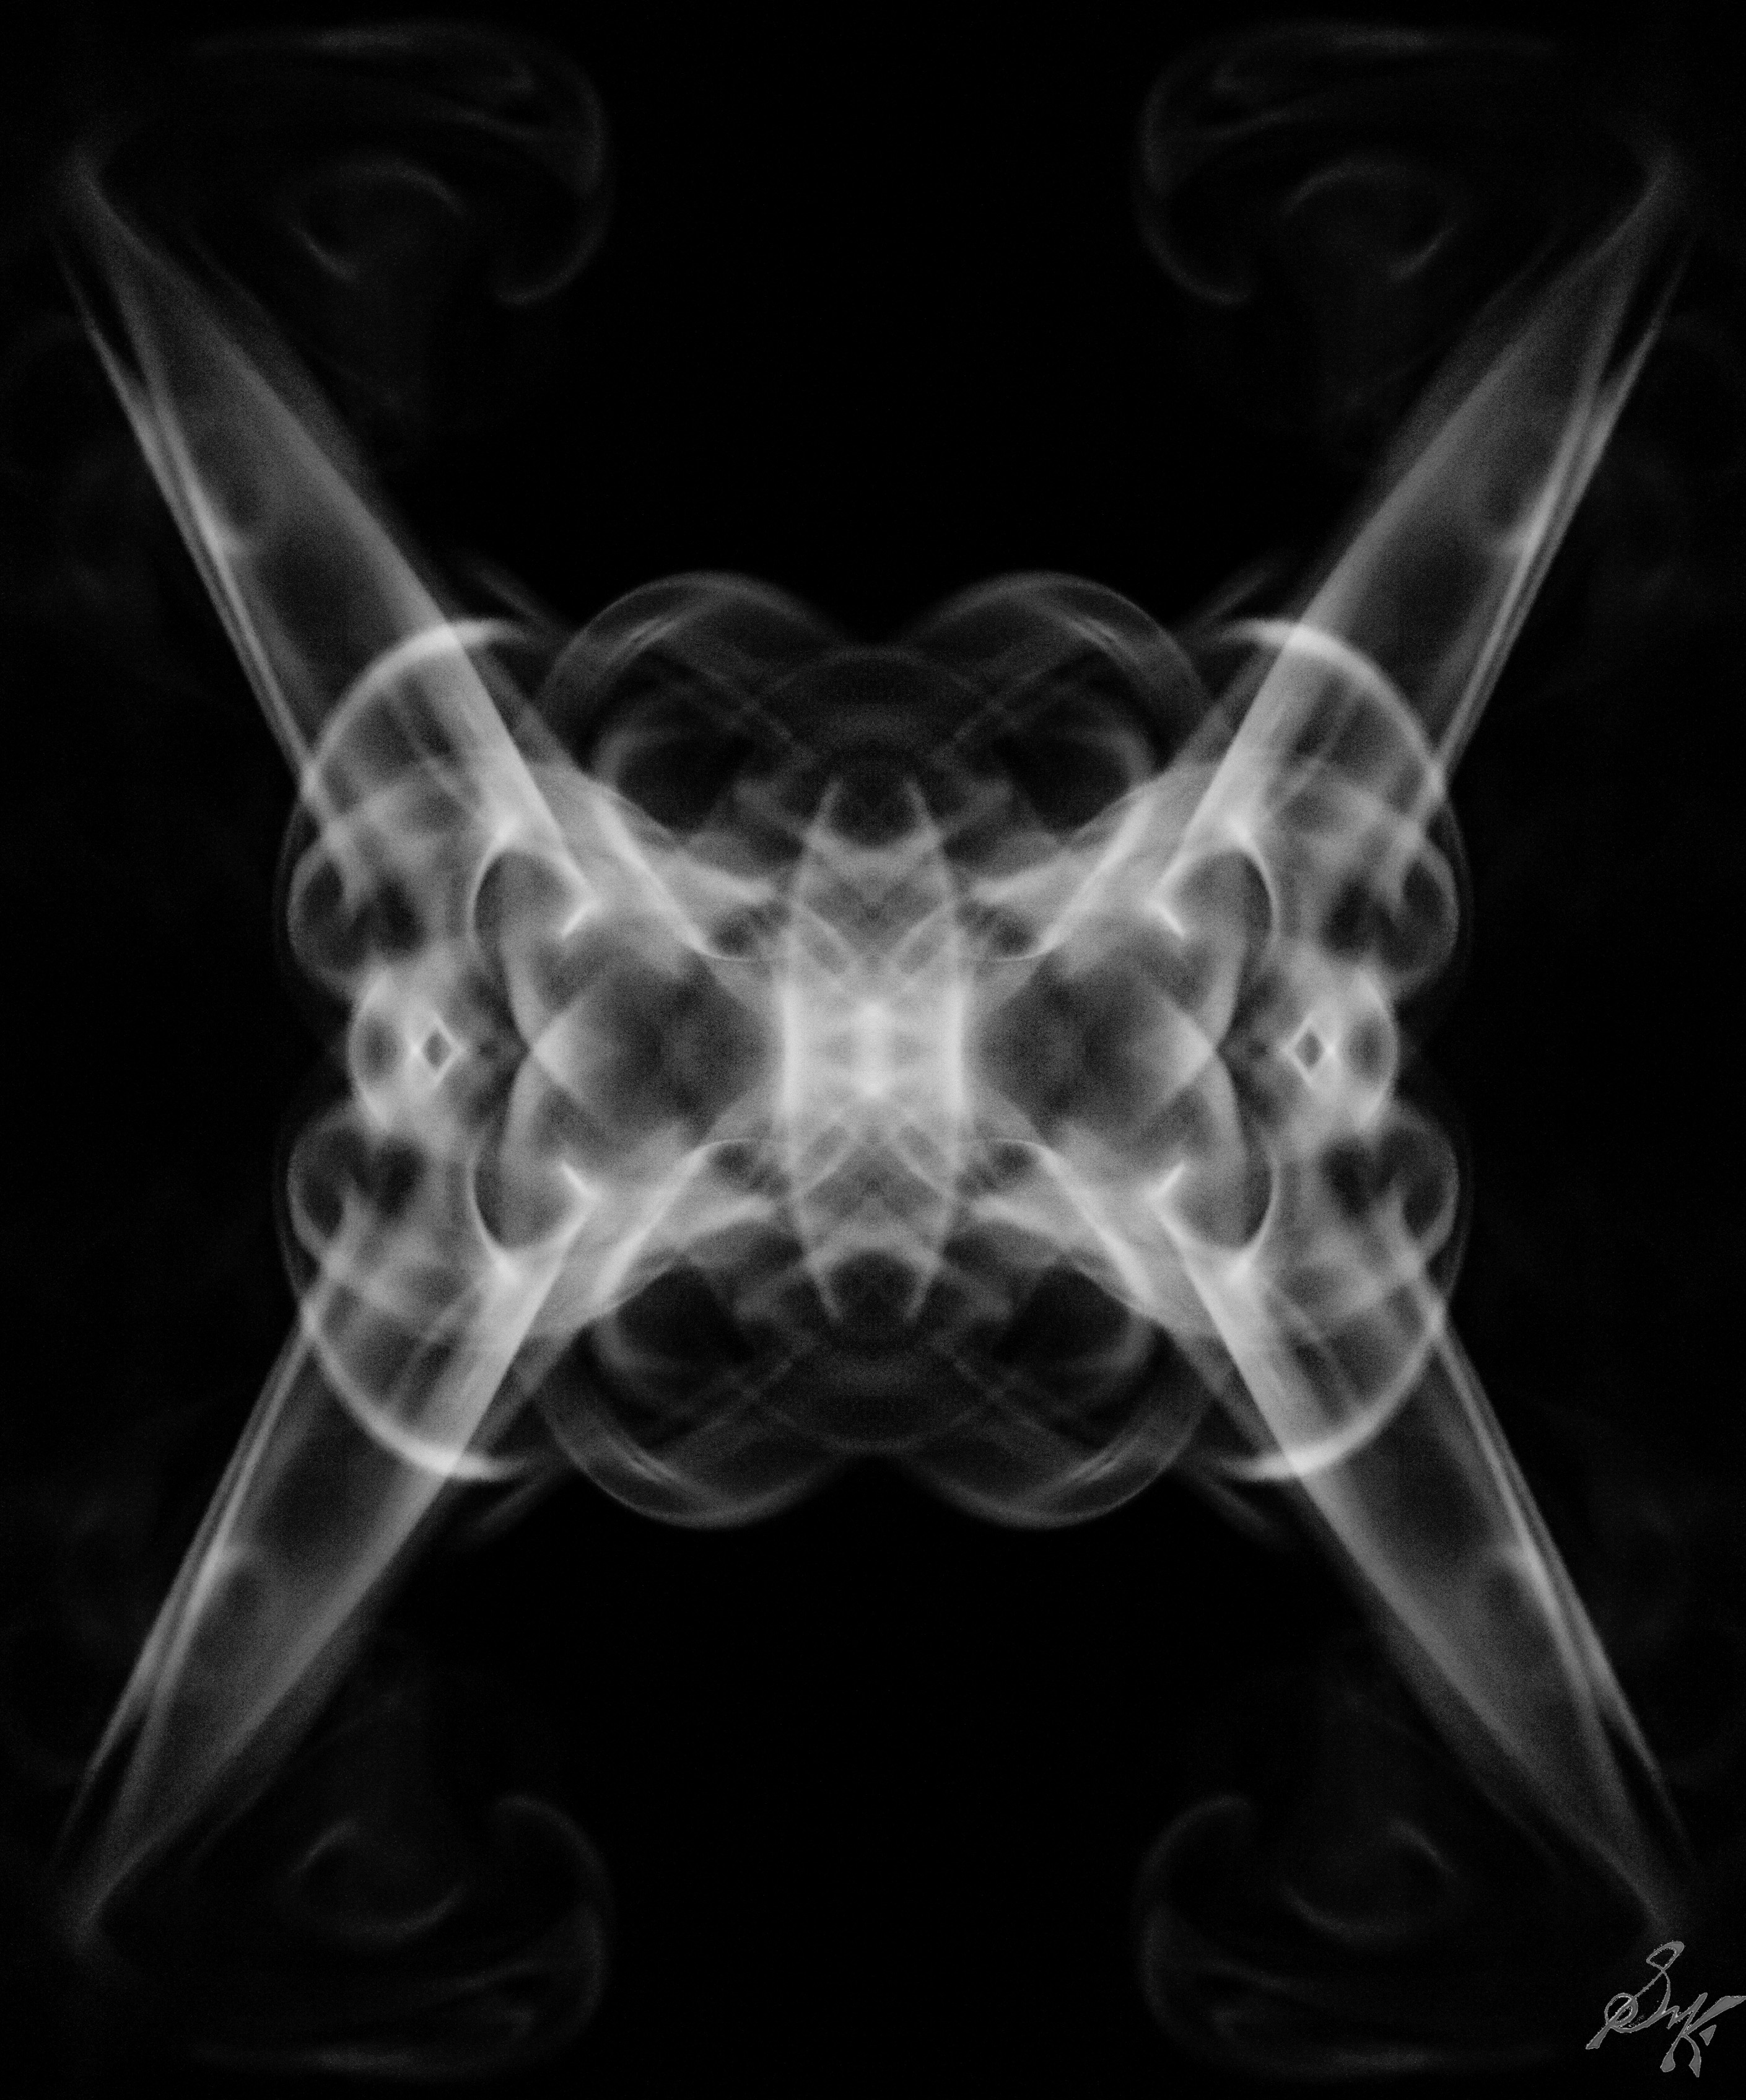
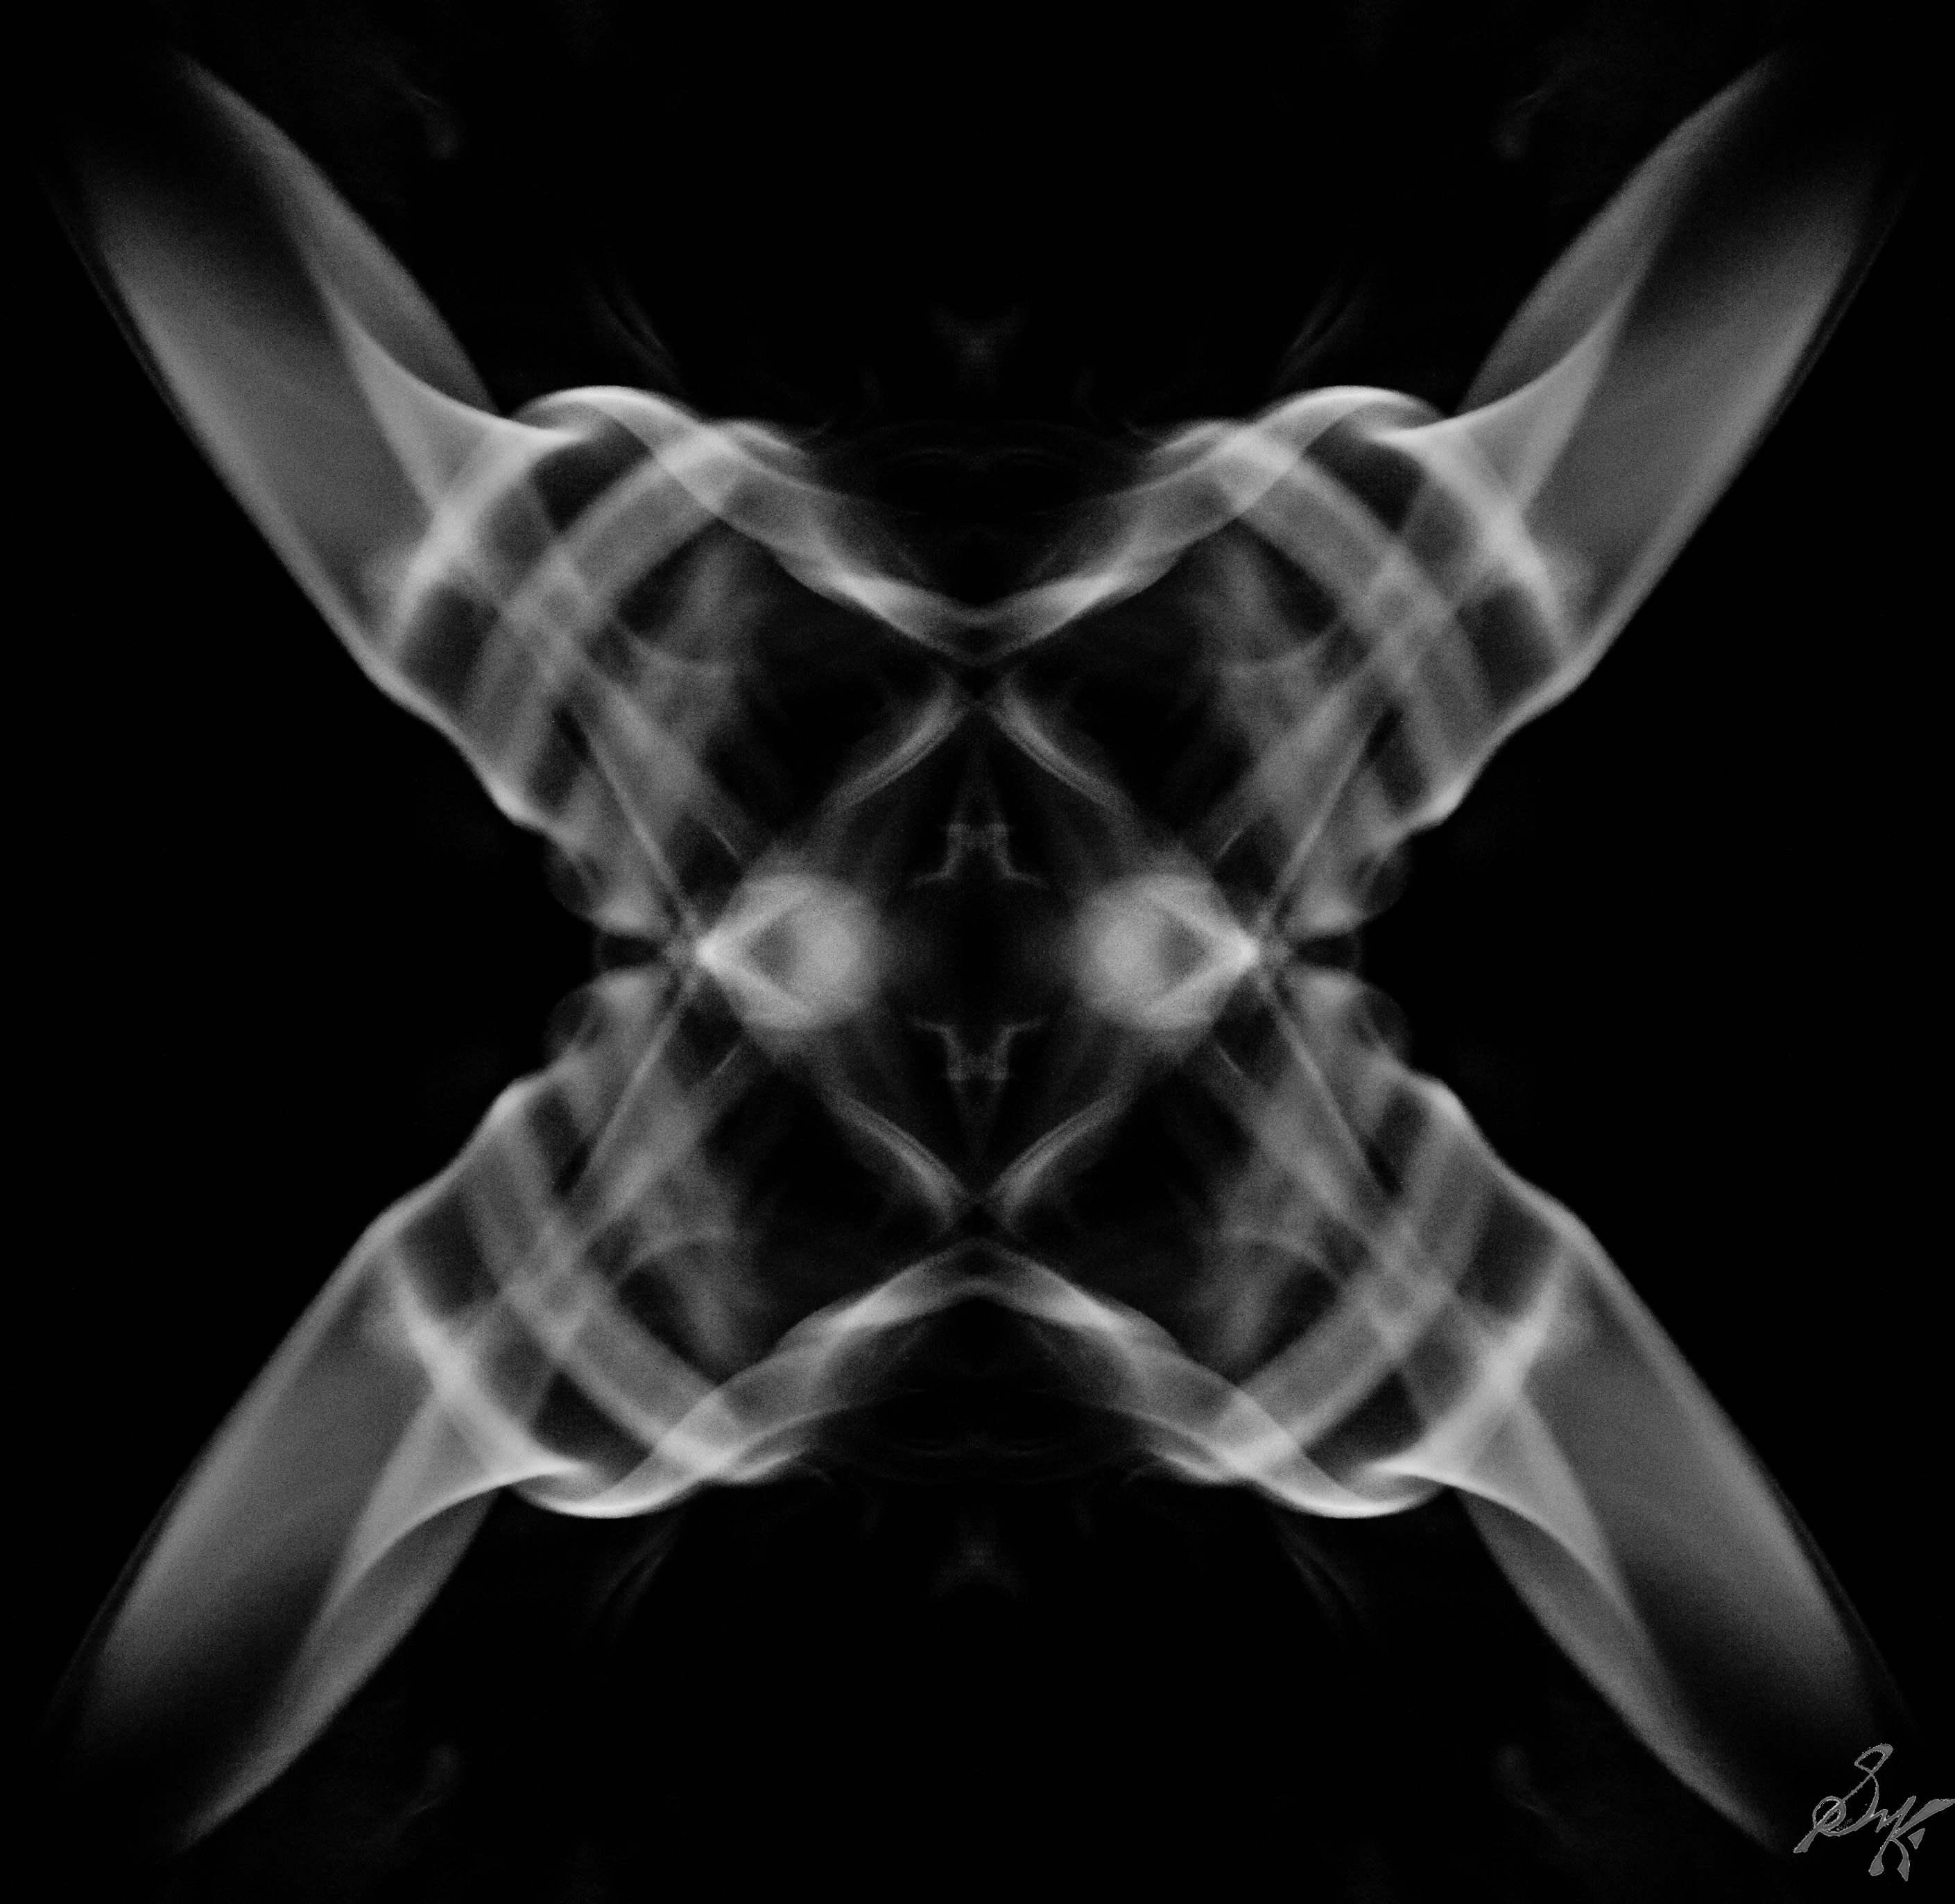
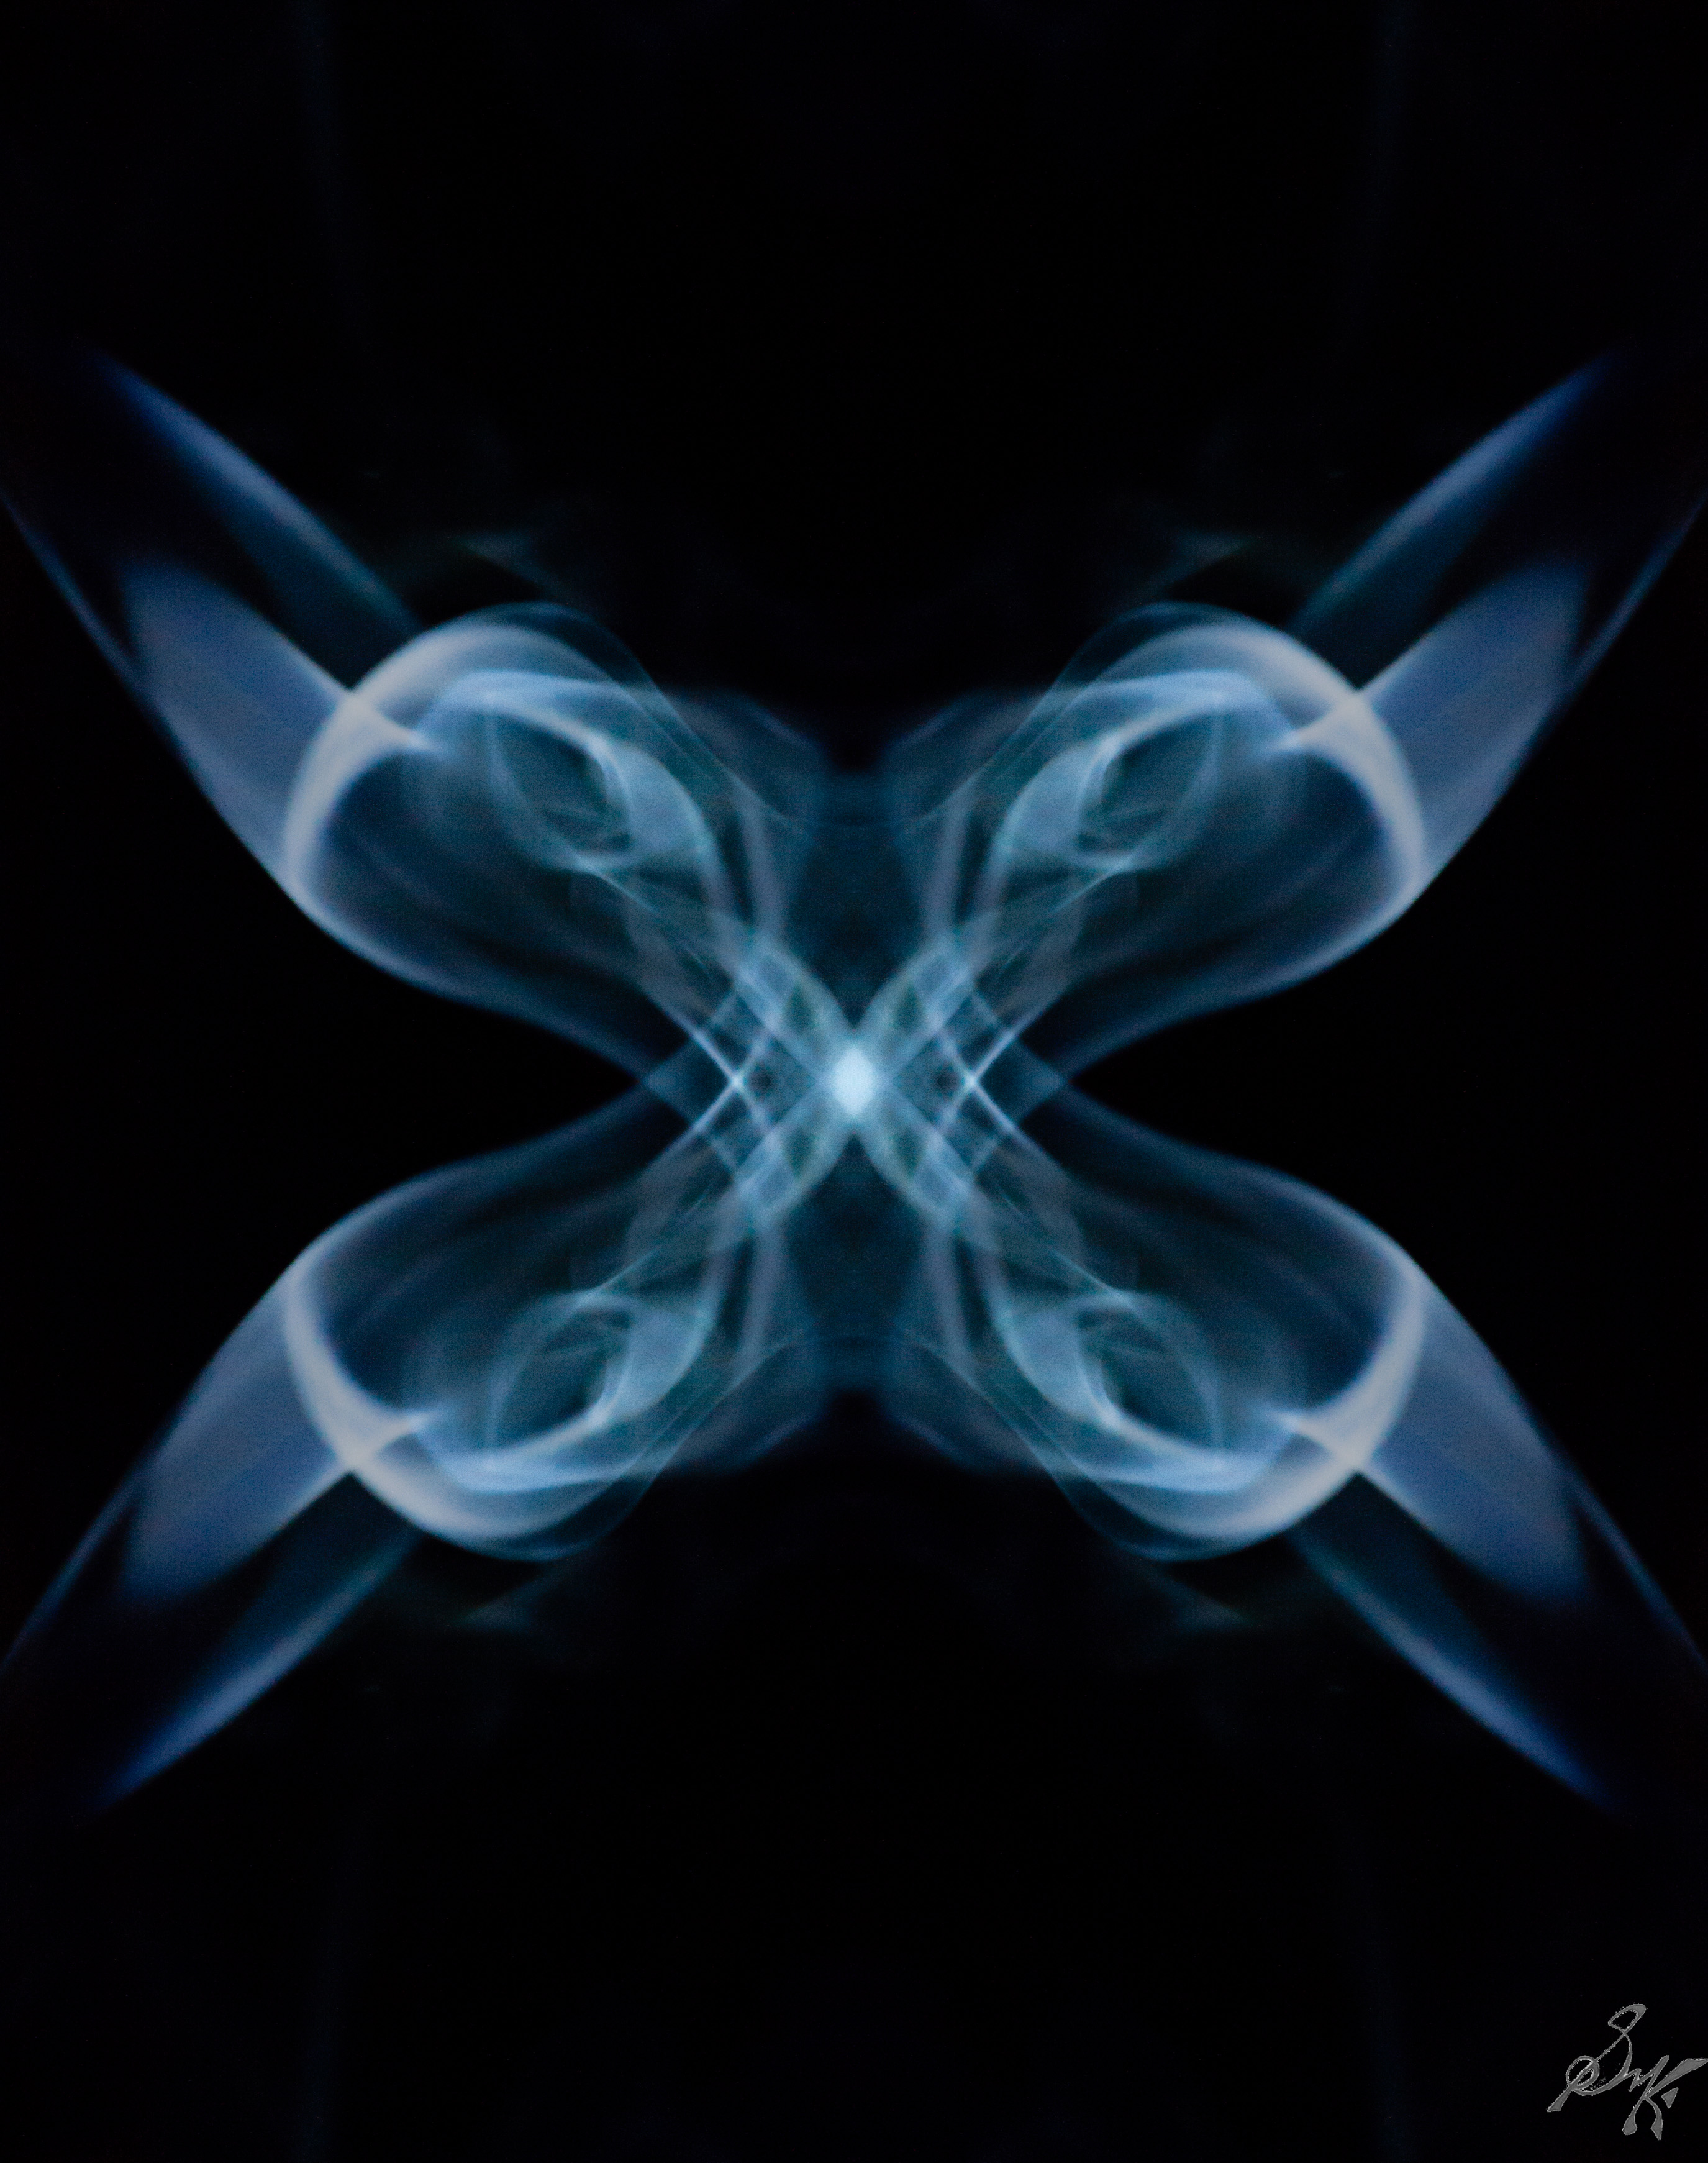
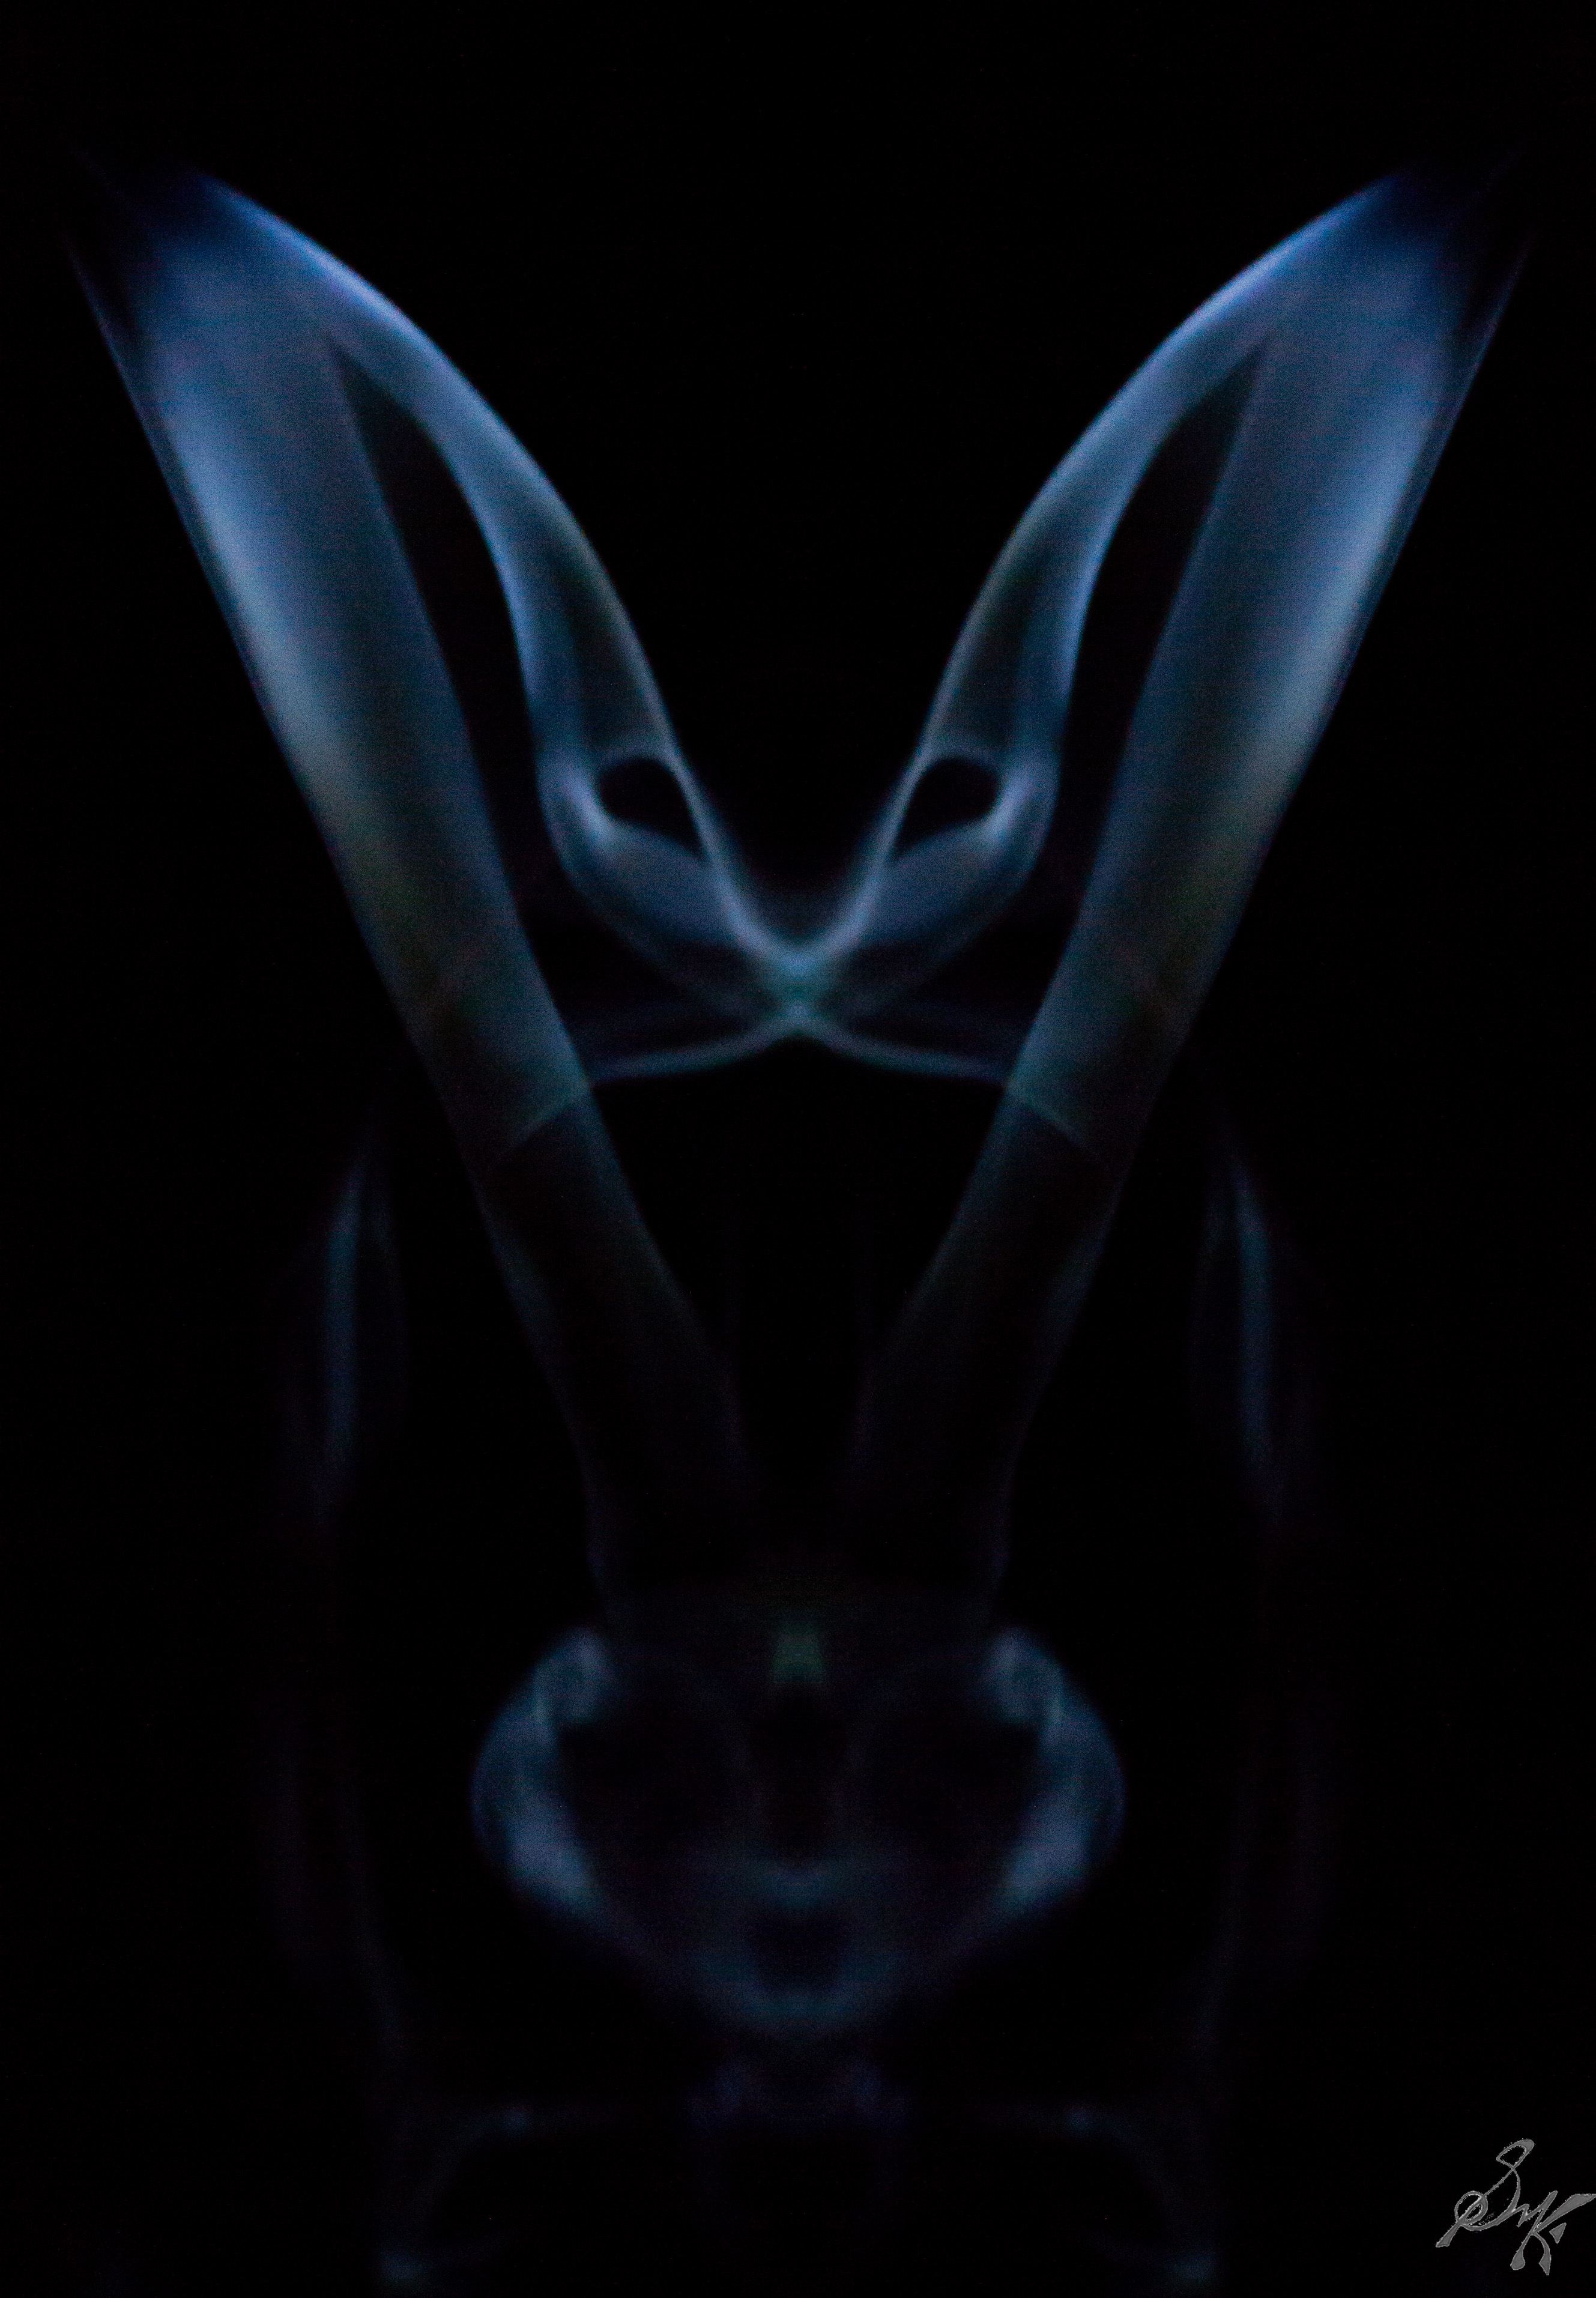
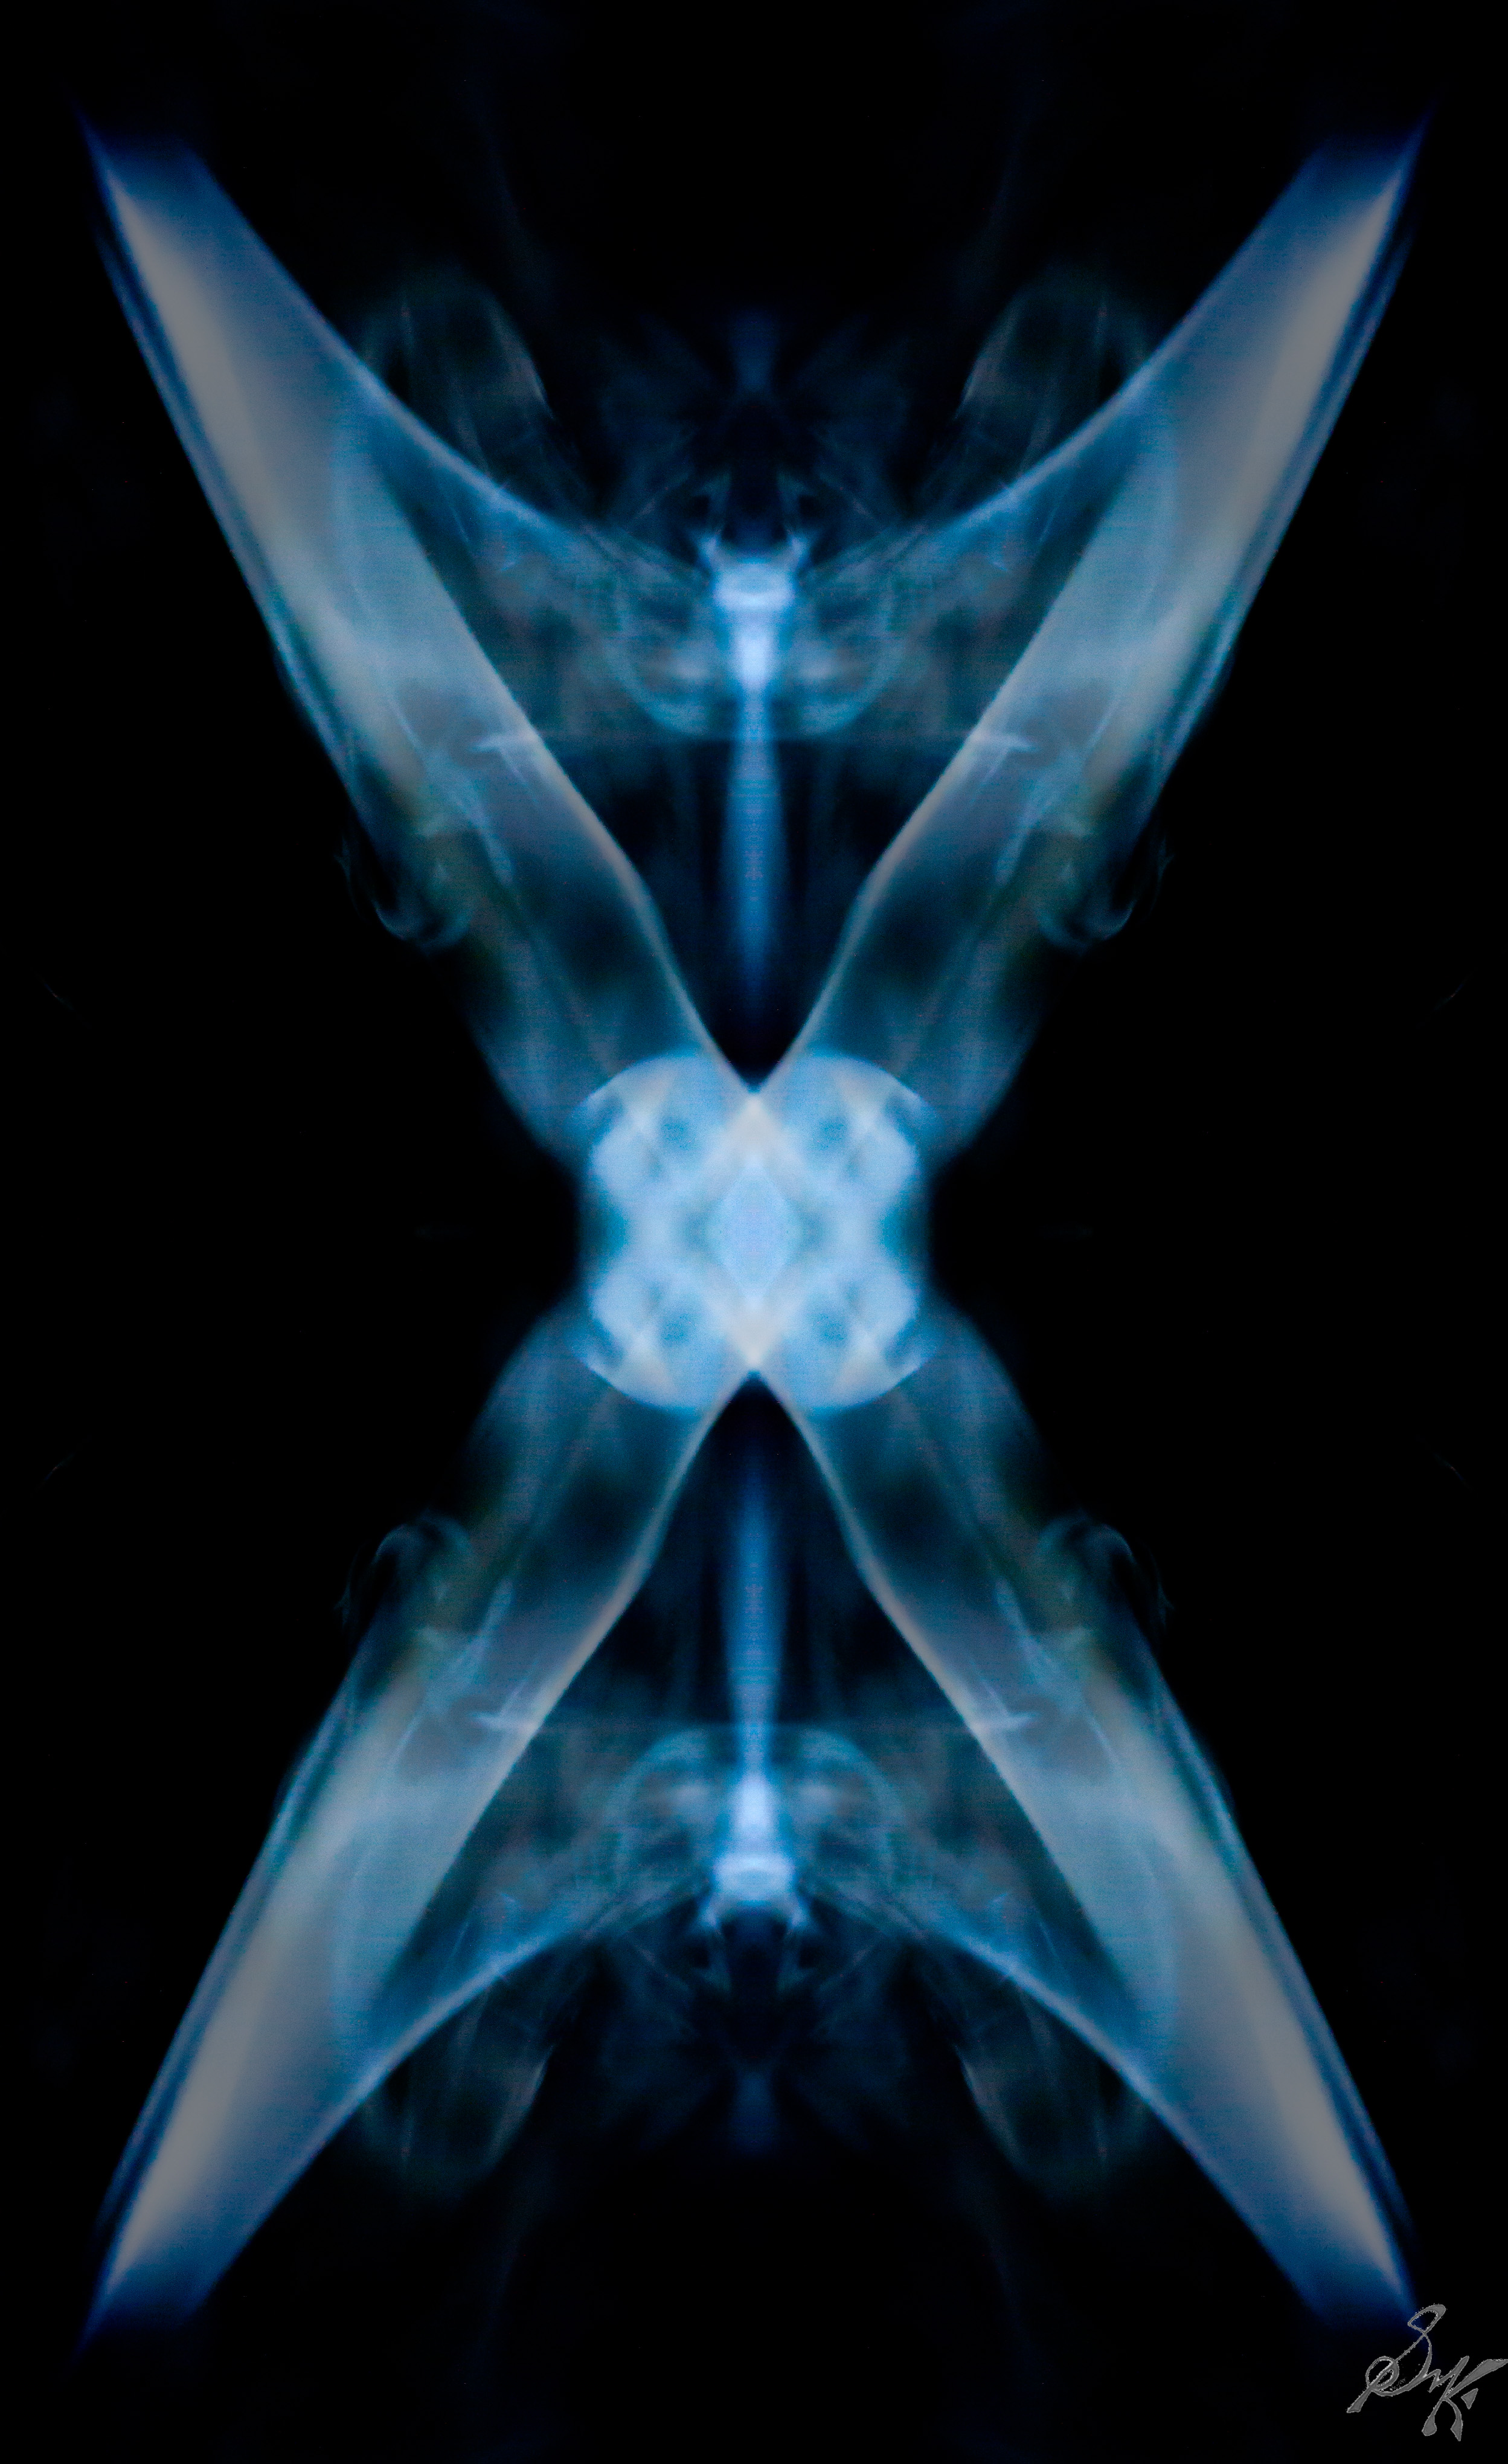
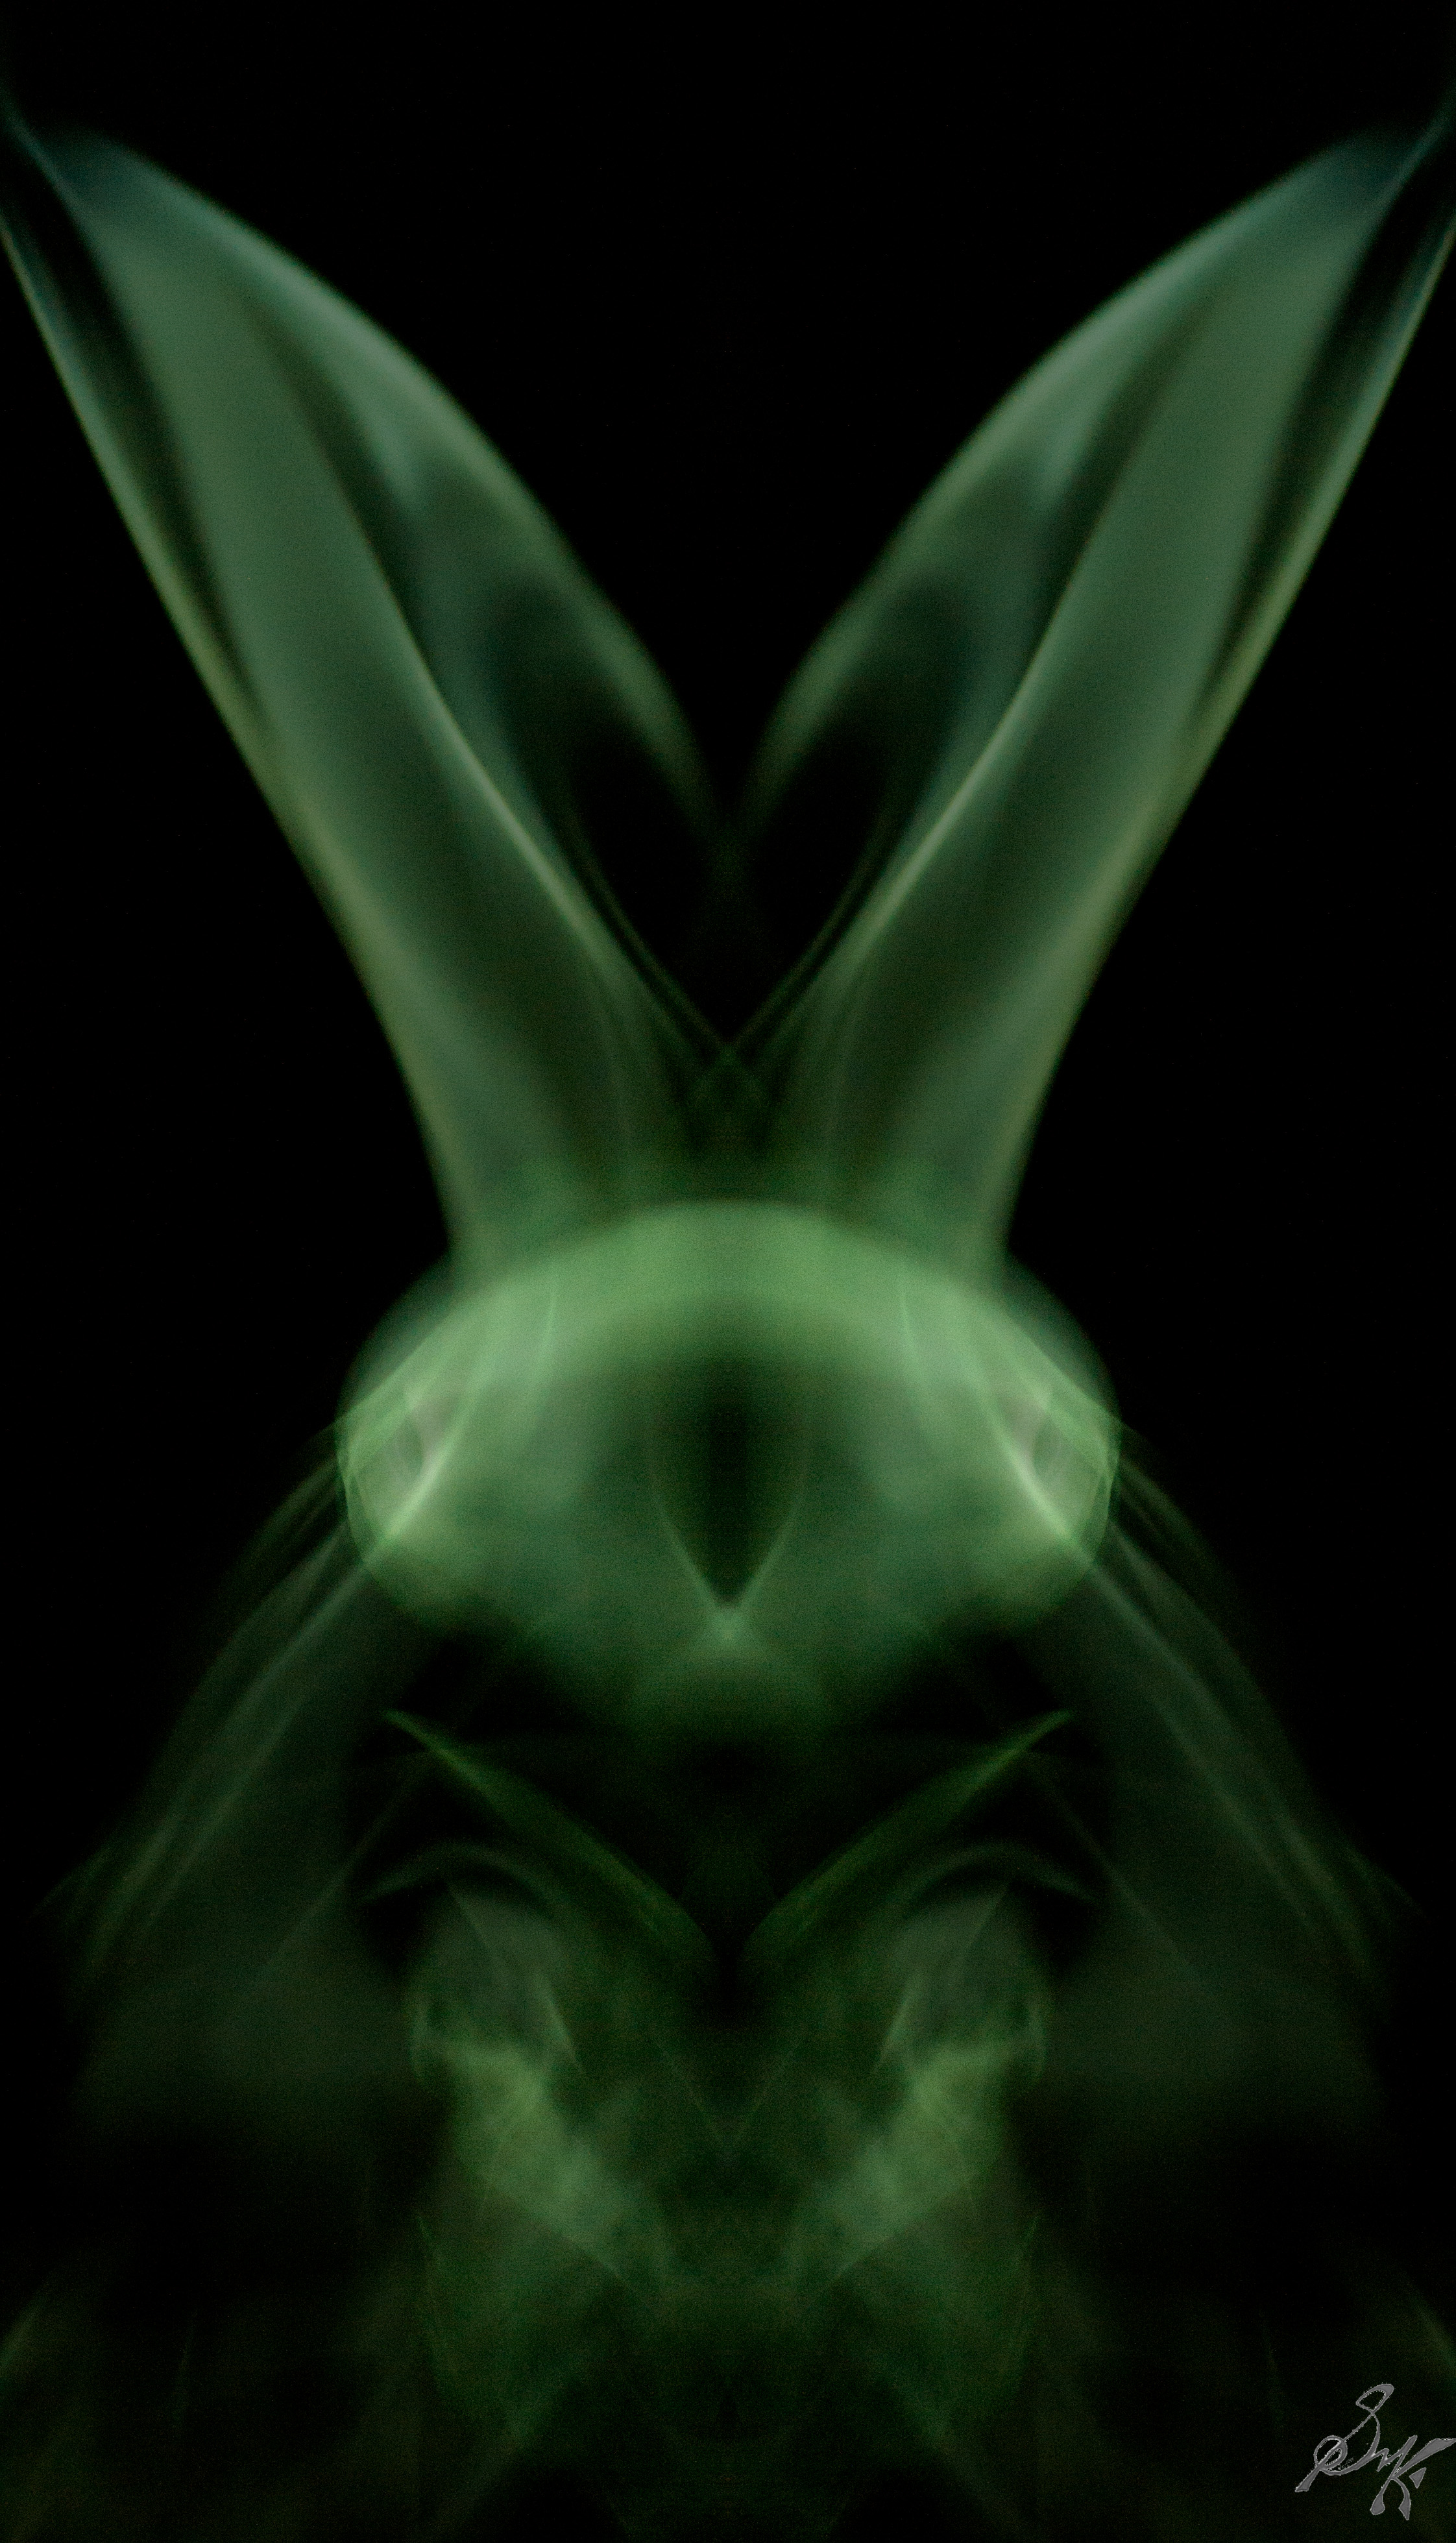
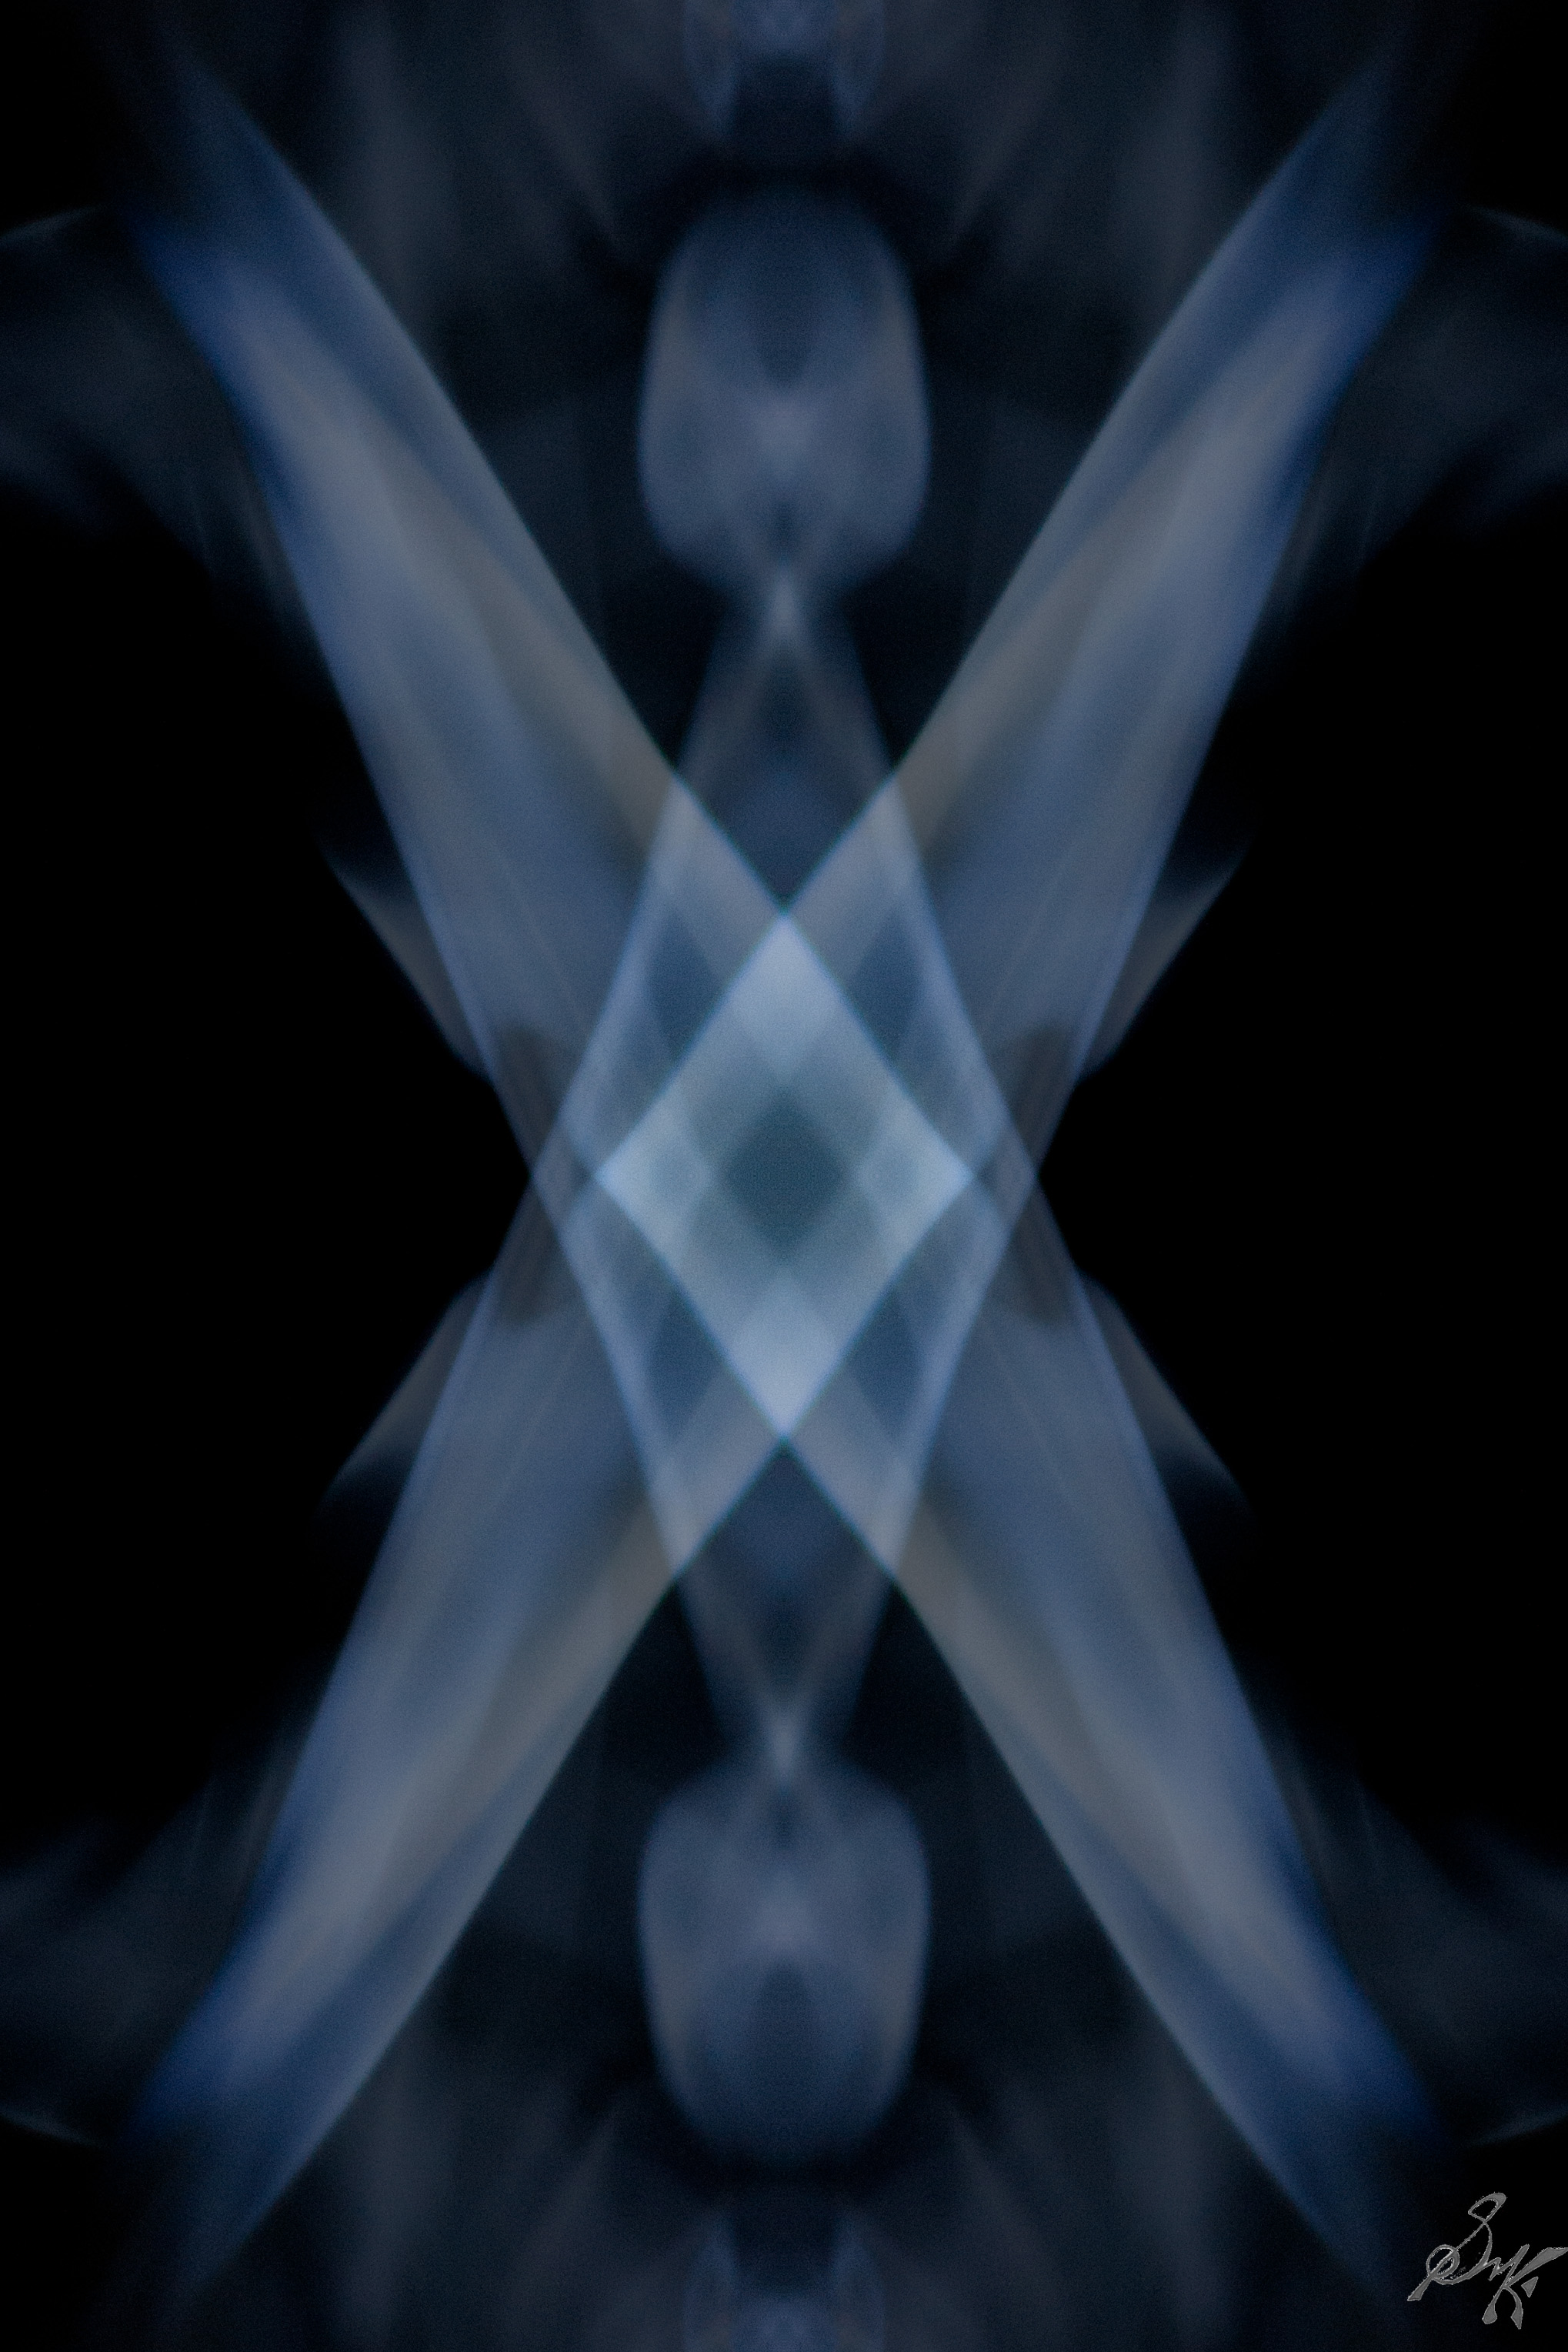
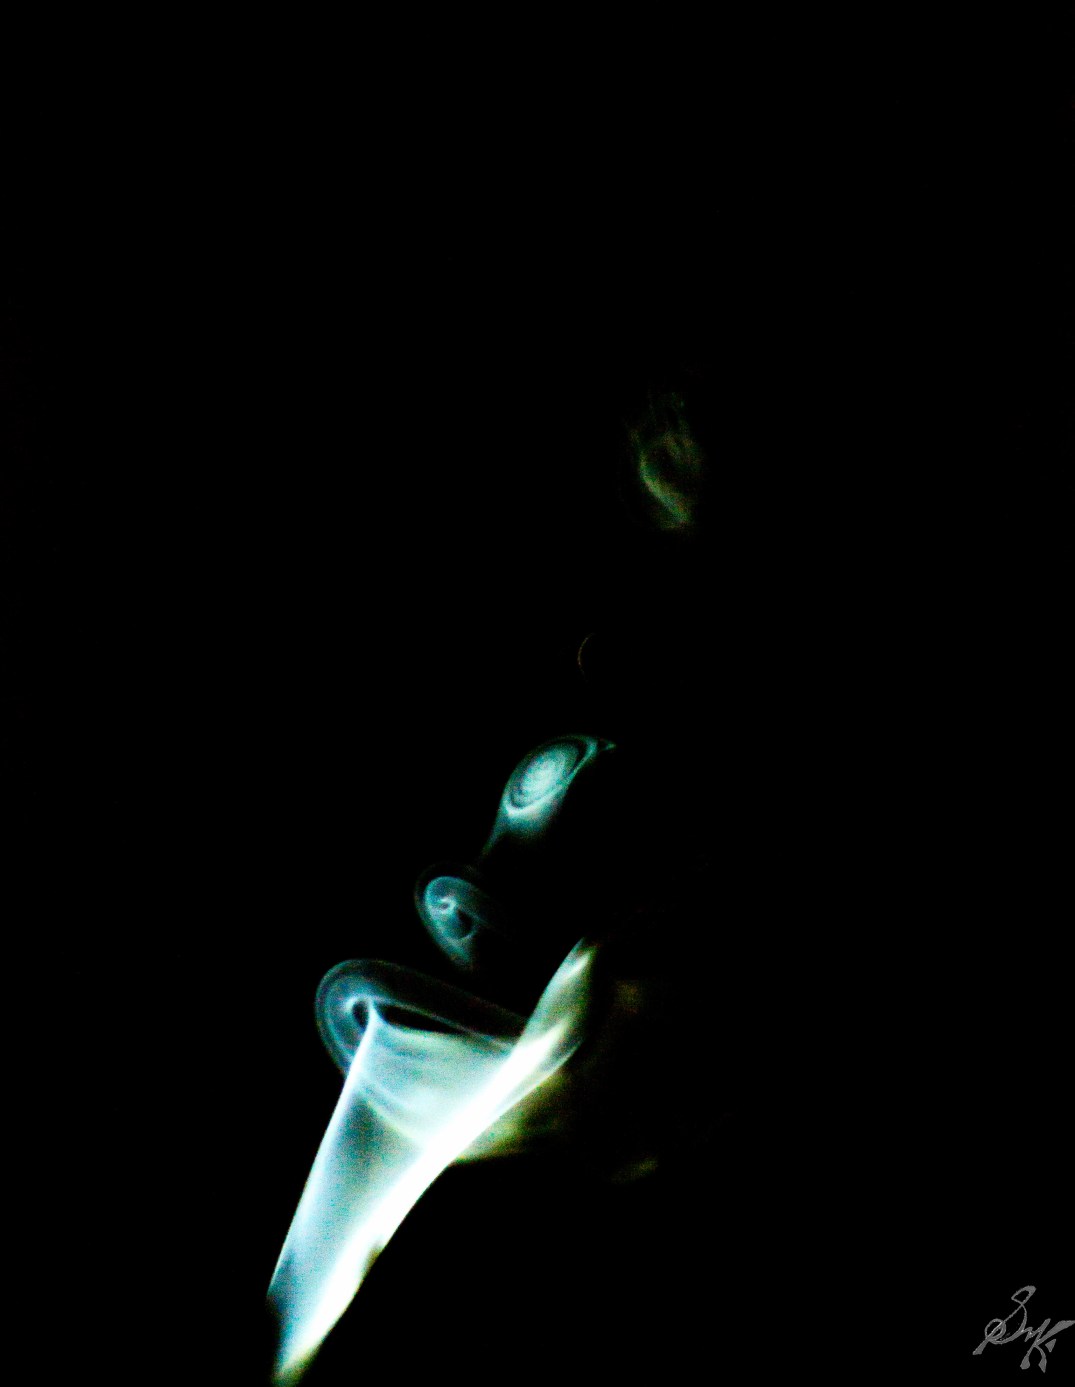
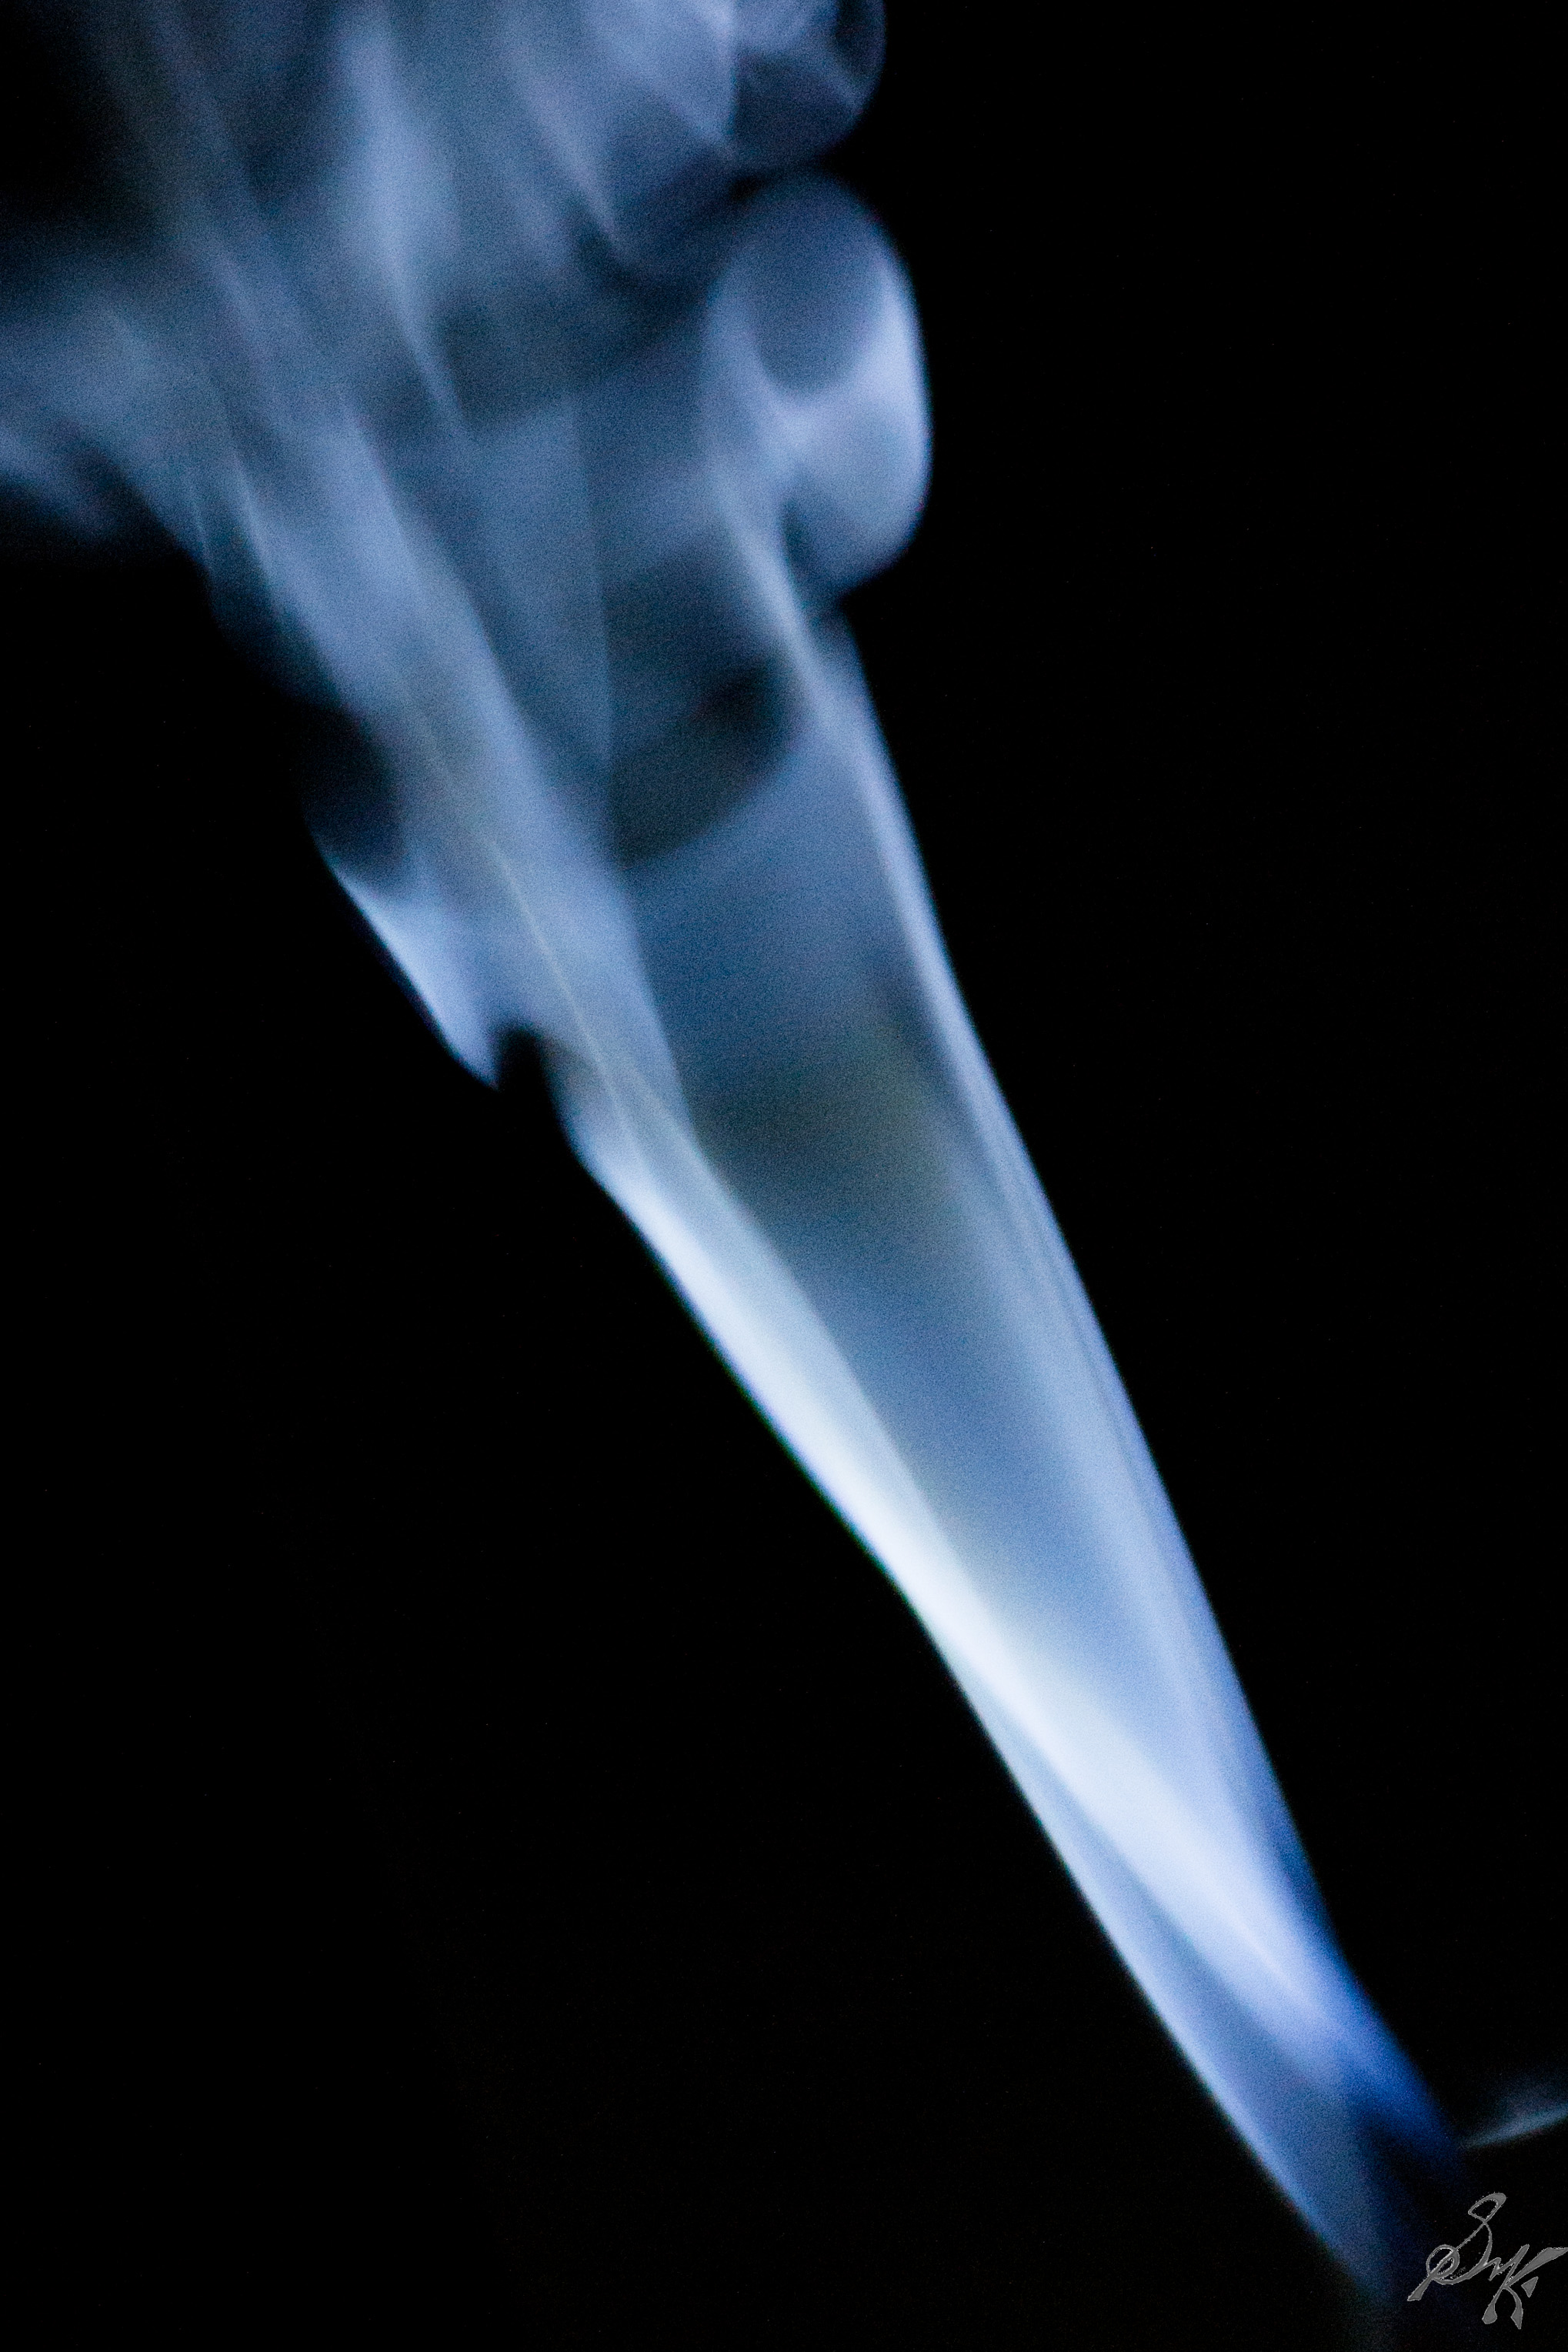
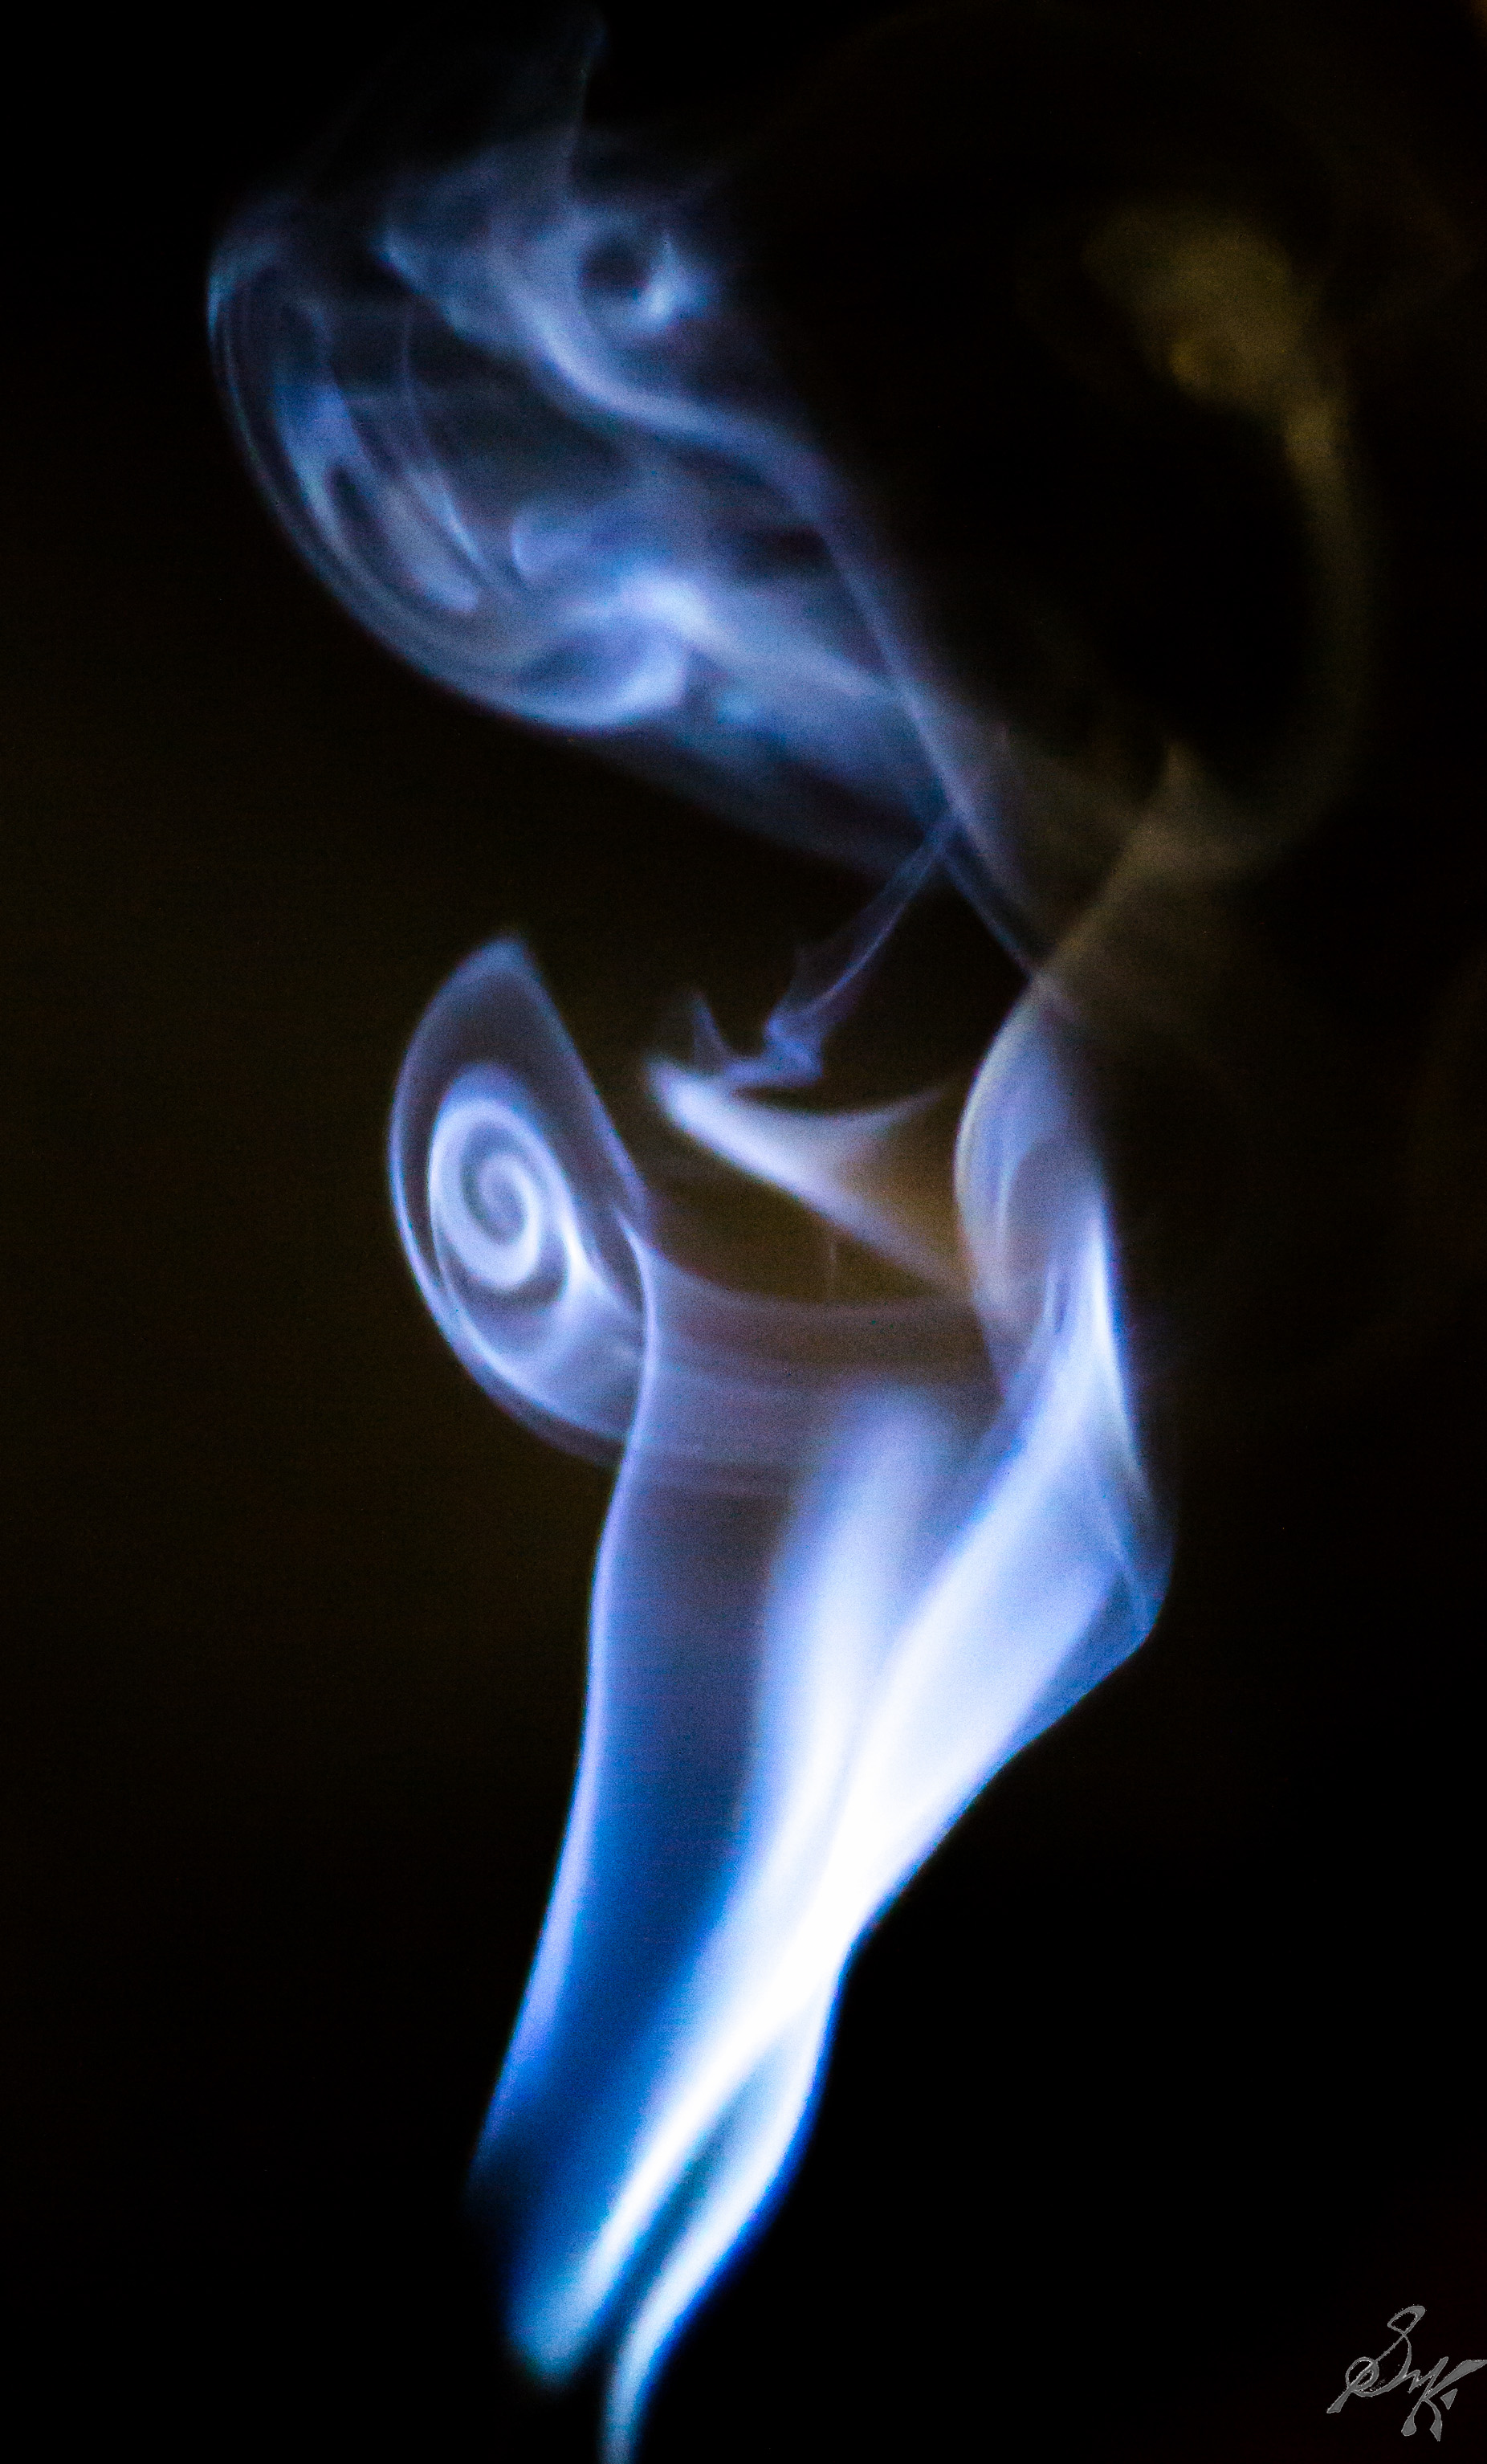
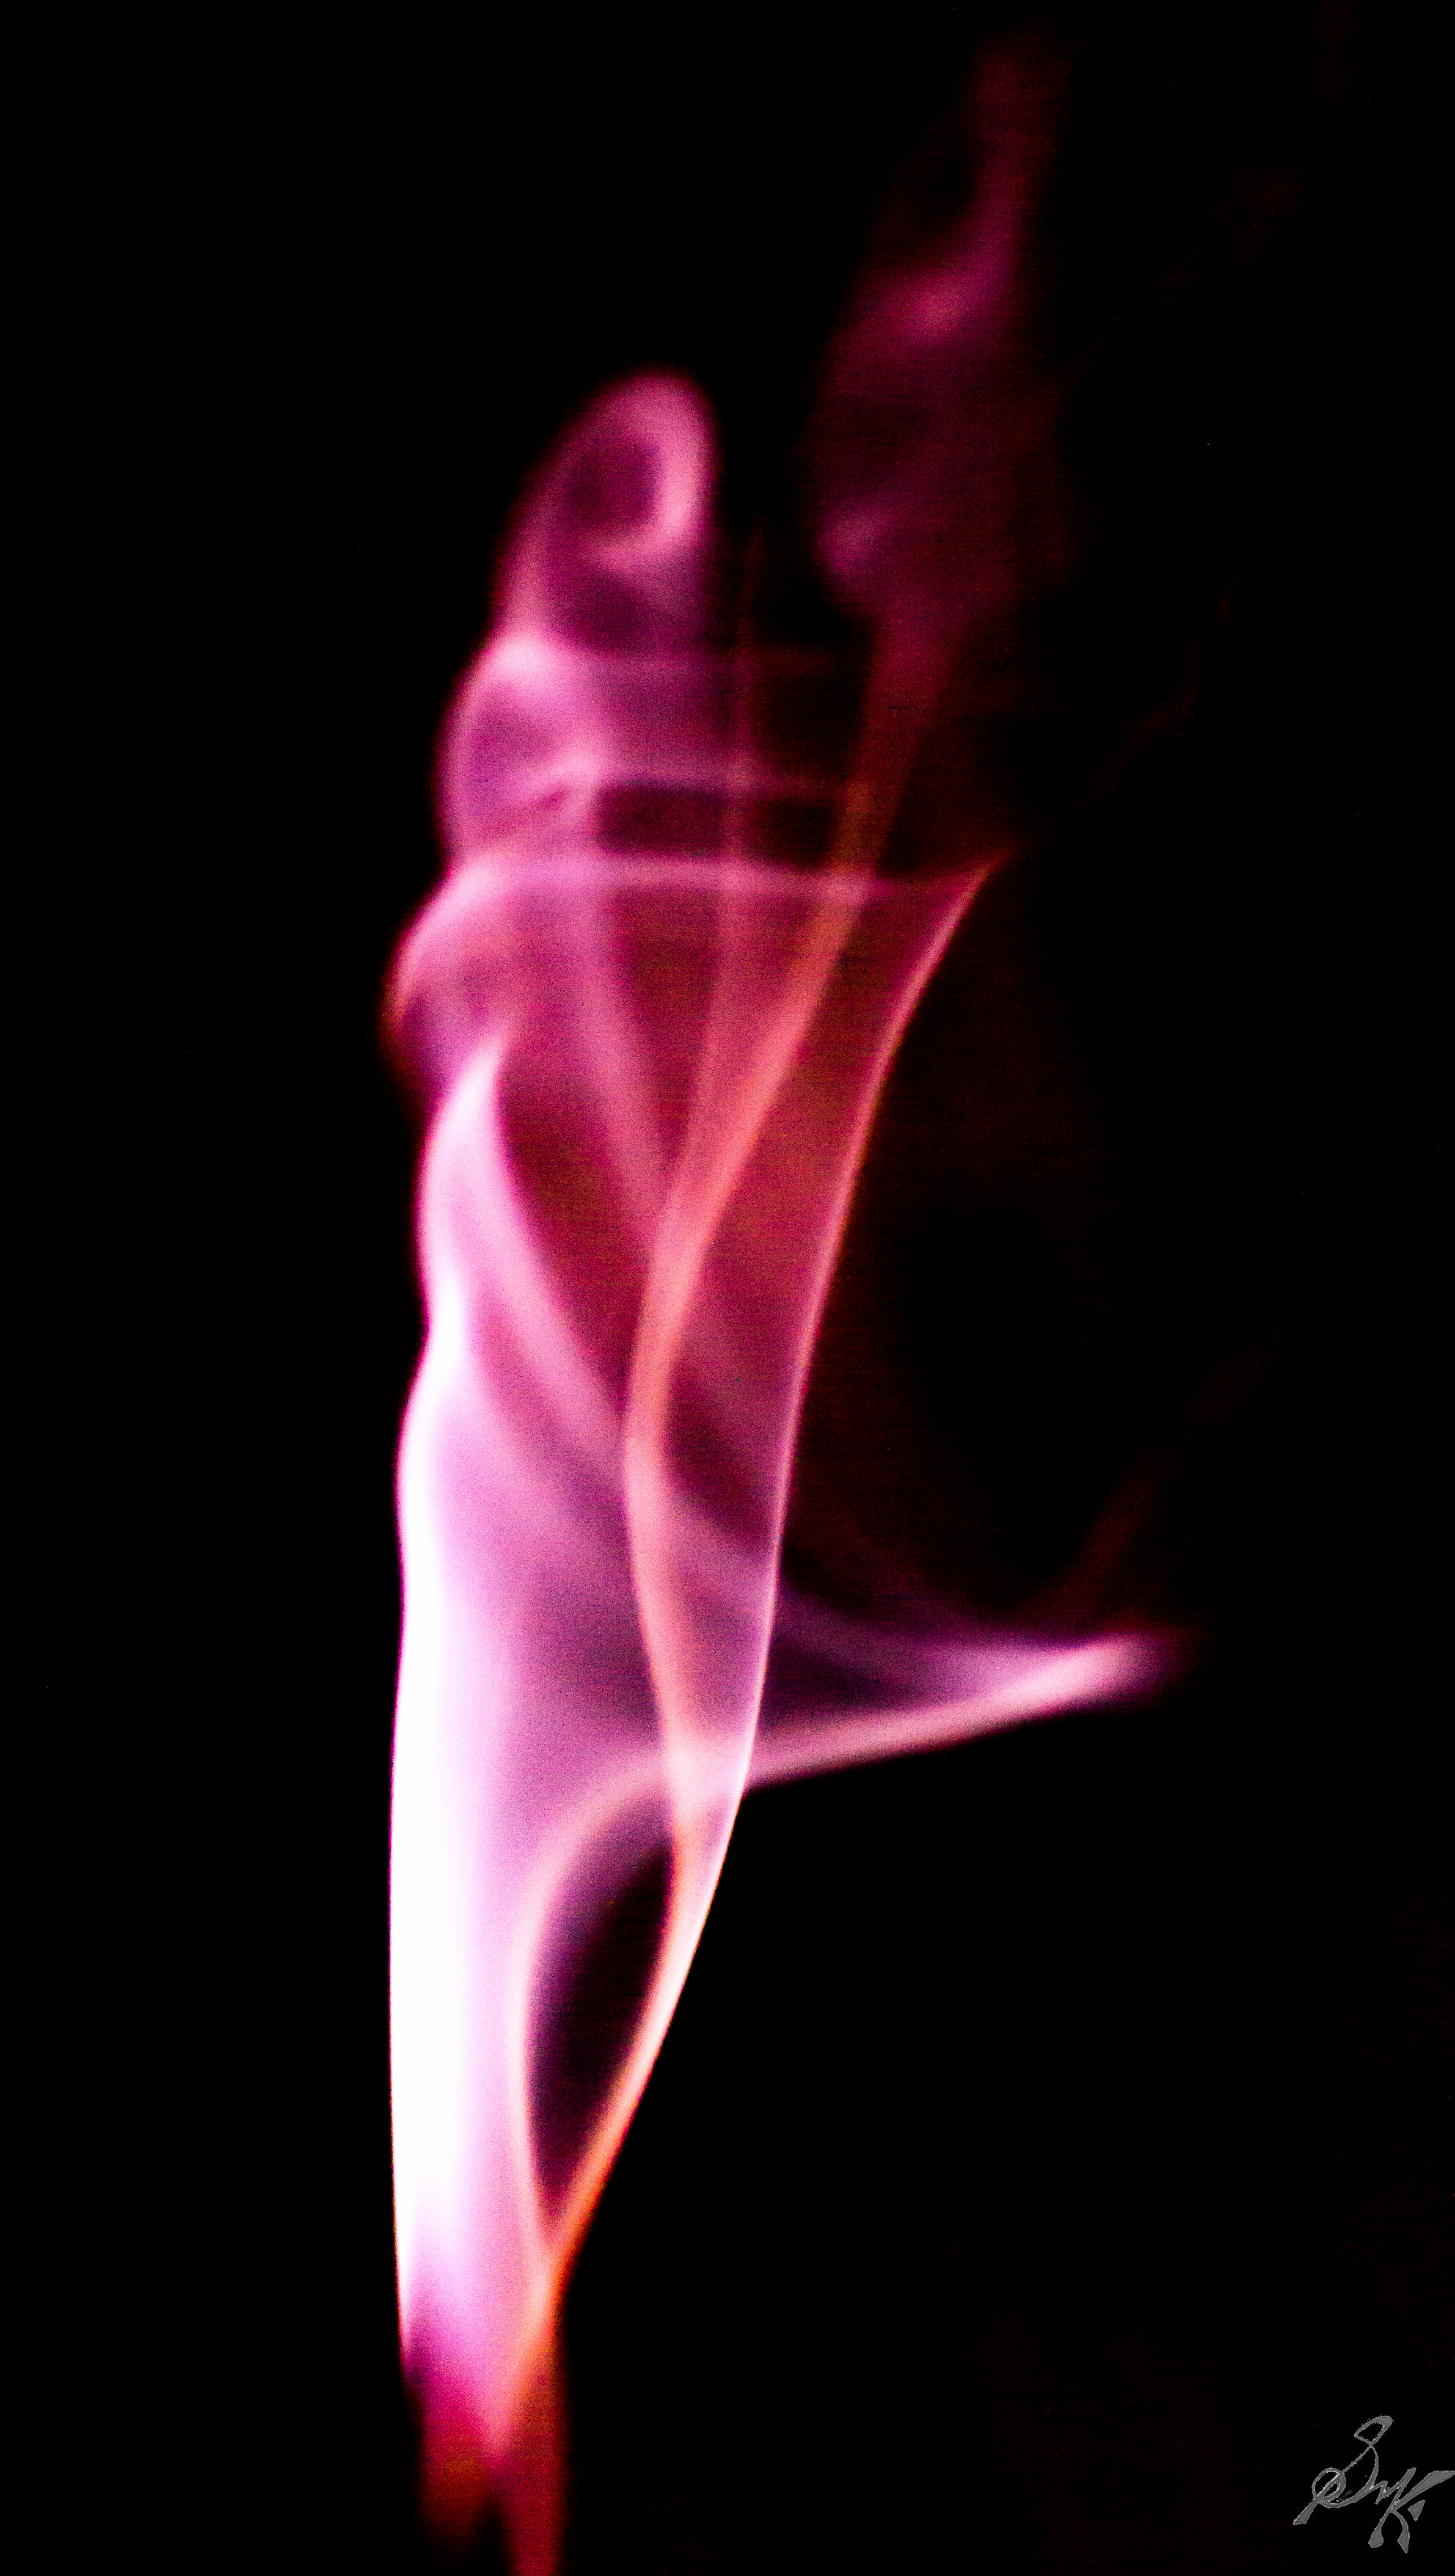
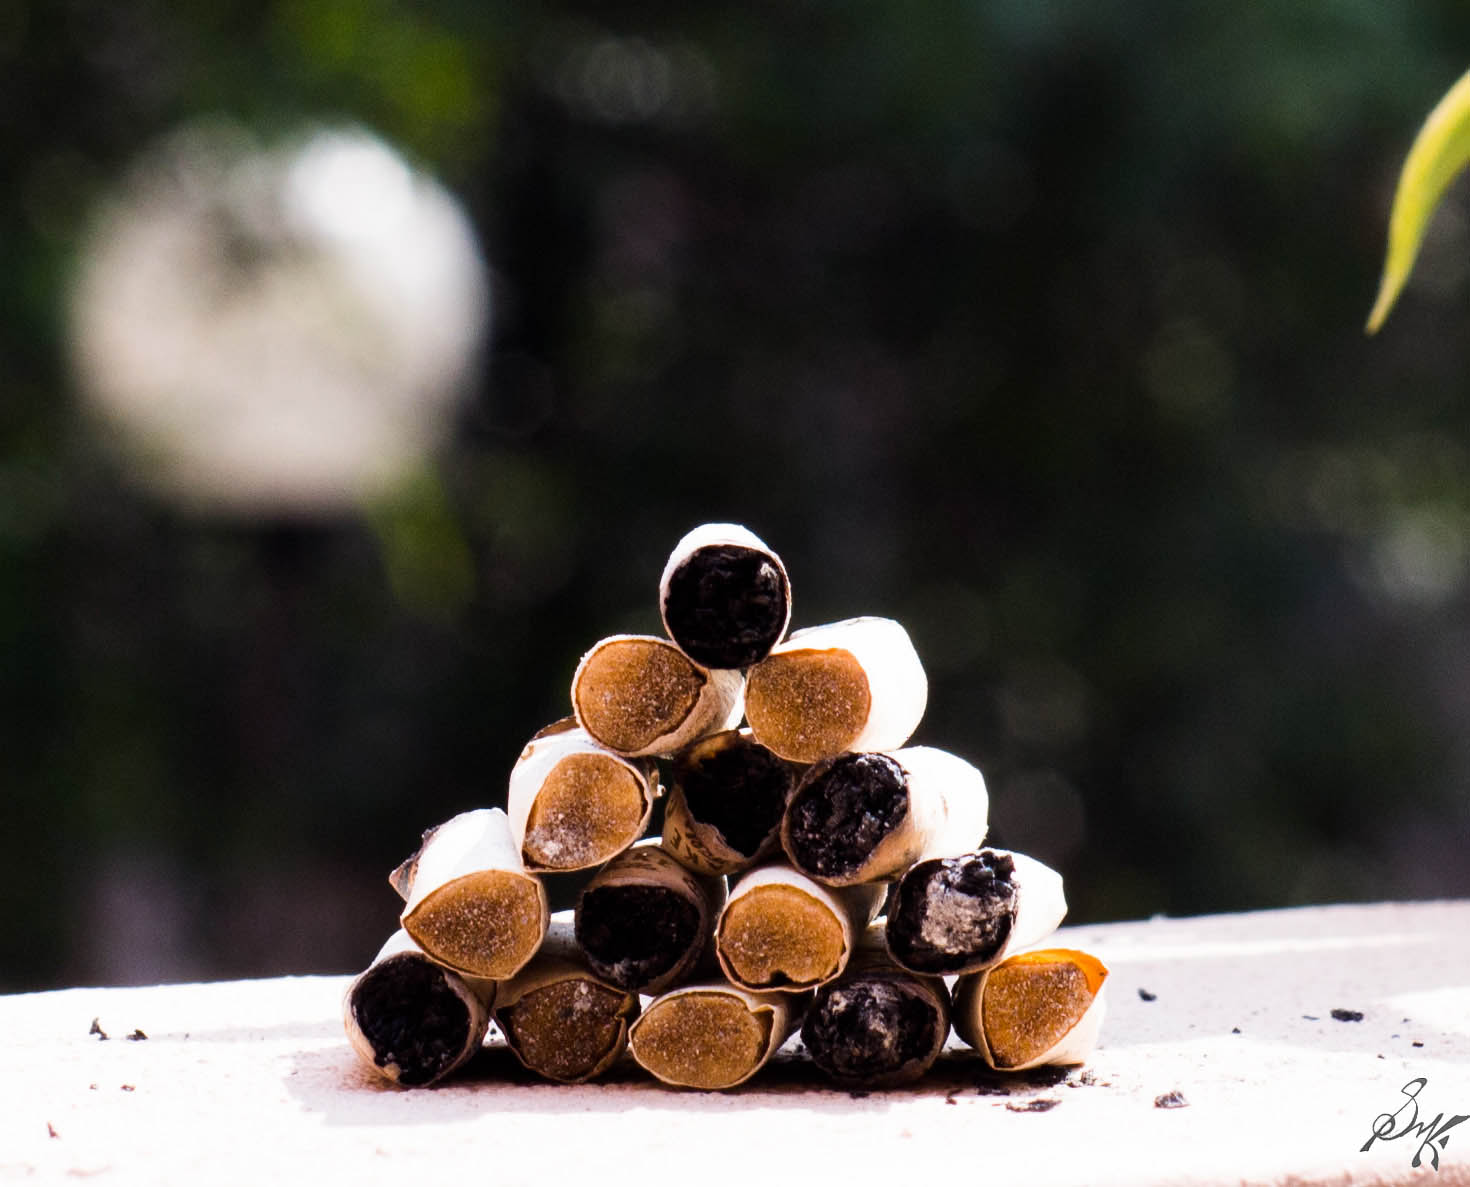
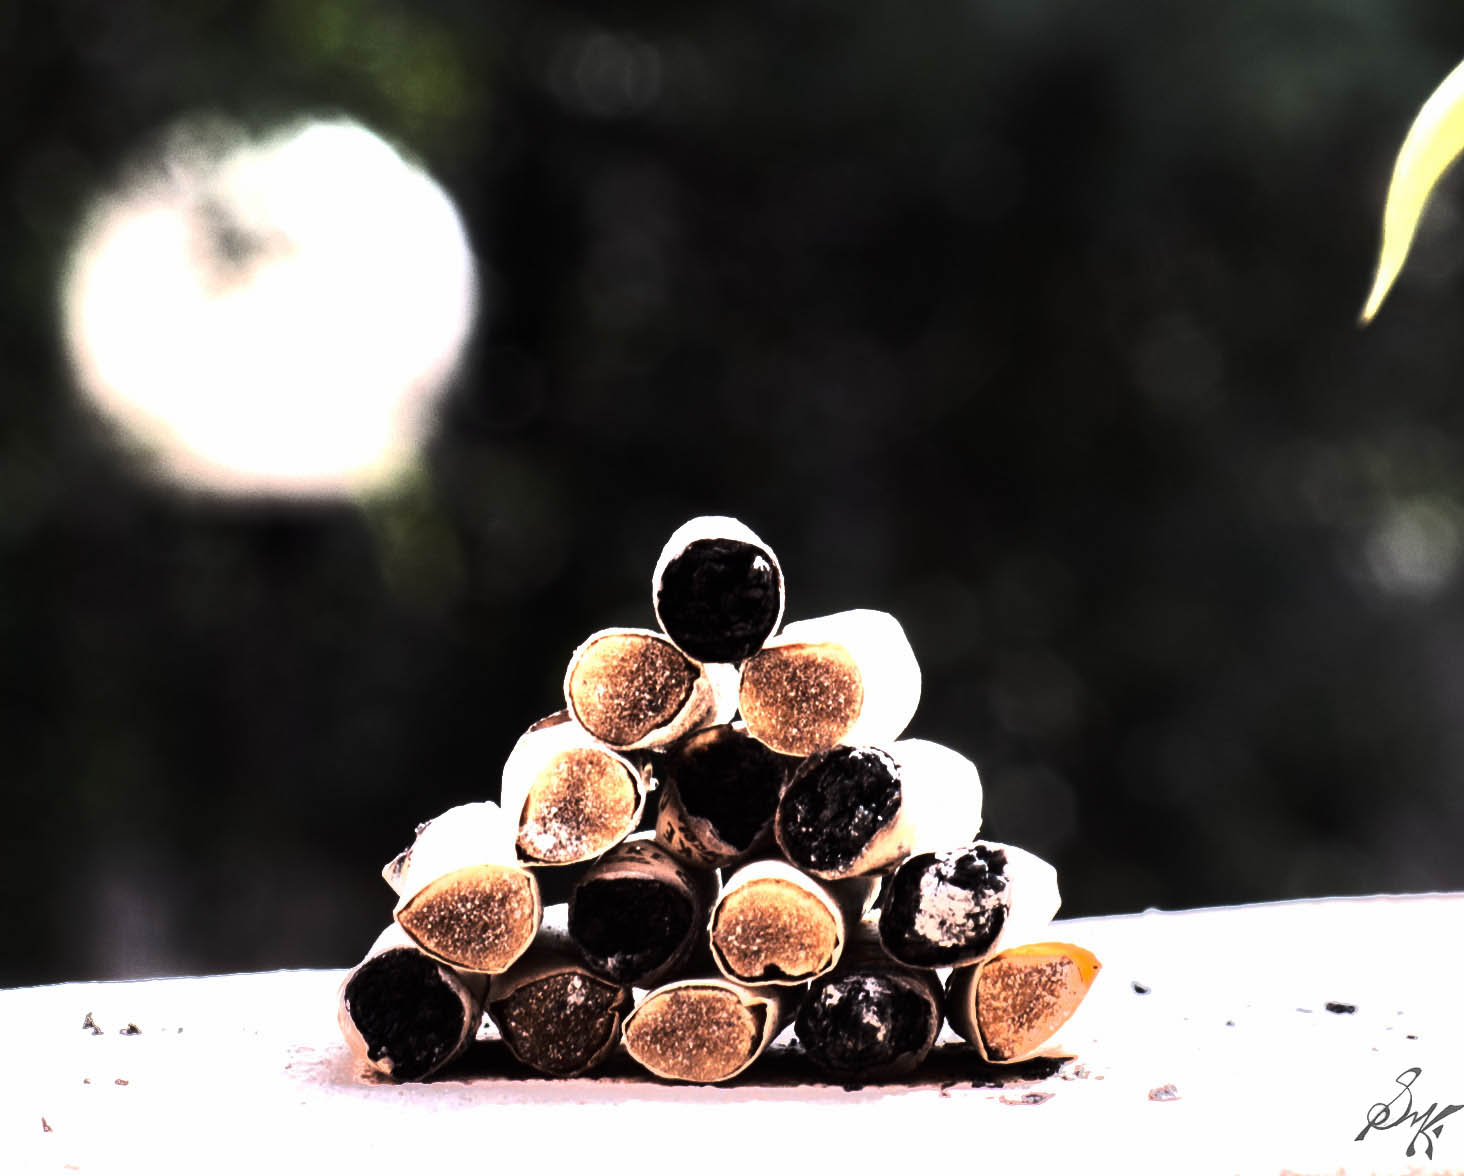
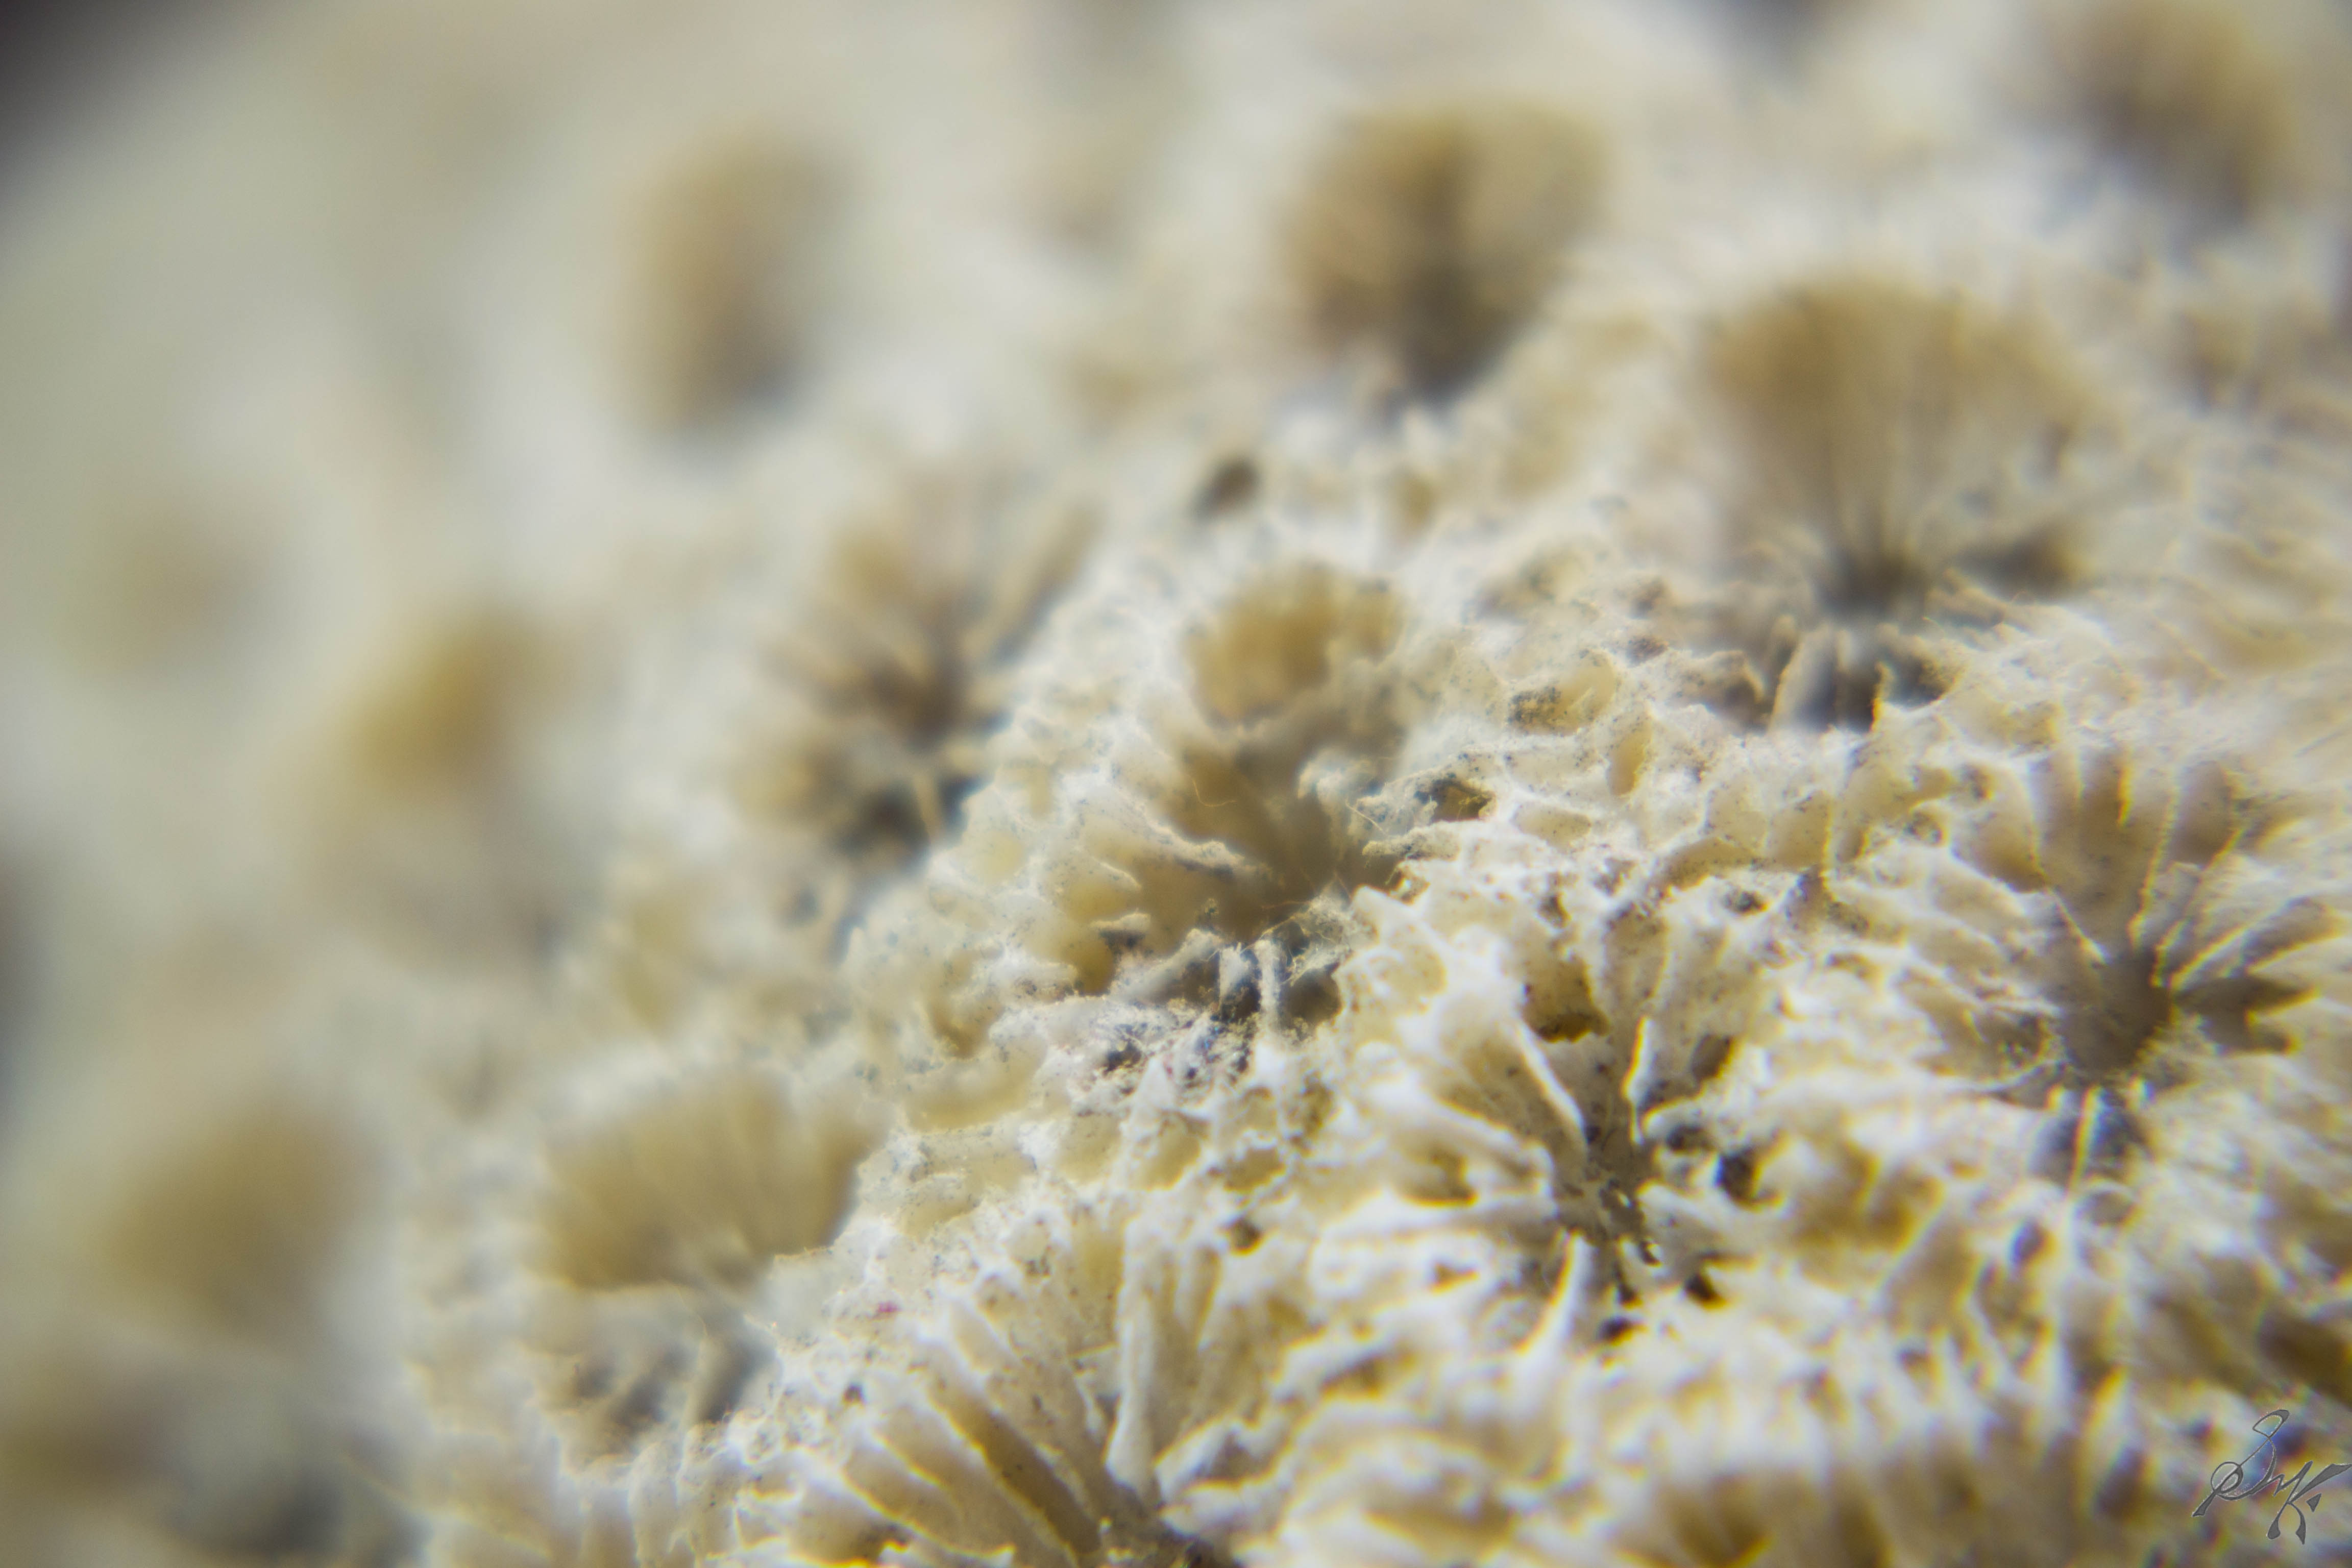
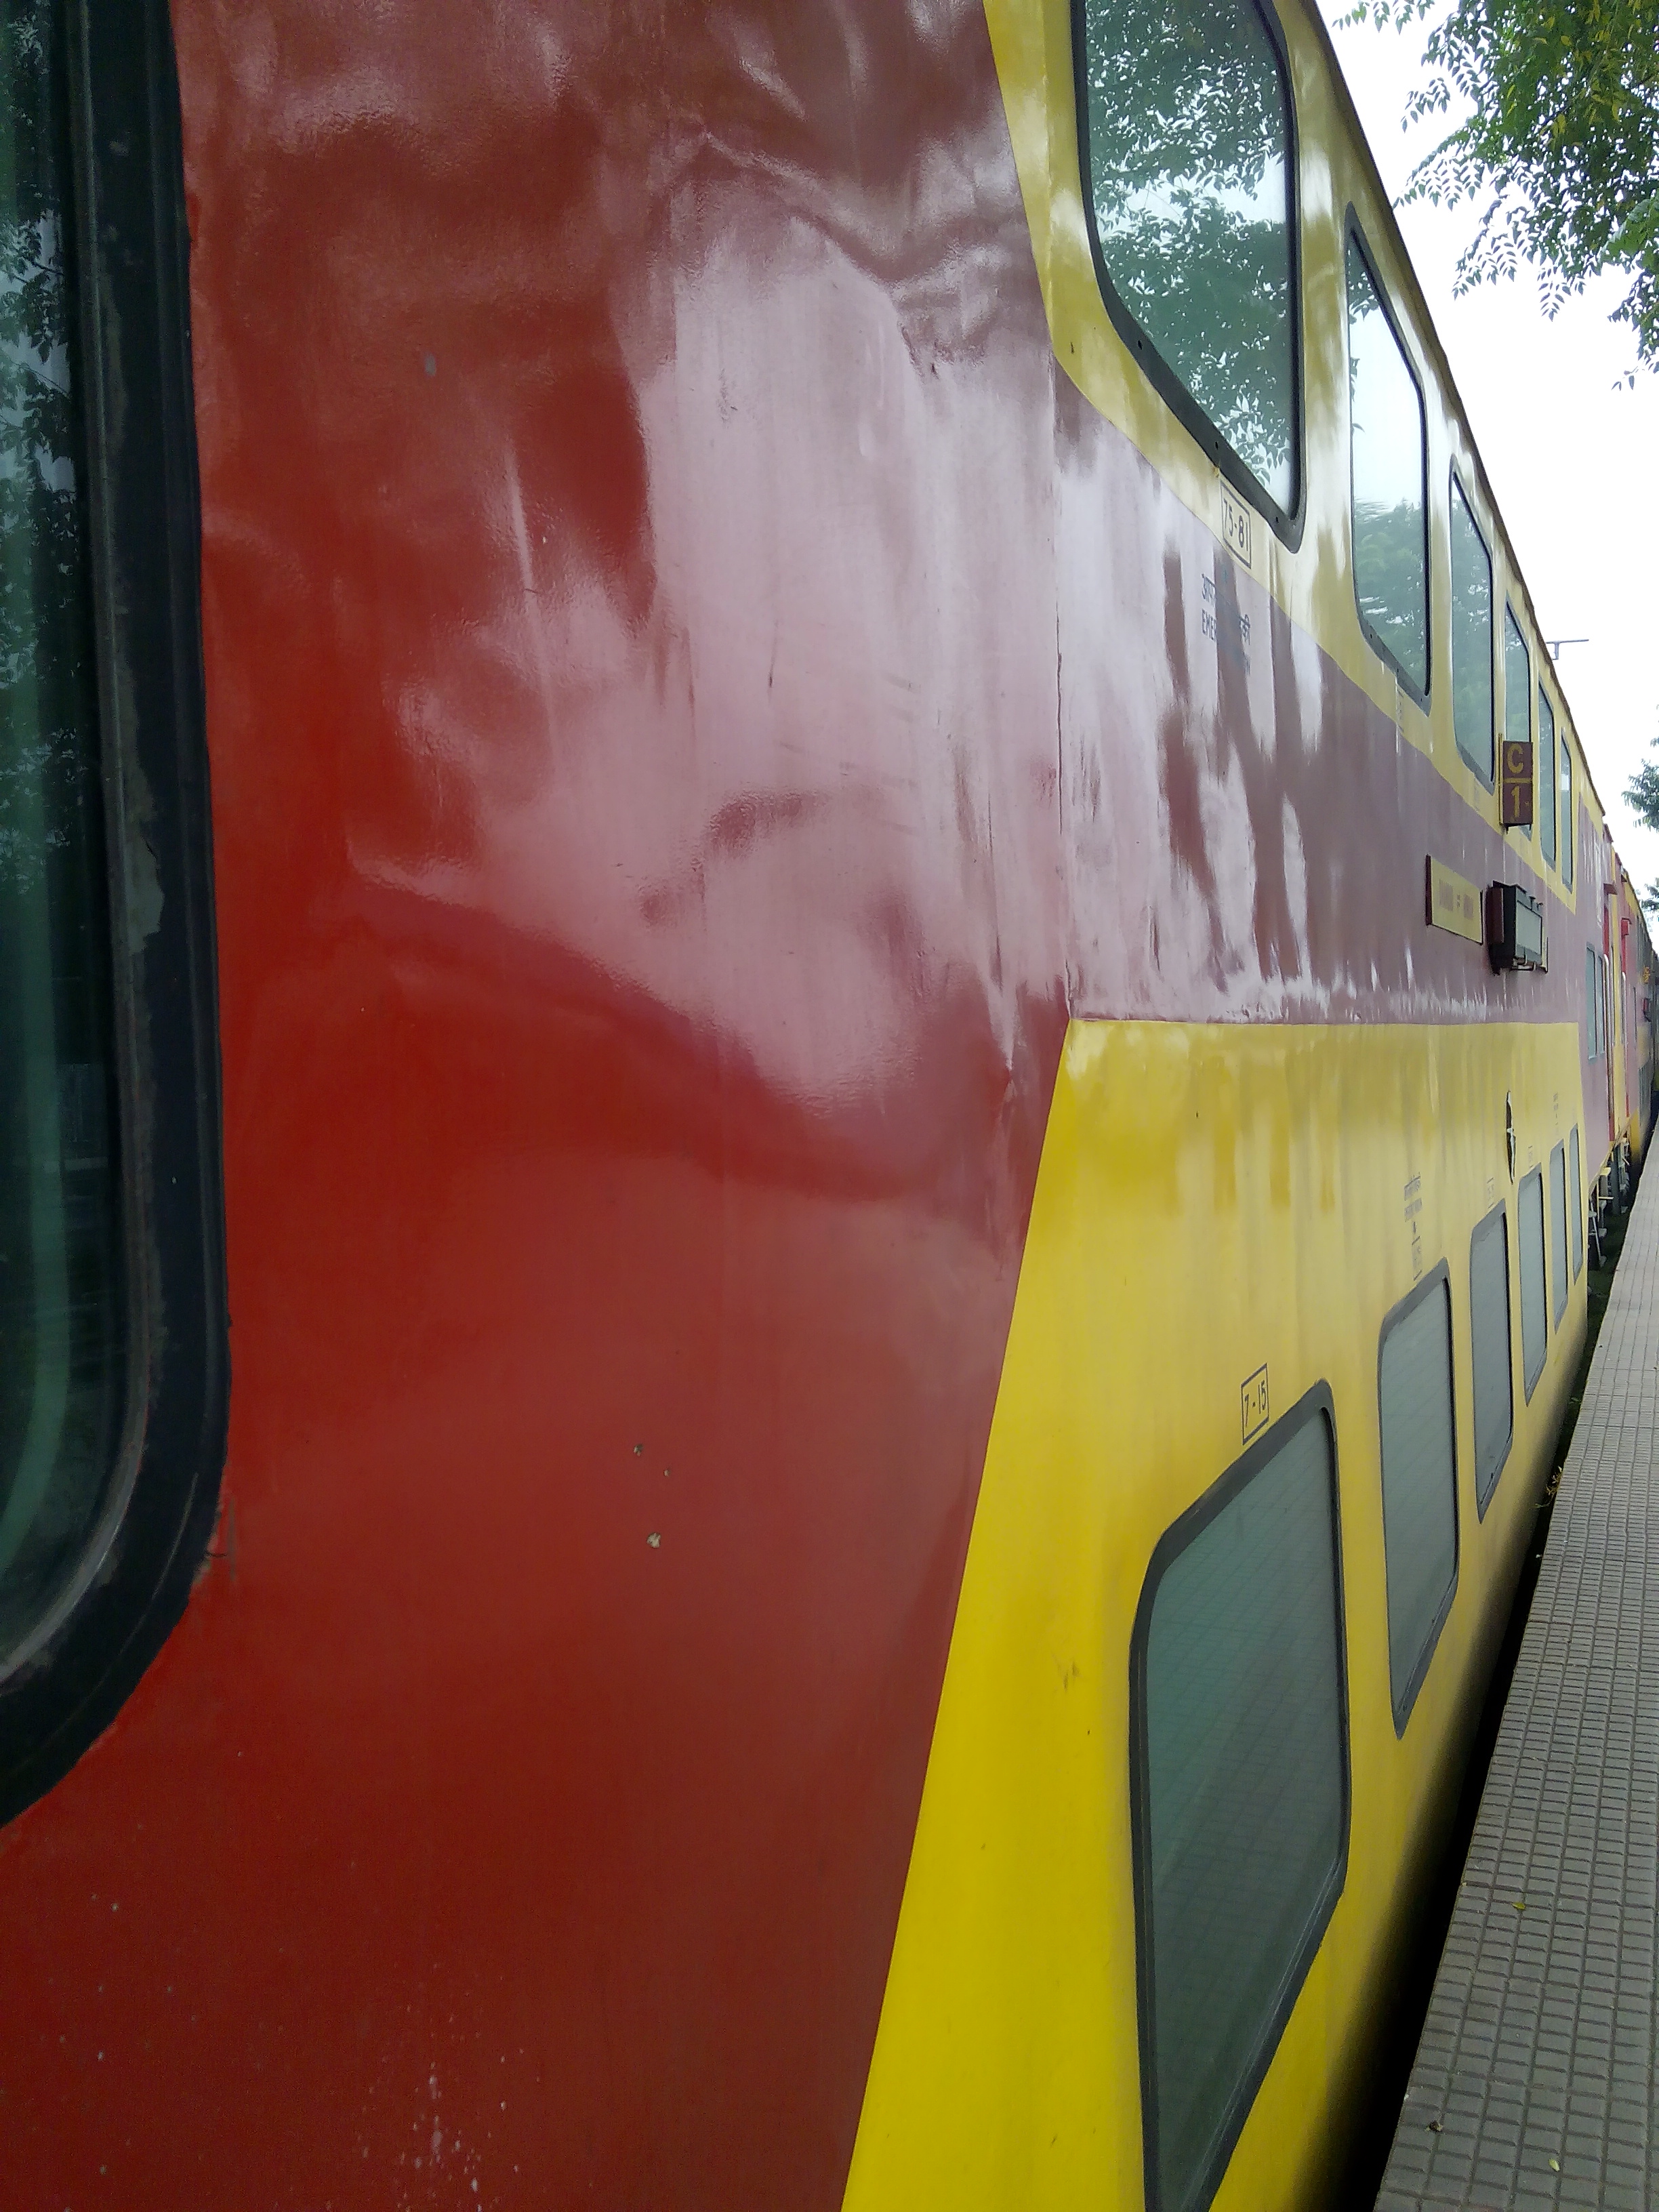
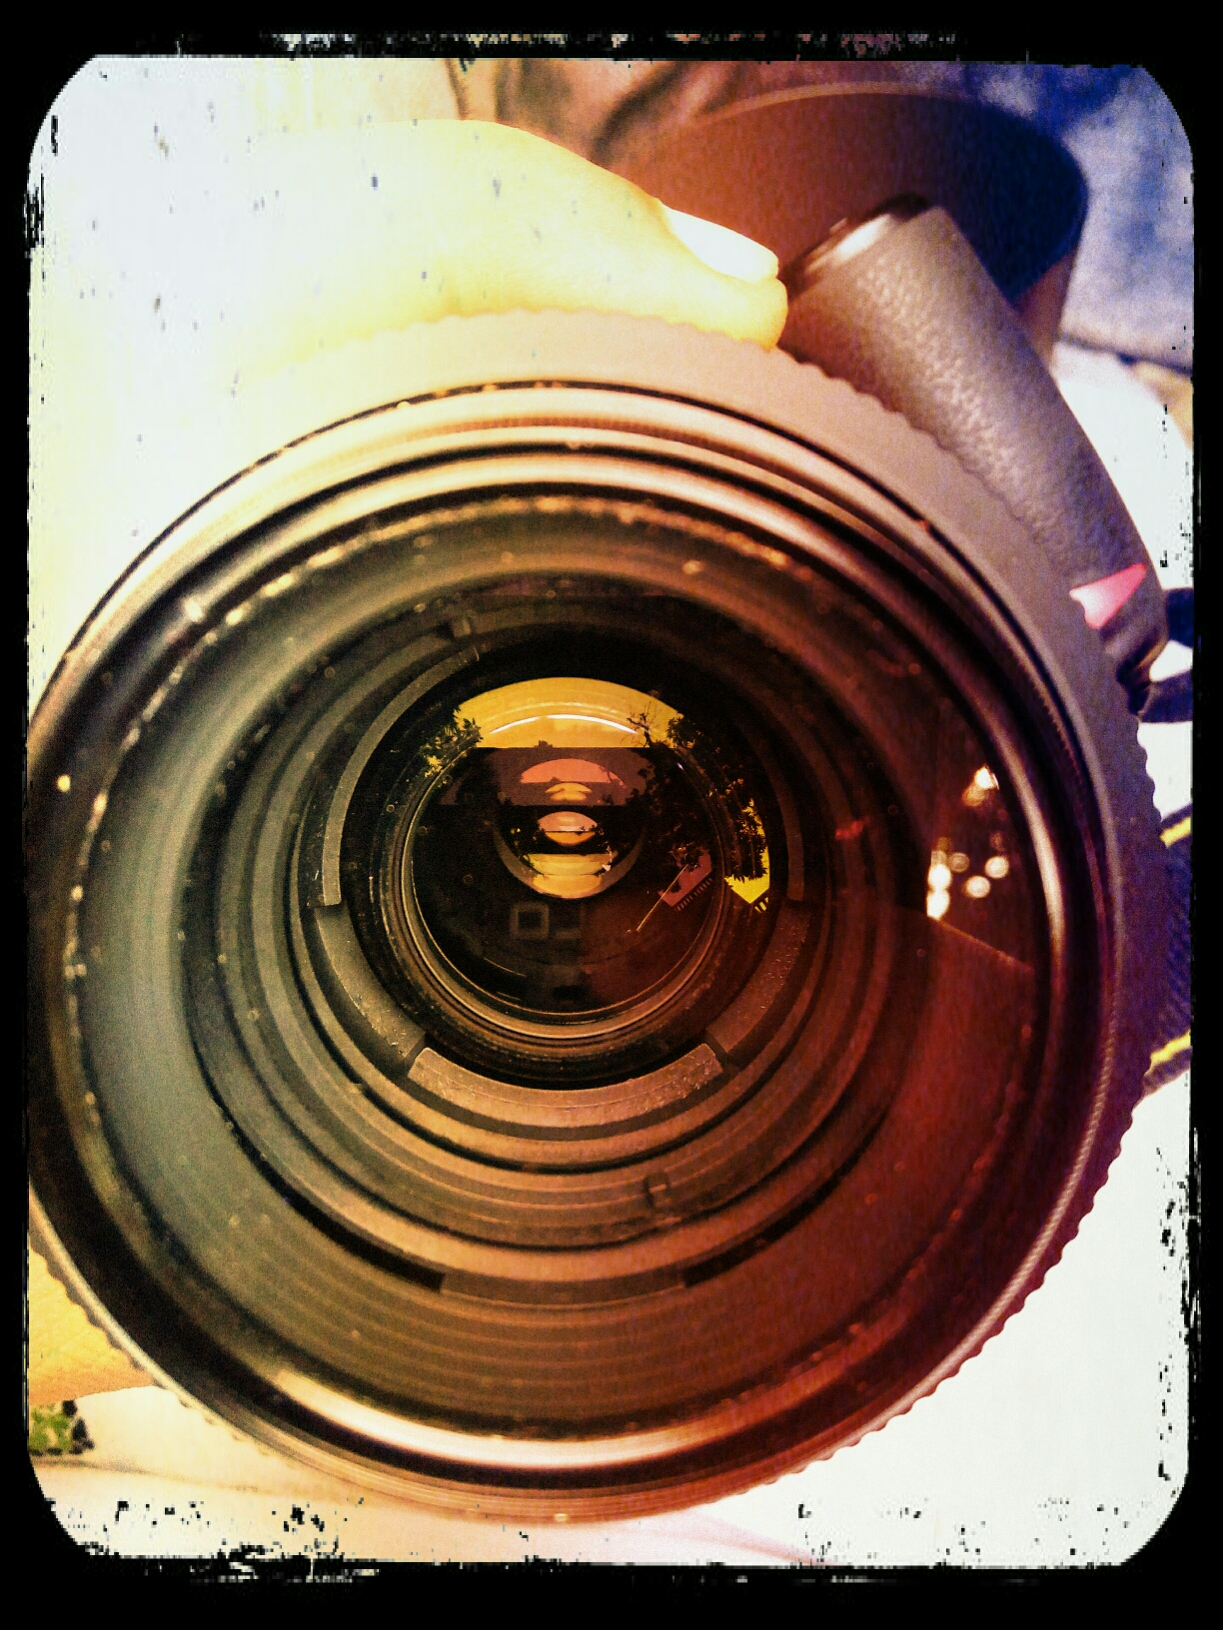
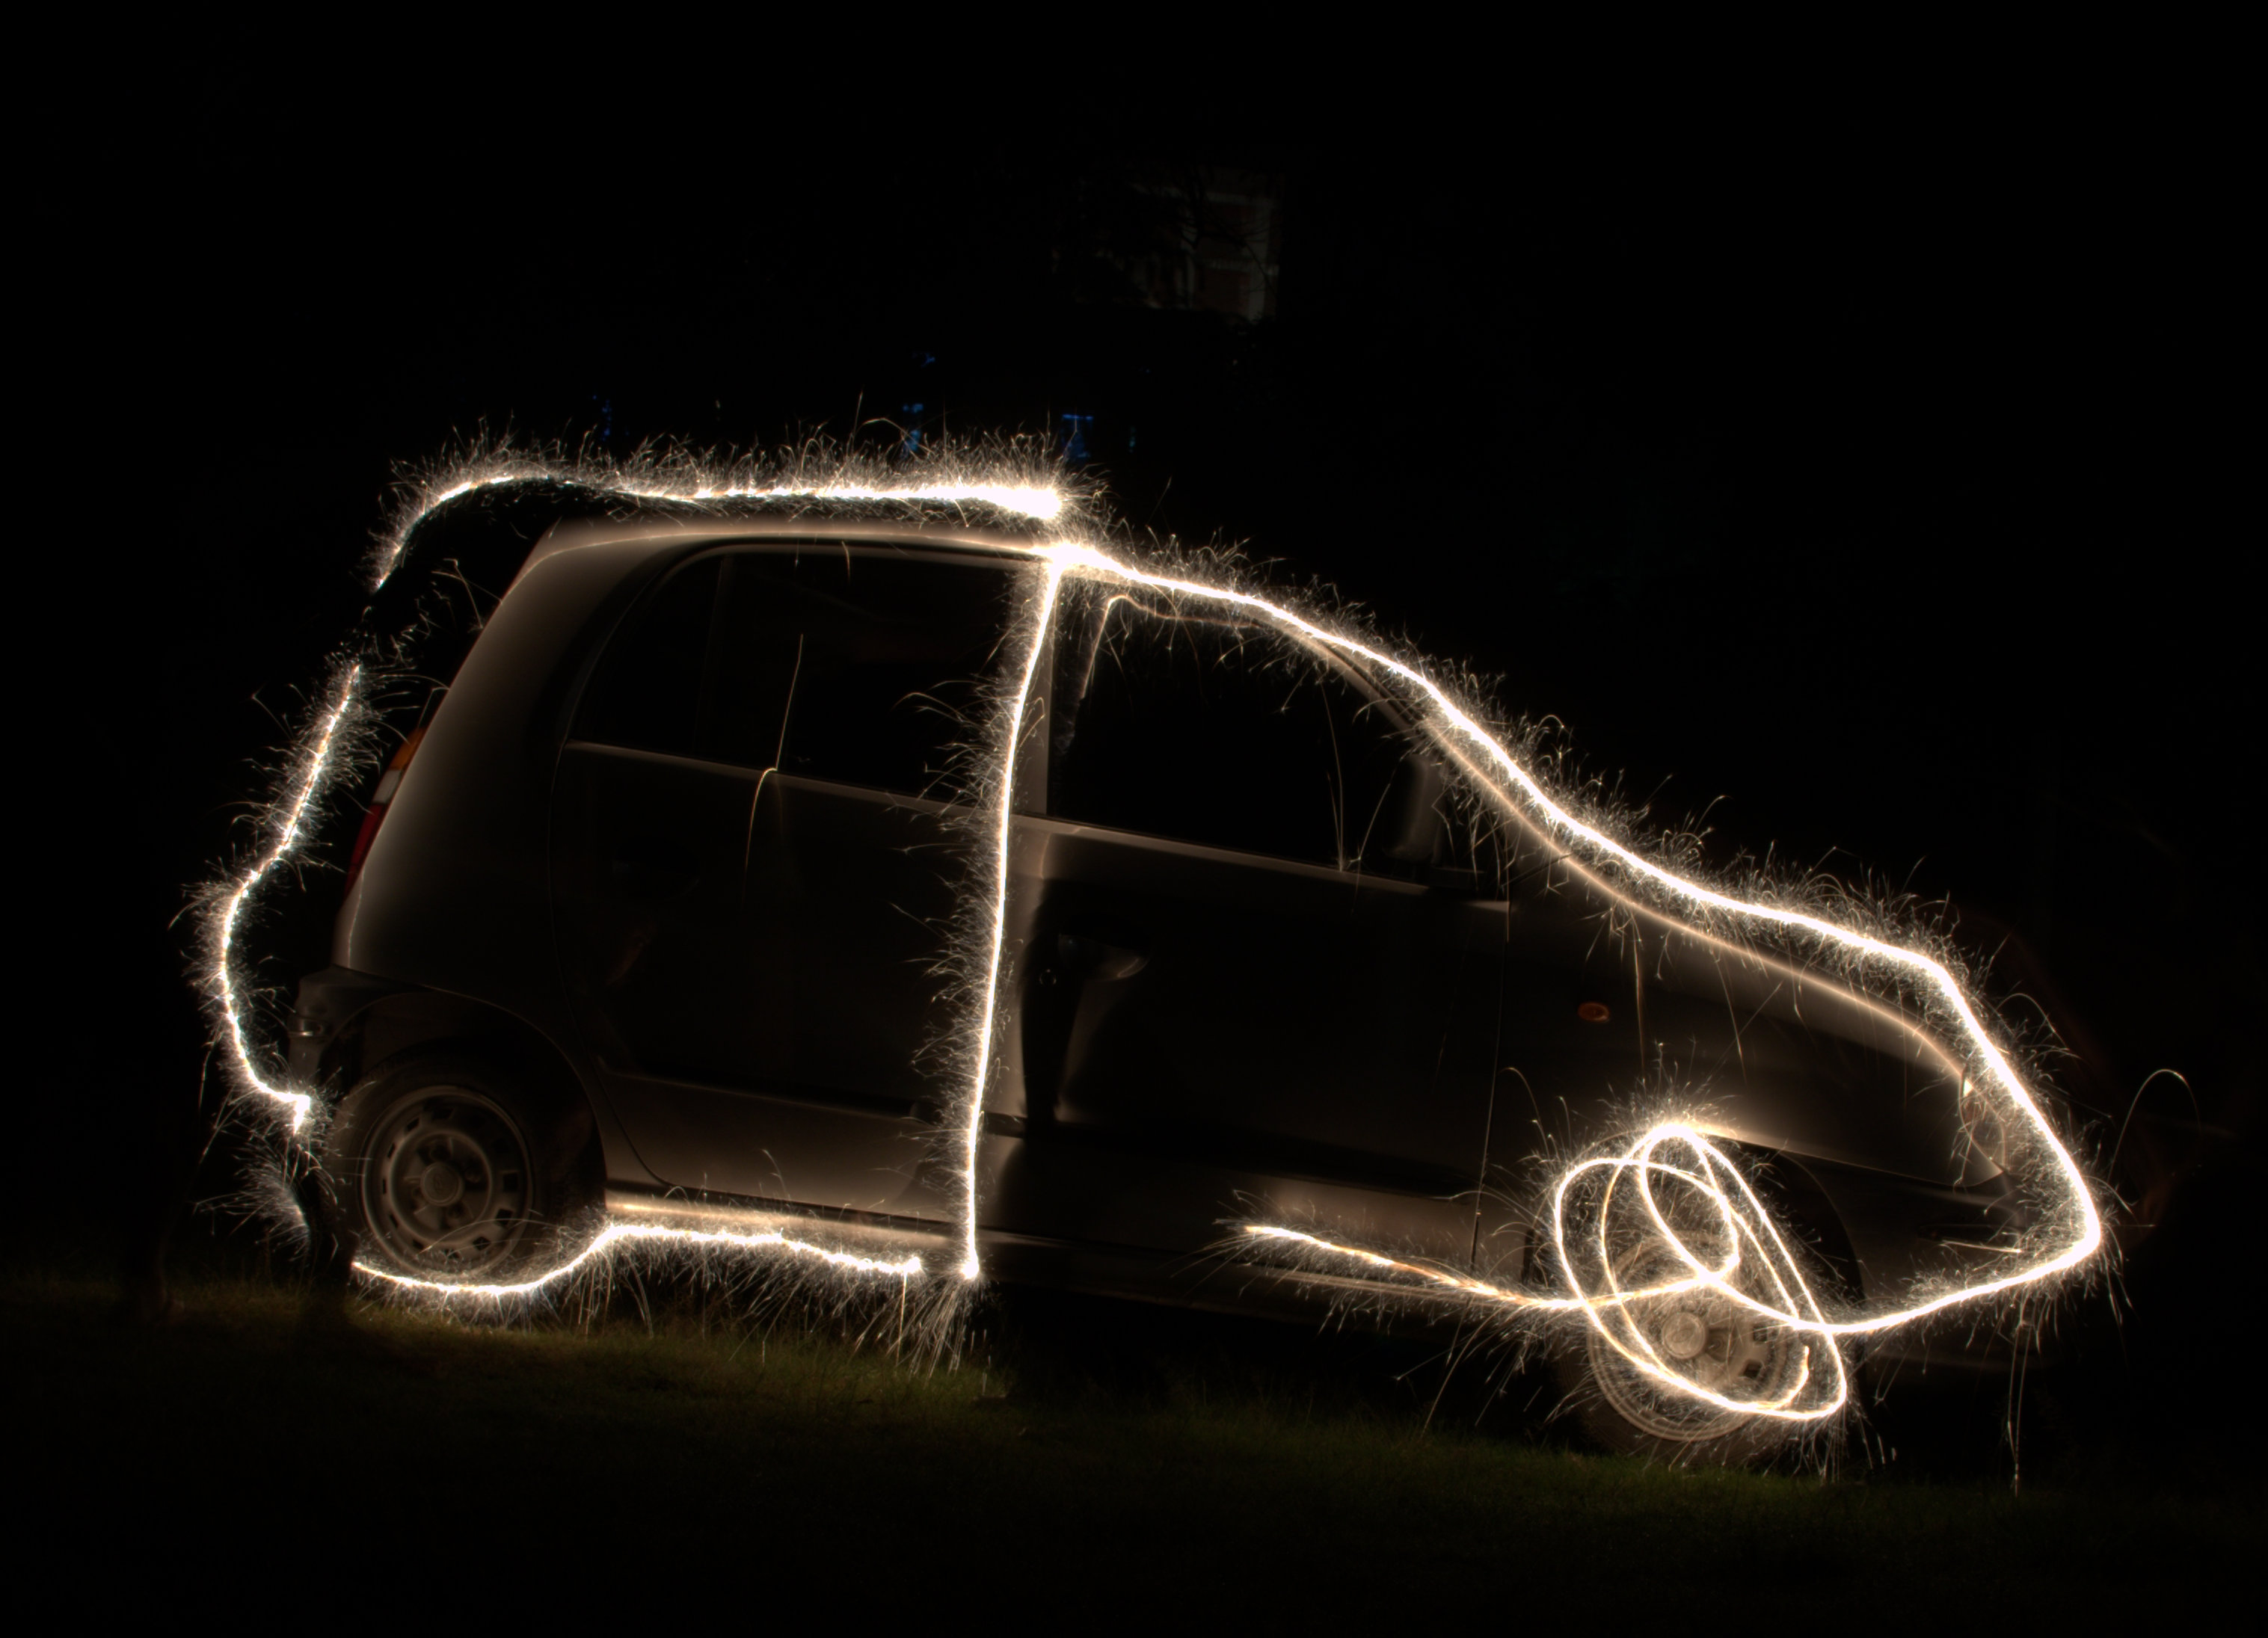
Check out the photos underneath, they have been post processed on mobile apps…and yeah, these all are using cellphone cameras! Special thanks to my dear friend Miss R. Raja for putting up an awesome display pic in her account which  I have borrowed for my tweaking. The original photo is her property and she has the rights to it.

 Raveena Raja 20141030_093512    919893097638_Anne_Burn_Dirt

IMG_20141027_190539    IMG_20141027_190539_Anne_Burn_Flowery

IMG_20141025_153258     IMG_20141025_153258_Jean_Morning_Pint

IMG_20141001_100431     IMG_20141001_100431_Harry_Burn_Ground1

Cheers!

Diwali Special!

Hi all, with Diwali, the festival of lights just round the corner, I feel this post is very appropriately timed.

Light painting is dependent on long exposure shots. Have a high DOF, set the ISO low, 100 or 200, shutter speed should be slow…how slow depends on what you want to capture. If its fireworks trail, about 5′ should suffice for the standard rockets and go slower if needed. Use sparkles to create fun outlines, write your name in the air, draw your favorites and simply have fun.

DSC_0104

DSC_4216

These here are typical example of light paintings. In the second photo, more you can see me and my friend actually doing the painting. This ghosting effect occurs if there is suddenly a lot of light on the painter, in this case was by a passing car.

To focus, first use a light source to pinpoint the exact location you want the focus to be, use manual or auto, your choice, but once focus is achieved, switch the lens to manual, so that the focus doesnt change mid-shot. I normally ask my model to hold up the cell phone to their faces.. the light on their face is enough for me to make the focus, plus, having a deep DOF, acts as the buffer.

So, here it is, the secrets of stunning light paintings, laid bare. As the saying goes, if you put in some time, the possibilities of improvement are virtually…limitless!

Go ahead and shoot some awesome shots! Have a nice fun time! Happy Diwali!

Cheers!


Bokeh!!

Often, we come come across photos which have a sharp subject and a dreamy smooth defocussed background! That effect is called, Bokeh! Its a japanese word for blur, or basically, the out-of-focus areas in a photo. This is an inherent effect, so nothing special needs to be done. Having a few lights on the background, makes the bokeh beautiful, and more evident.

So, open up those apertures, and shoot awesome bokeh!!

Go Bokeh!! 🙂

Bokeh lights
Bokeh lights
Blue lights bokeh!
Blue lights bokeh!