Hi there all. It has been quite sometime since the last post, I ll blame the hectic work schedules and in some effect, laziness for the same. Anyway, today we discuss, Dry Ice. Frozen Carbon Dioxide, when made into pellets to be used for cooling duty, is known as Dry Ice.
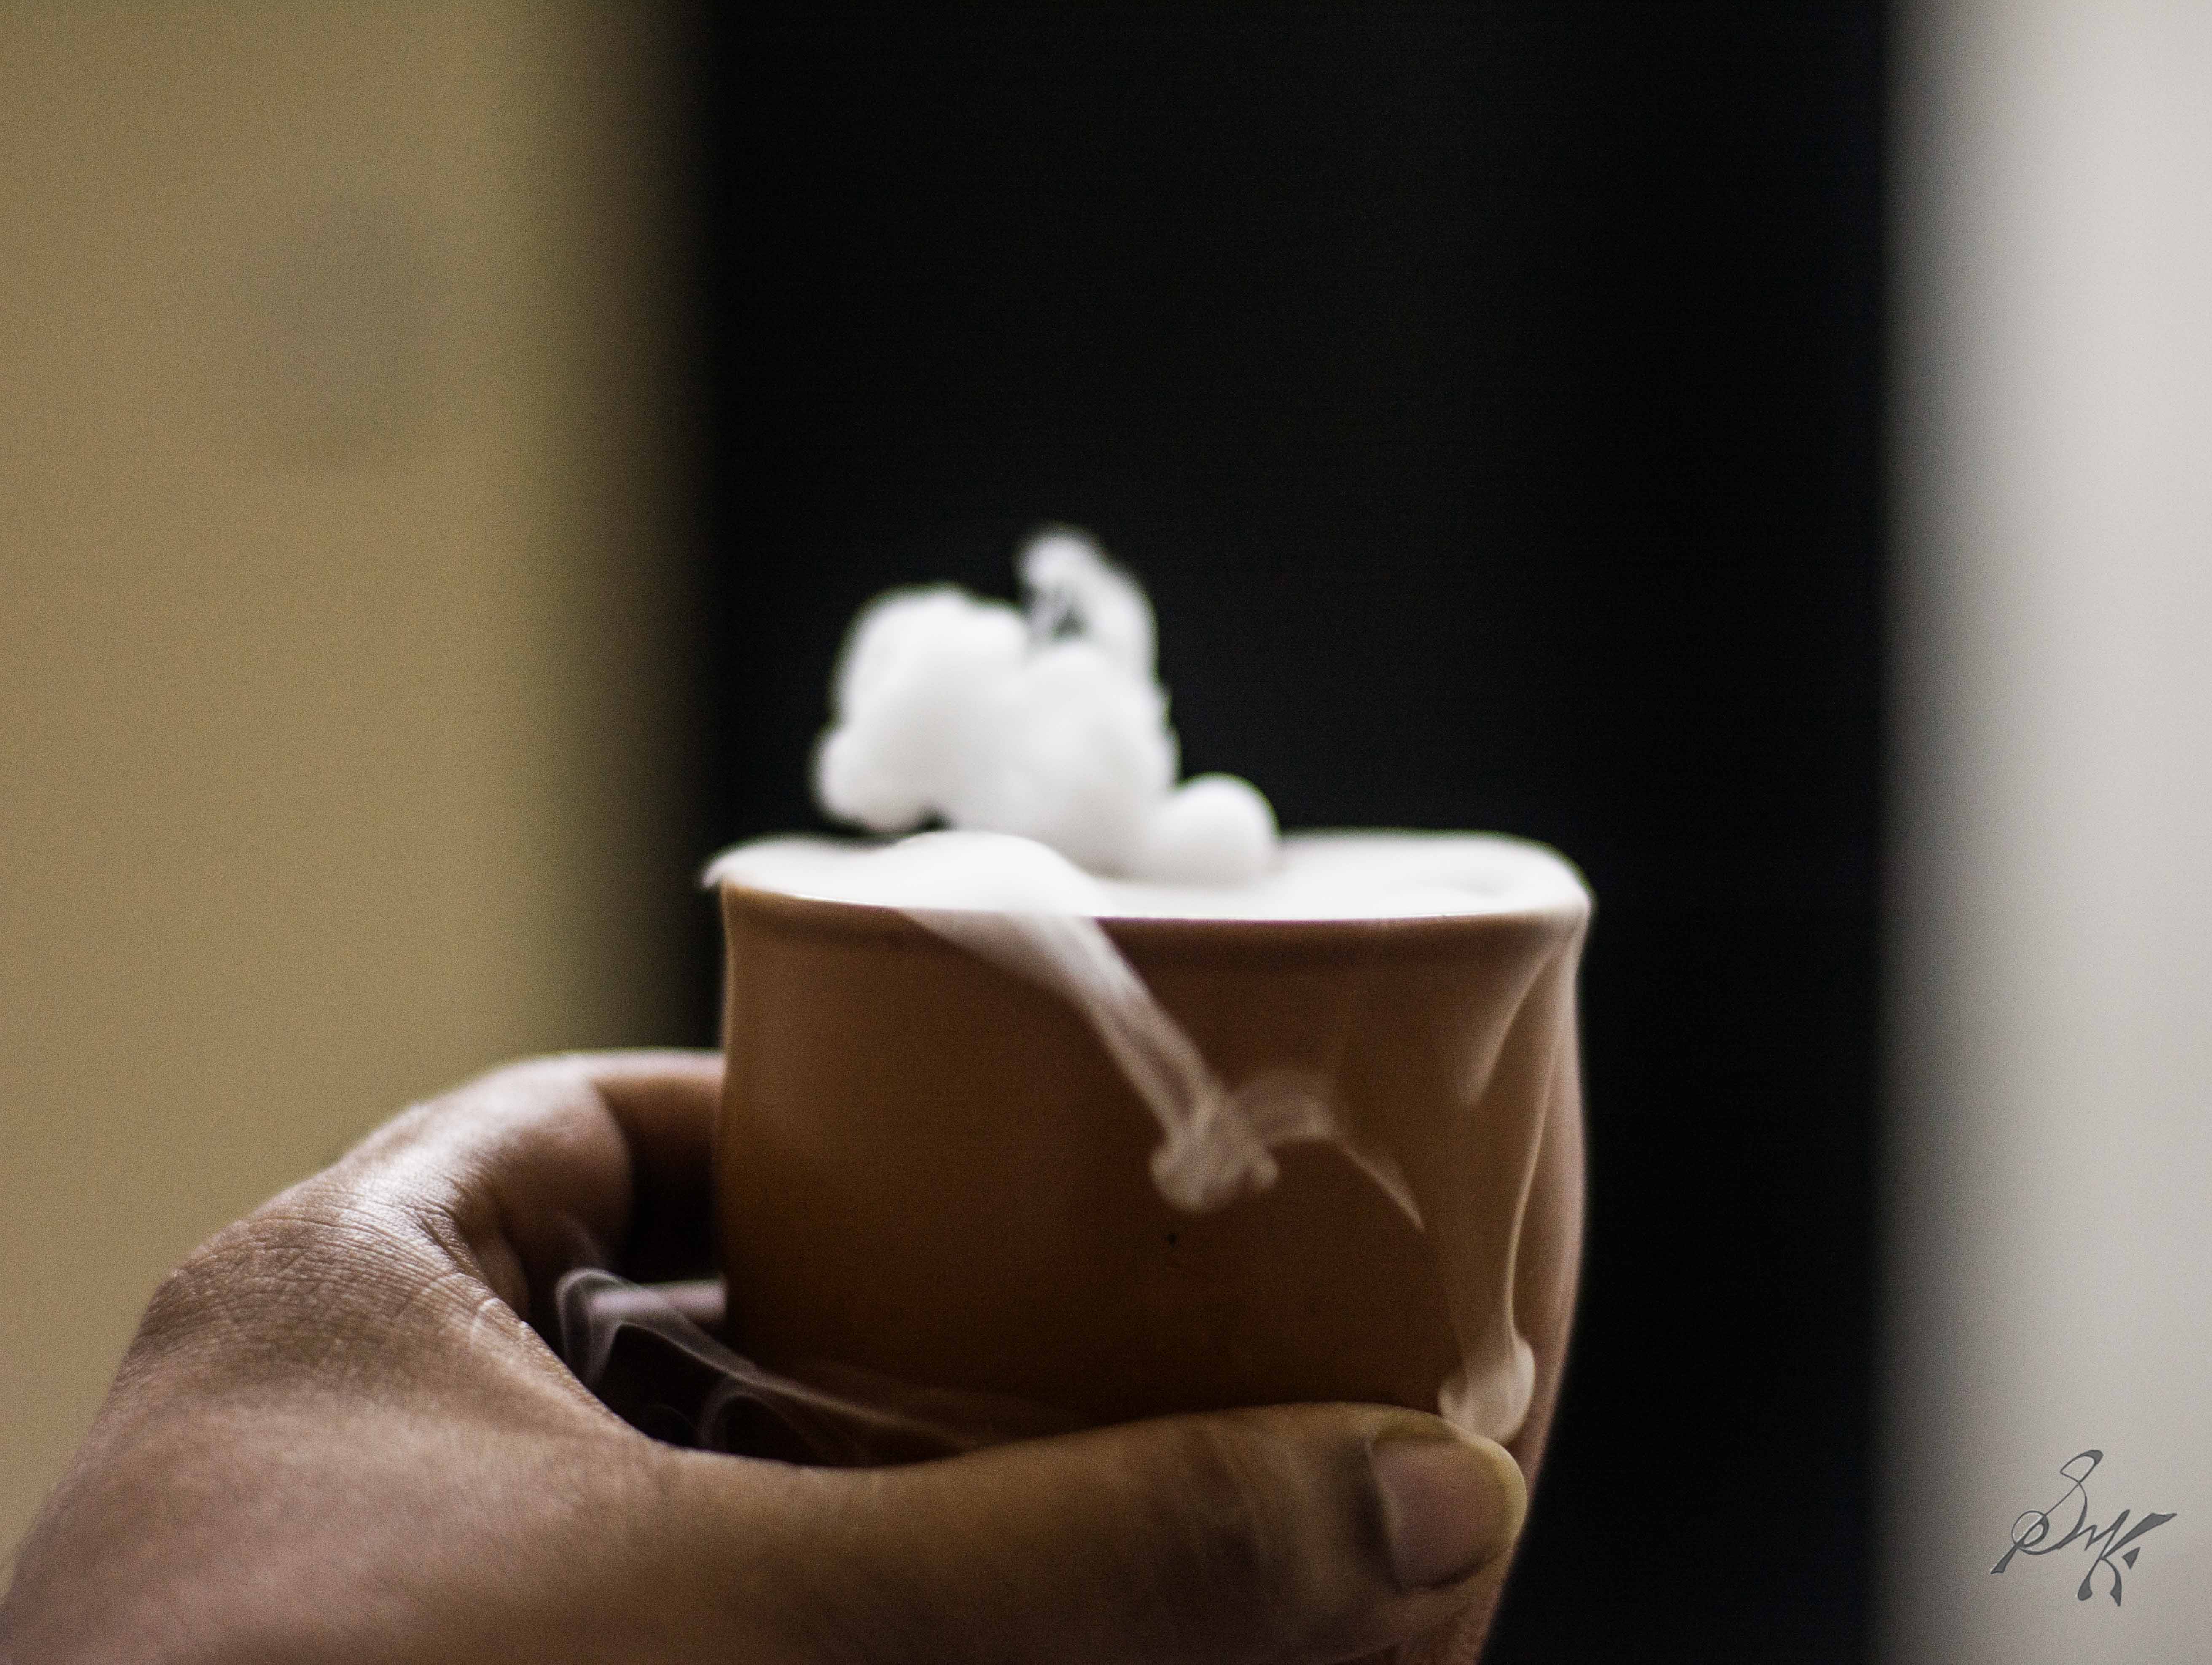
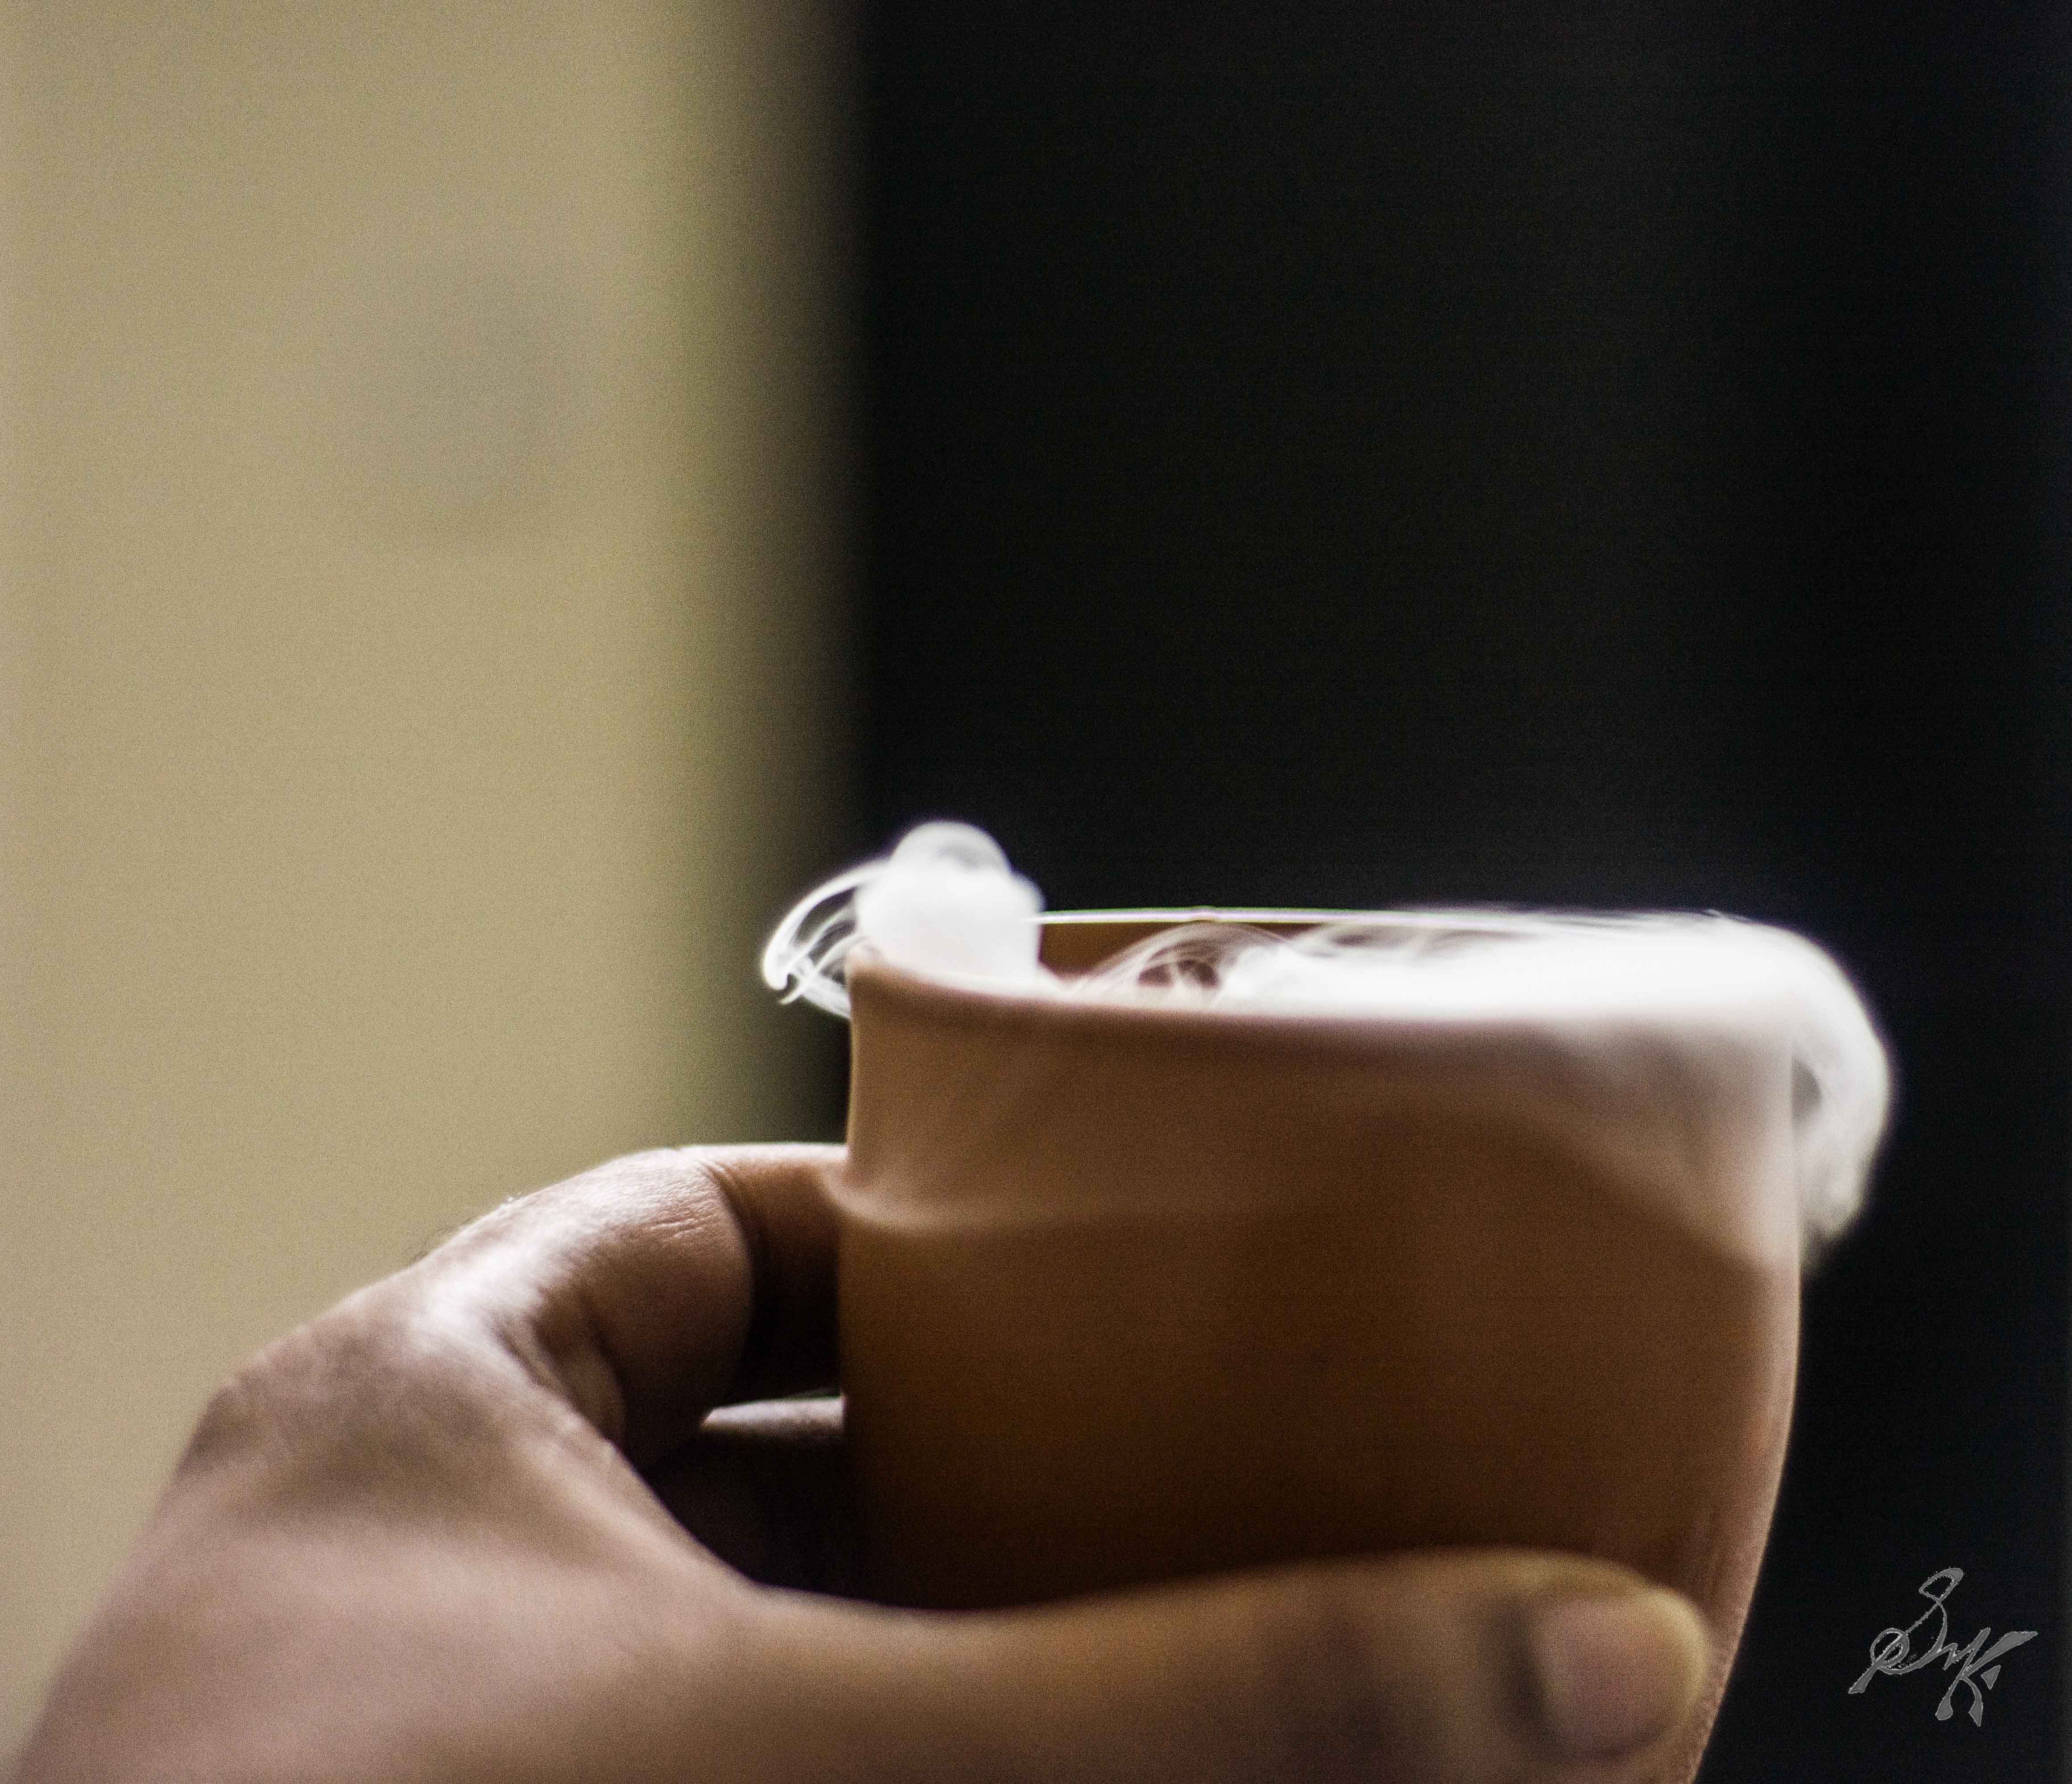
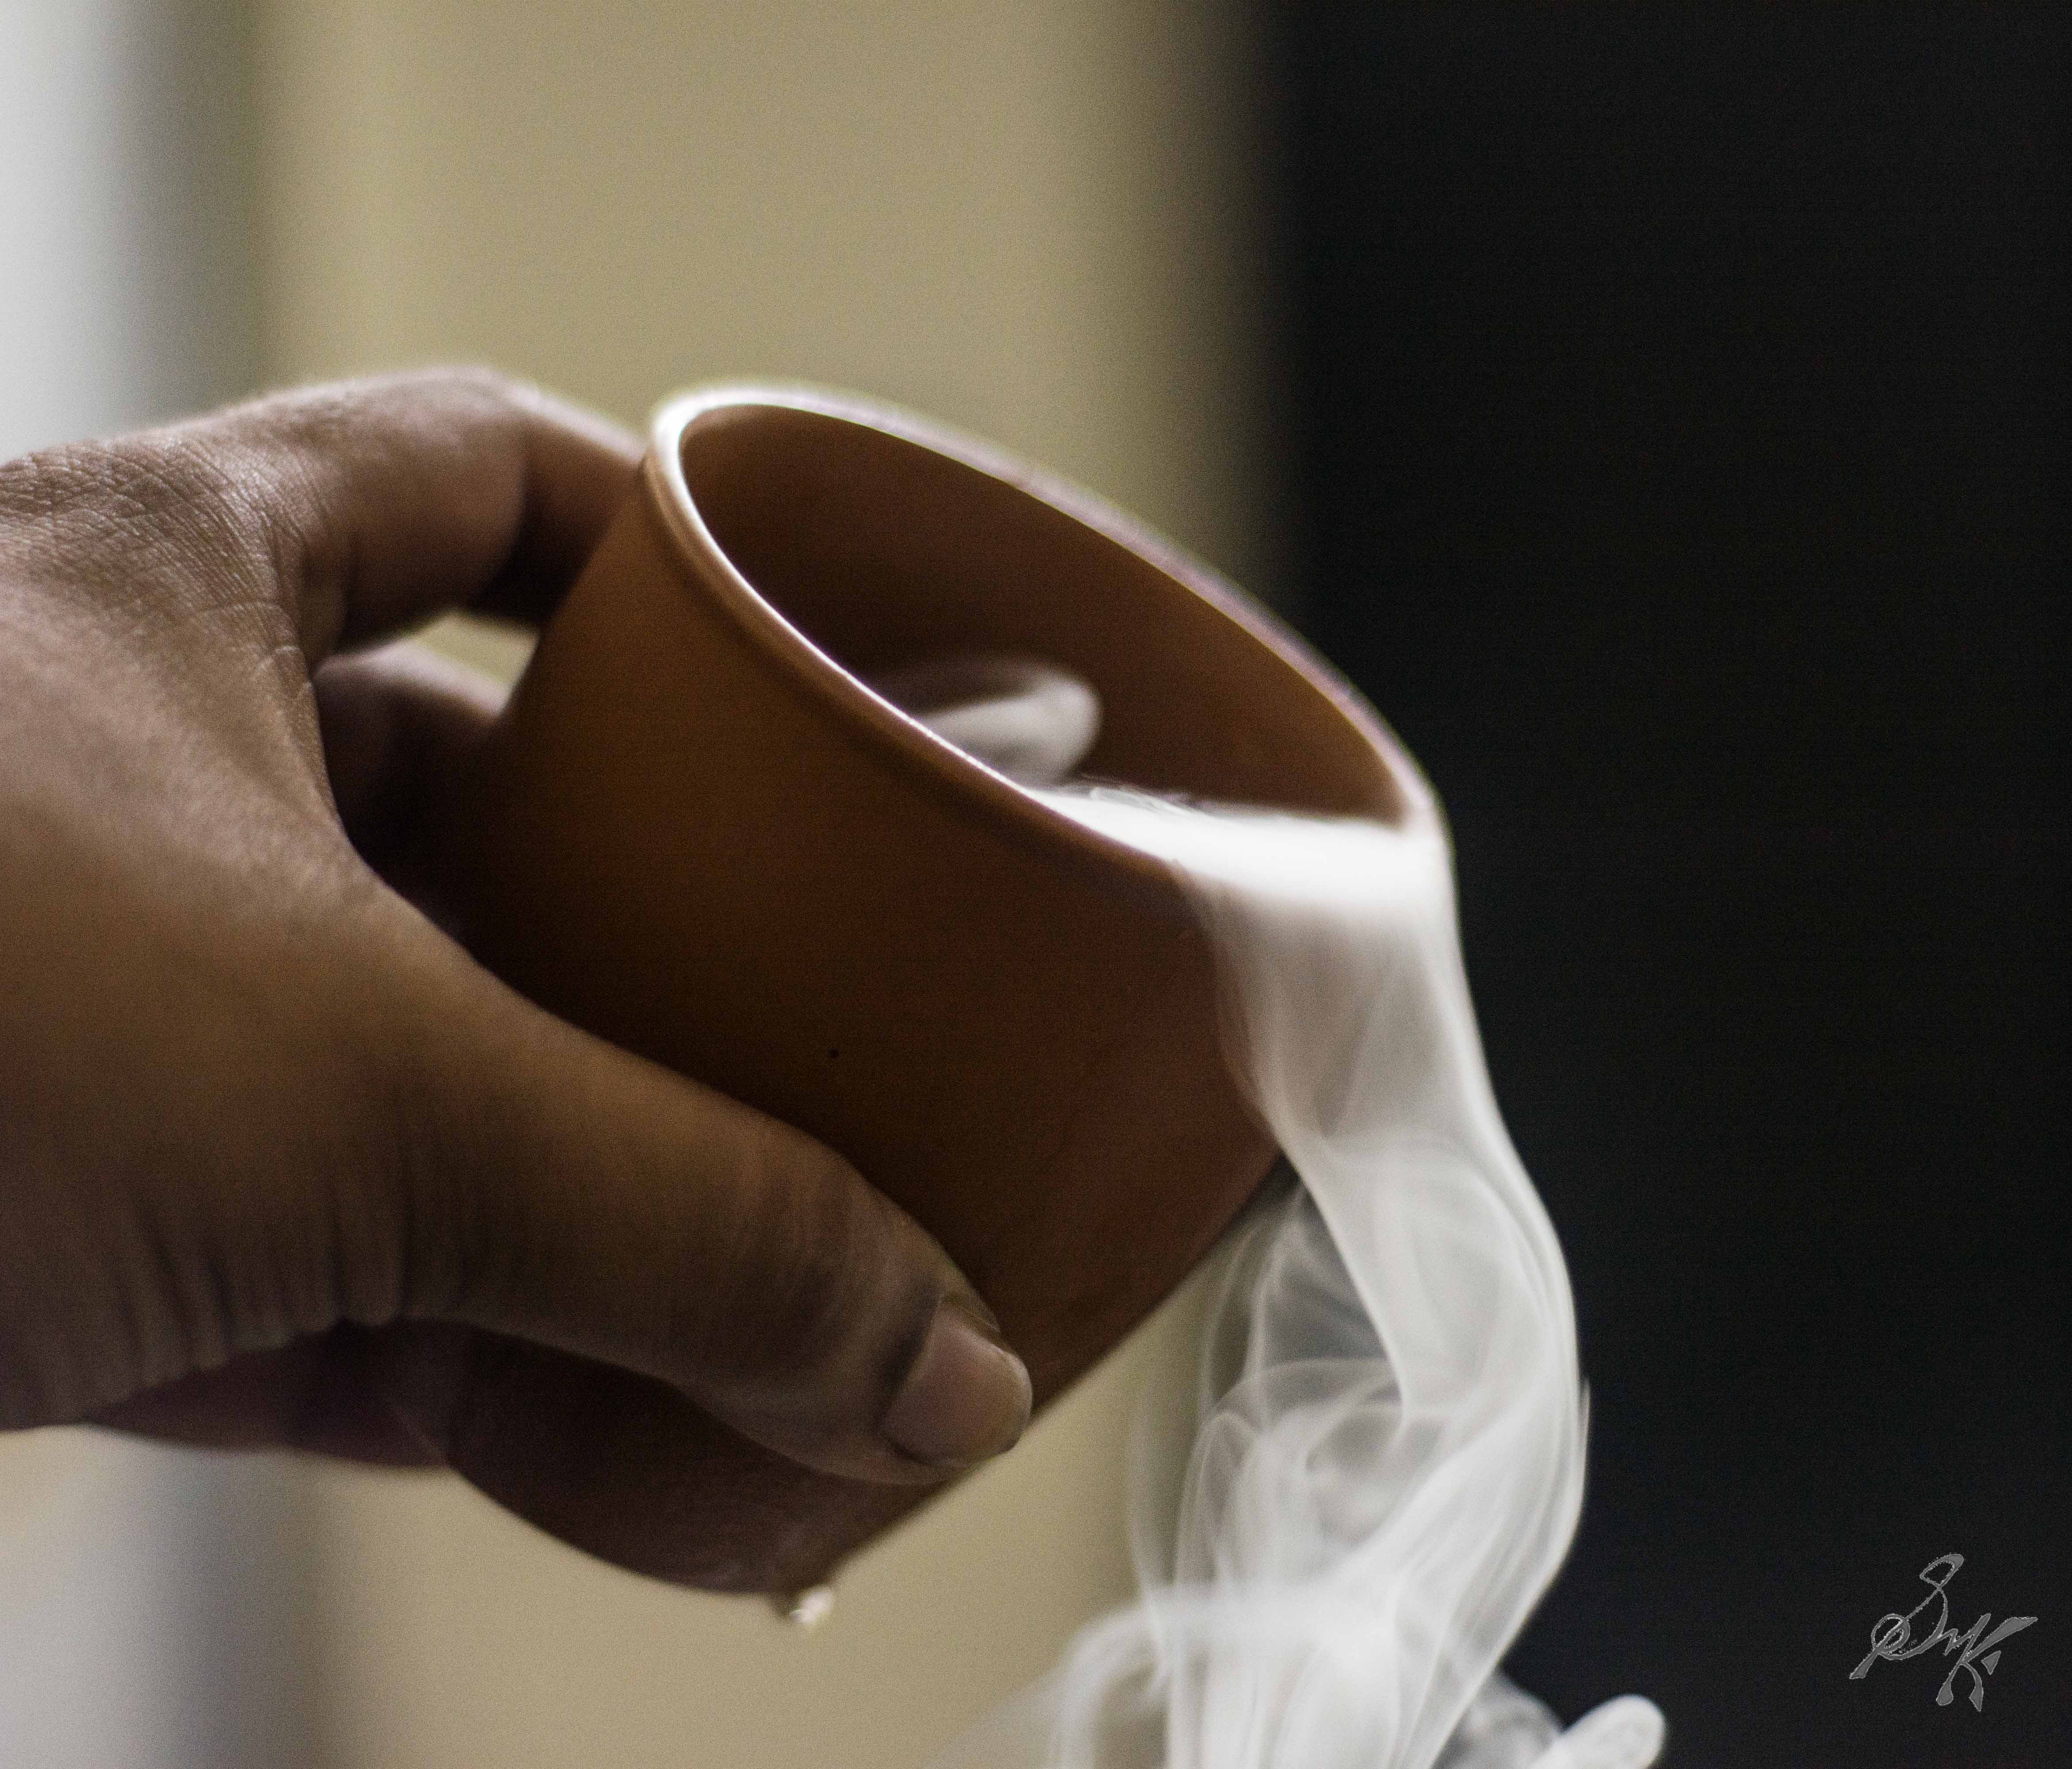
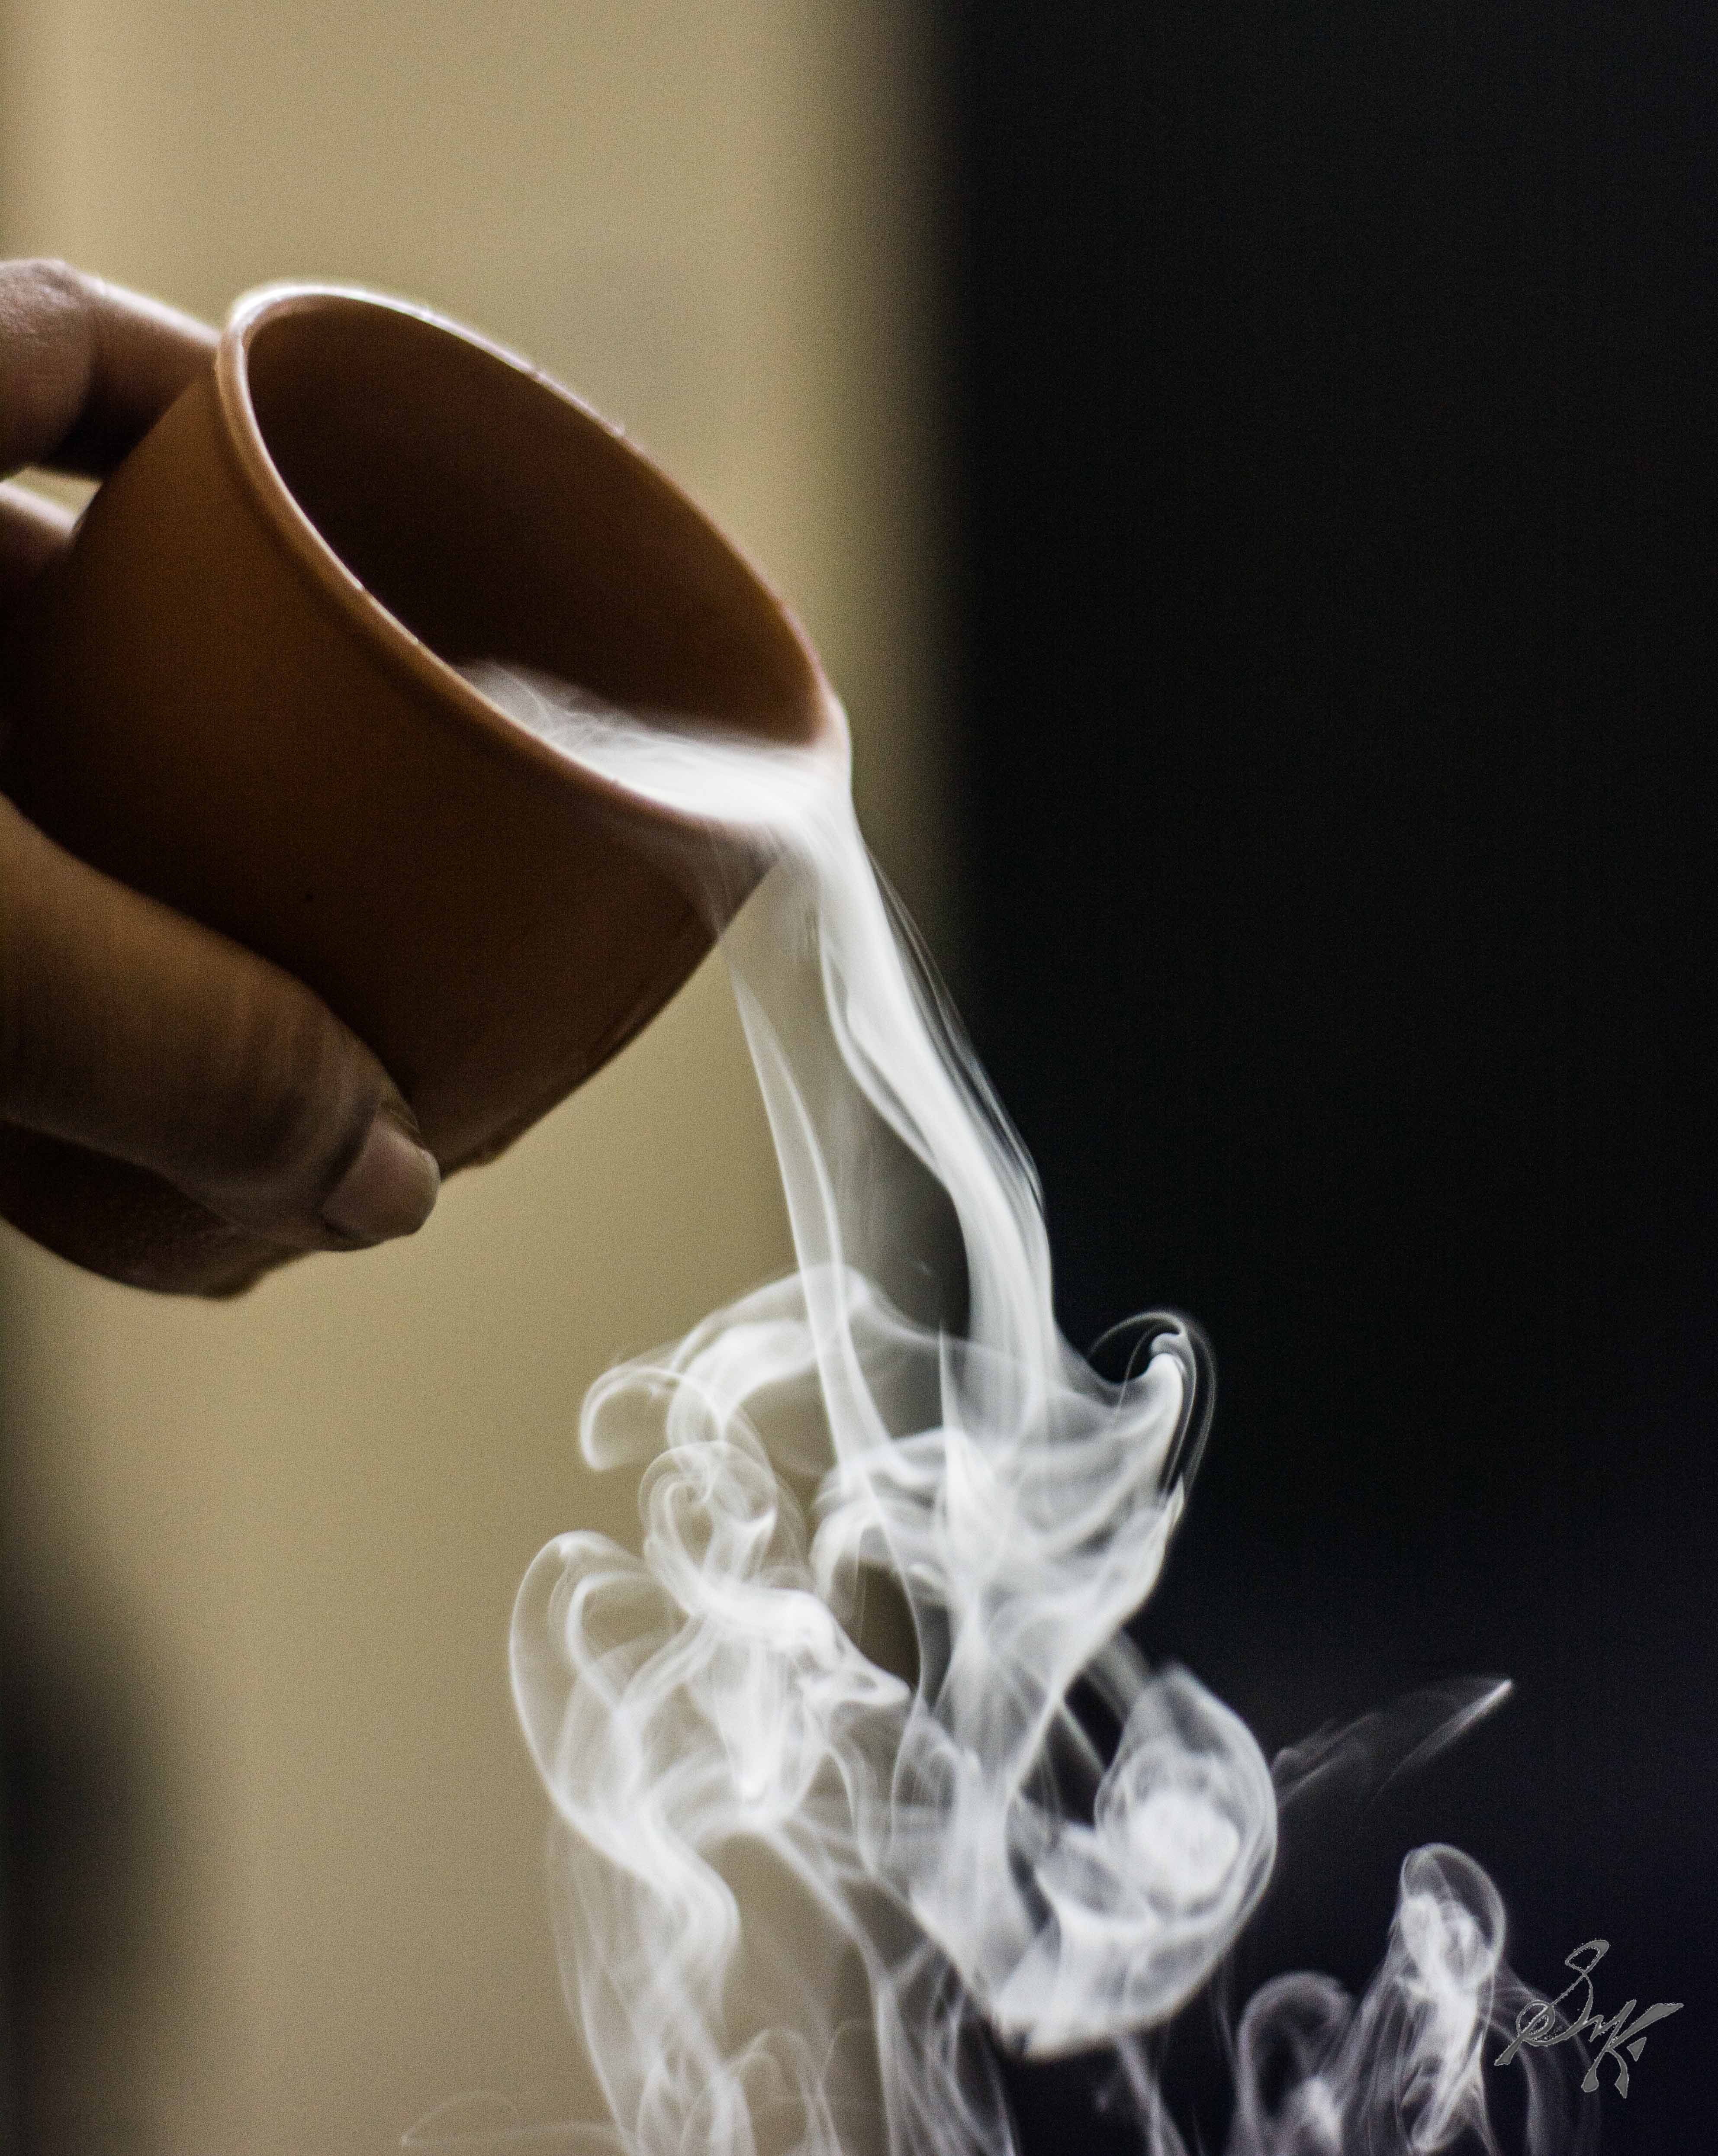
Dry Ice is of interest to us photographers since it produces thick smoke, when it comes in contact with water.
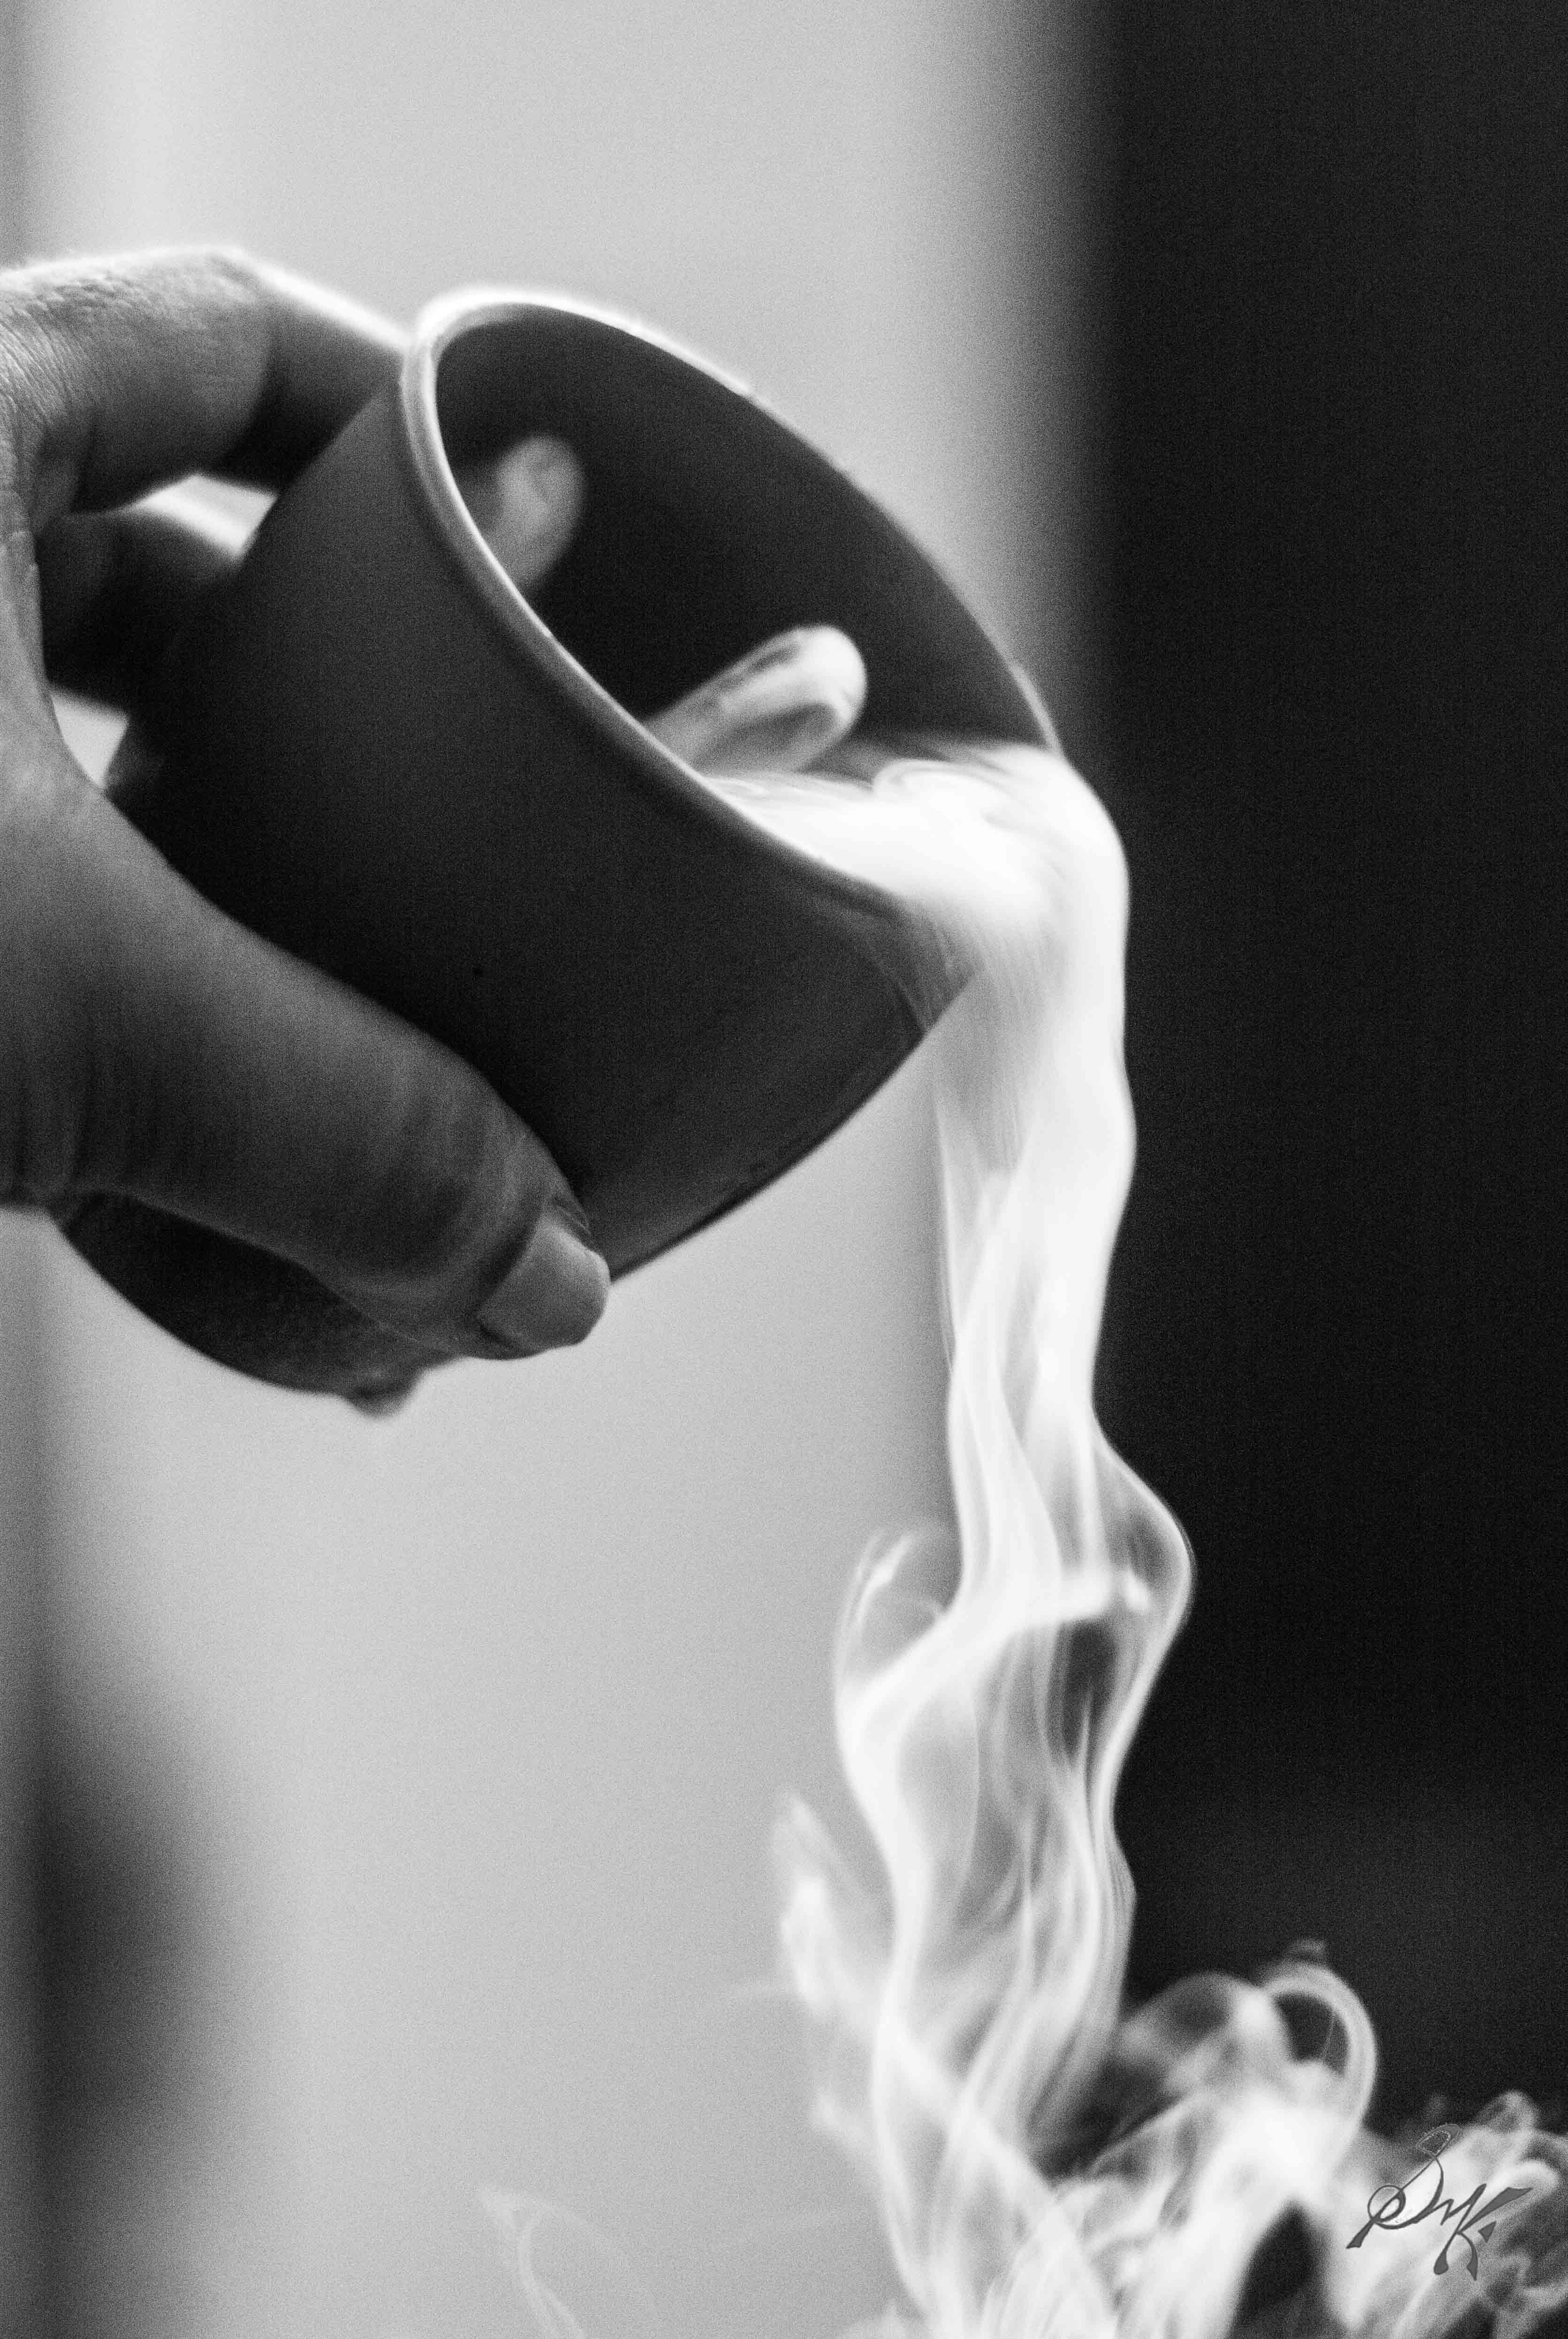
And the best bit, the smoke is cold, and heavier than air, so it flows!
This gives the opportunity to use the flowing smoke creatively. It can be used to provide artificial smoke in photos, to be used to as a background or otherwise.
So, there you have it, the secret to thick billowing smoke in the photos. Have fun it. Be careful though, it is carbon dioxide, so, preferably do not inhale a lot of it, and experiment in an open space.
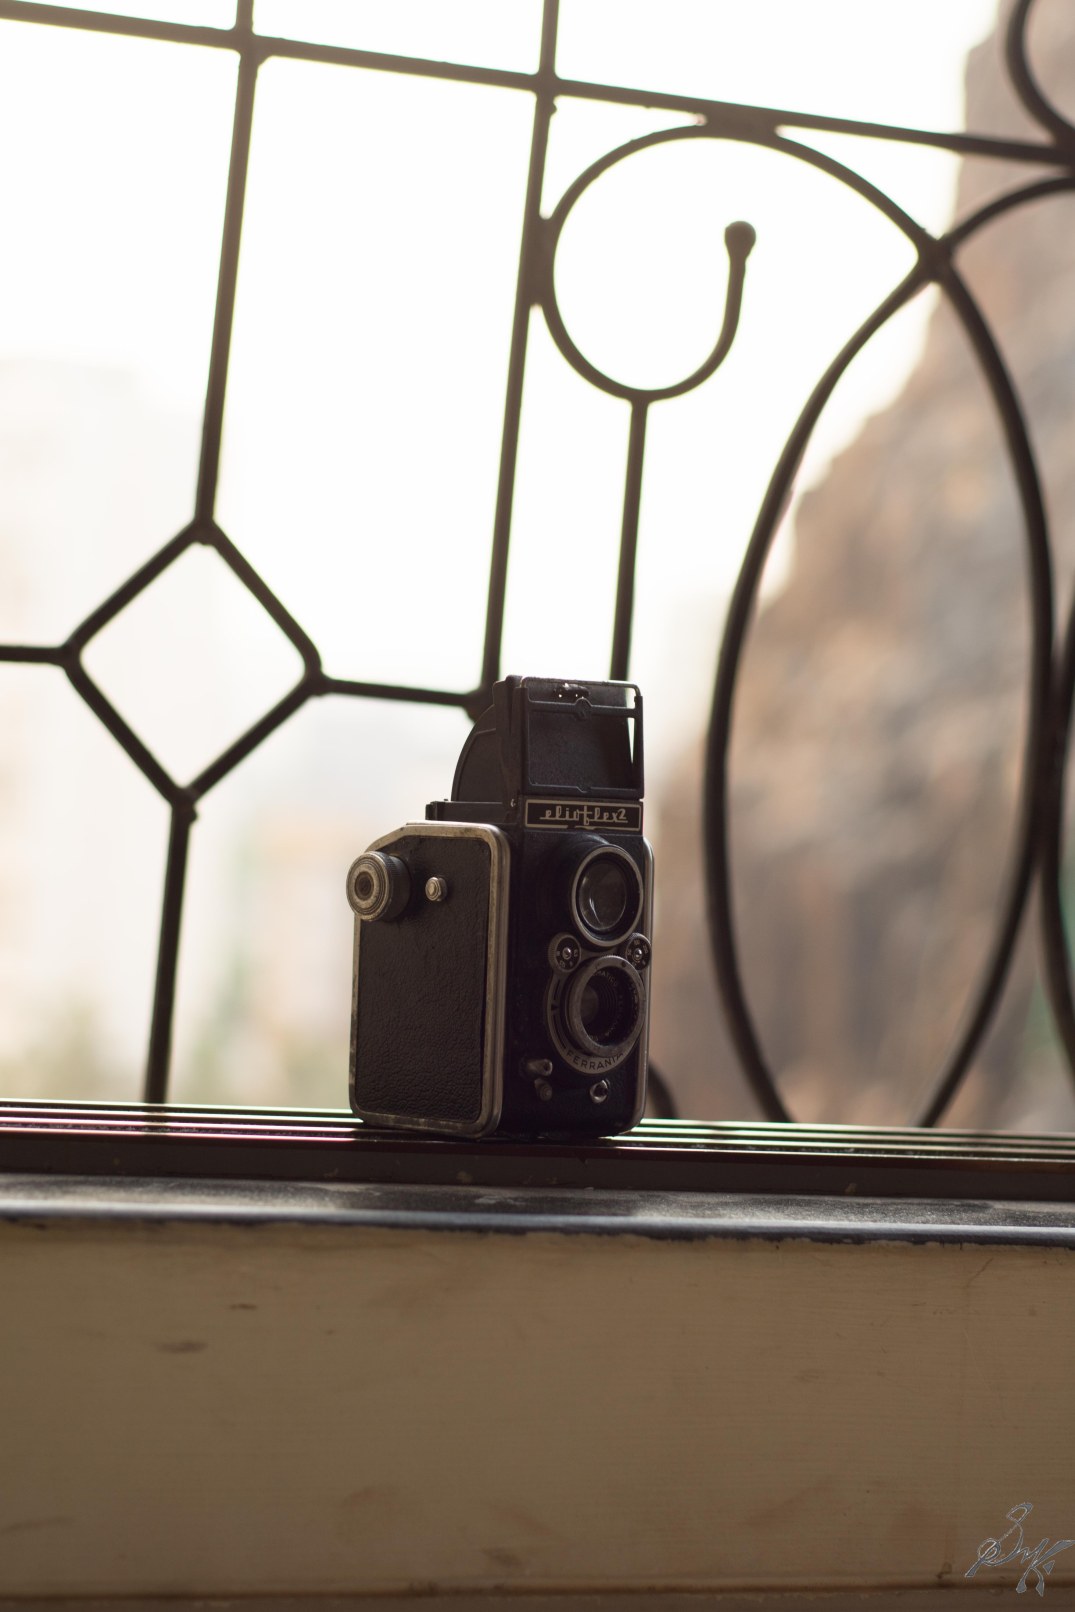
Readers who are millennials or older, would recognize this camera either because someone in their family owned it, or they may seen it in the movies.
This here, is what a TLR looks like.
A TLR is a twin lens reflex camera, where there are two lens, which help in taking the images. The lens above lets you view your subject and focus by rotating the ring, which in turn focuses the bottom lens. The major advantage a TLR has over other formats is that your image does not get shut out due to the mirror movement as with SLRs. You also get a lower than eye level perspective of the scene. On the downside, there is parallax error and the options to stop down to preview the photo will not be available.
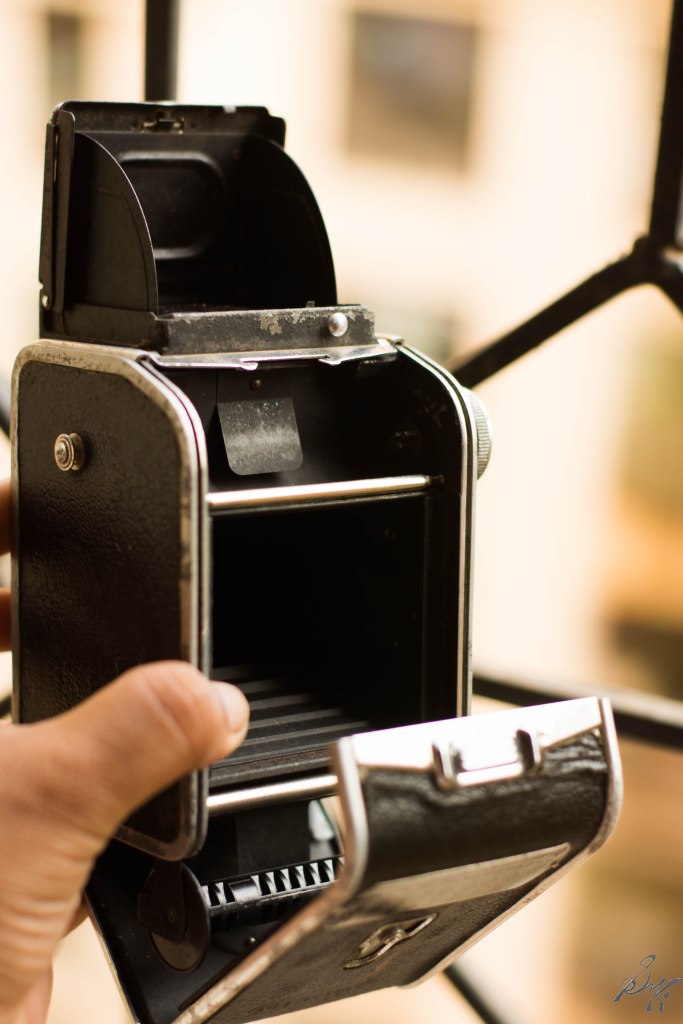
Behind the bottom lens, sits the shutter, and your film.
You view your would be photo from the top of the camera.
The basic functions available on the camera are similar to the ones we use today. It has shutter speeds and aperture values that can be set easily. A unique thing was the distance scale on the bottom lens, which may be featuring here for this specimen here is more of a pseudo TLR, since the focus is fixed.
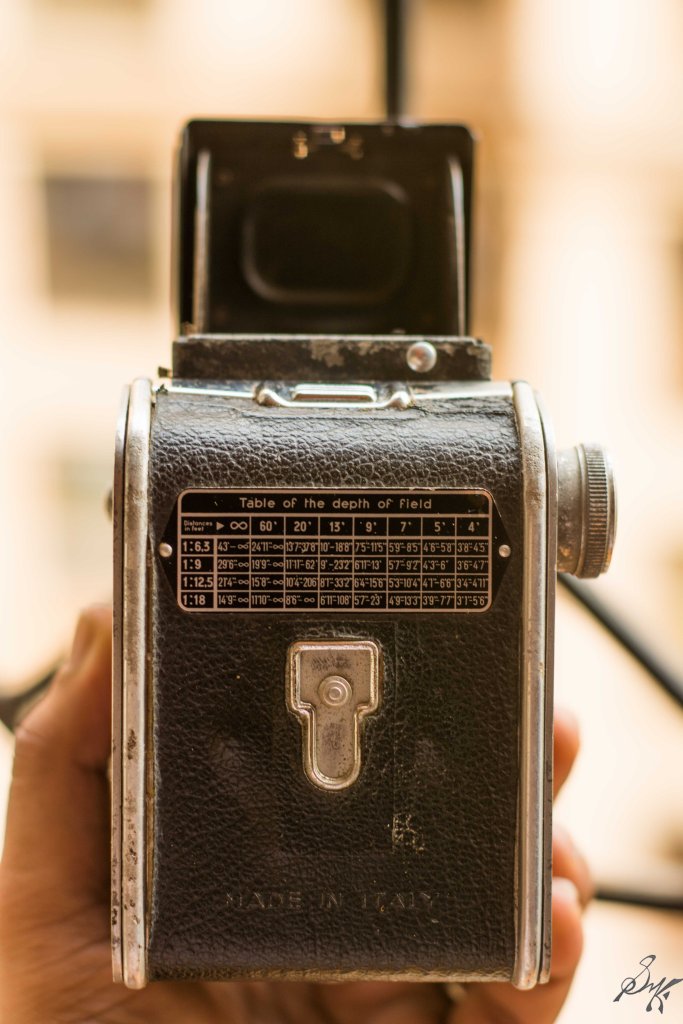
So, in a pseudo TLR, how to achieve sharp focus?? Flip the camera to the other side and read the scale.
This scale gives the hyperfocal distances and the appropriate DOF based on the aperture and the distance from the subject. You read the details off the scale and dial them in, and voila! you have a sharp image. One thing to note is that the image formed in the viewfinder is laterally inverted. Takes a little time to get used to, but once you do, it is quite fun.
Some may say that it is too much work, I ll say it is an amazing learning experience. This specimen on the 1950s Elioflex 2 from the Italian Ferrania was a gift to a dear friend Tara (a calligraphy expert by the way) scrounged from Chor Bazaar of Mumbai.
Maybe I ll go get a film camera and try out some film photography, what say readers?? Let me know of your opinions in the comments below!
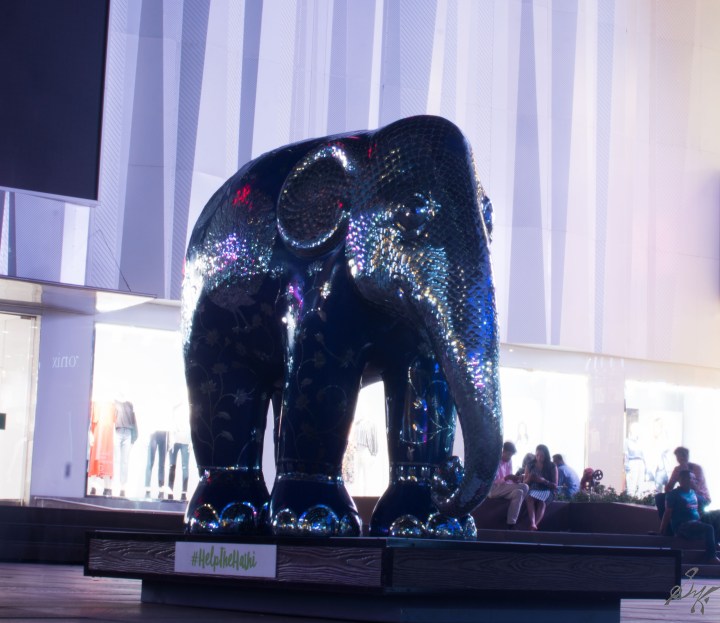
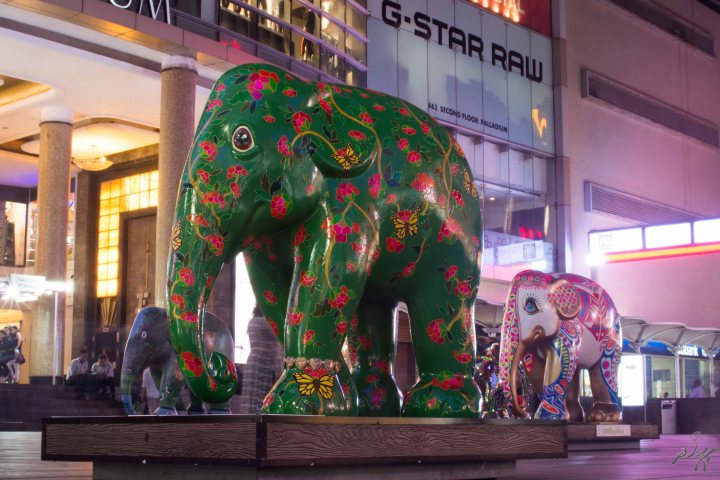
With the novel objective of raising awareness for elephant corridors across the country, The Elephant Parade India arrived at Mumbai this month.
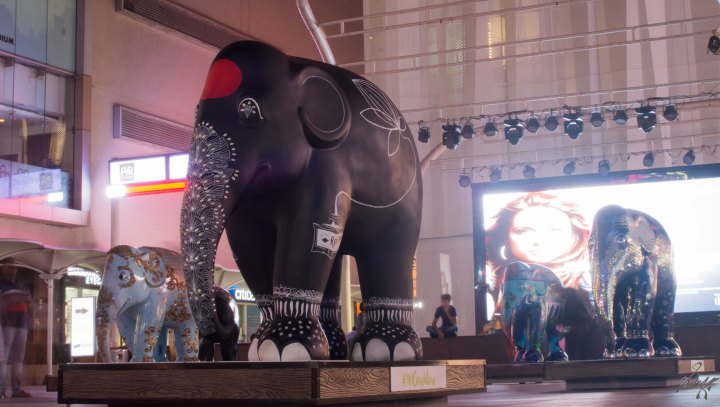
Along came exquisitely designed and painted elephant replicas, each having an interesting story to its own. Apart from being an awareness raising tool, it is also an amazing means to showcase the artist’s expertise and talent. I met with the following elephants at the Phoenix Marketcity at Lower Parel. The elephants shall be on display in various locations within the city and details can be found here.
These beautiful elephants are also available for sale using the website mentioned earlier. It is my recommendation that you go and have a look at these elephants as and when possible.
As a note to my readers who may be in Mumbai from 14-18 March, a set of these exquisite elephants shall be at the Bandra Fort during the above mentioned days. The opportunity to capture stunning photos is quite an unique one.
A trick to reduce the influence of crowds on the photo is to have a long exposure. The elephants being stable are sharp while the crowd fades away due to them moving swiftly. In case there are posey people in front of the elephants, they shall show up. There shall be ghosting, for sure. This is the minimum hassle method to obtain a clear picture. Drawback being it can be used only when you can shoot a long exposure, meaning, day time shots are not possible. For the daytime shots, you can set your tripod and take a series of shots and then use the “Median” command in Photoshop to eliminate the crowd. Ghosting shall be minimal.
Go have fun, use a different technique and share your results in the comments below.
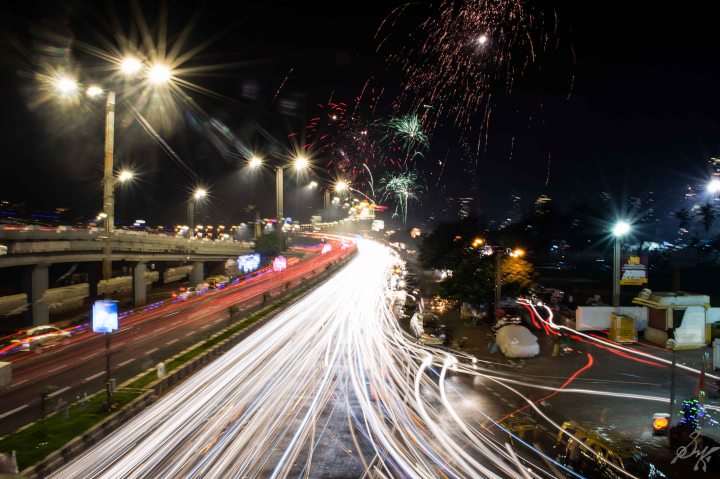
Time and again, I have had requests and queries on how to take the amazing “trails” photos, today, I shall try to demystify them.
The technique is called Long Exposure. As the name suggests, we make the photo’s exposure long. In doing so, any light source, or lit up object, that is incident on the sensor, shall be registered by it. In technical terms, we extend the time the shutter stays open, by decreasing the shutter speed. This causes the exposure to be “long”.
Here’s an example:
Now, to achieve this, we need to have a shutter speed that is low enough to form the light trails, while the aperture has to be such that the photo does not wash out, all the while maintaining the ISO at a level where there is not a lot of noise.
We can get to this unique combination by fiddling in the Manual mode:
Or, by setting the camera in the Aperture Priority mode (AV mode in Canon).
The objective should be to have an optimal exposure, despite the slow shutter speed.
With enough practice, taking stunning photos shall not be difficult at all.
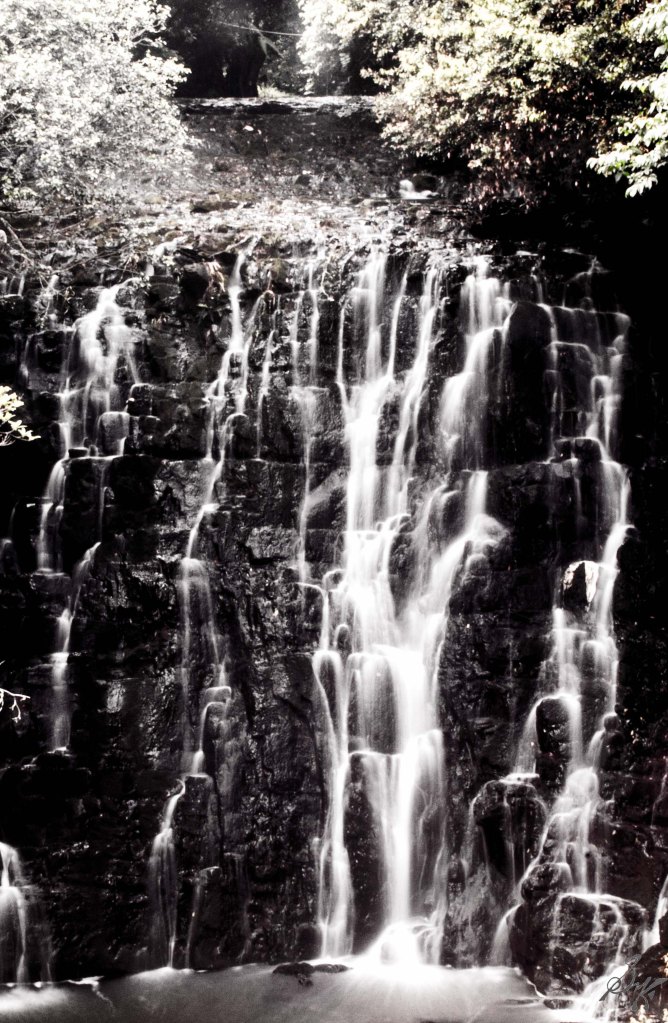
Long Exposure is amazing for smoothening out ripples in water, or giving the water a milky flowy look. Do try them out.
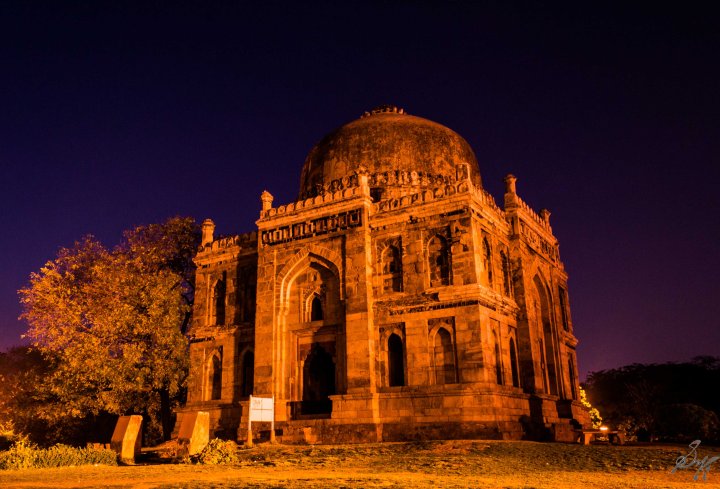
It is also useful to take photos in low light environments such as this dimly lit monument at the Lodhi Gardens, New Delhi.
I shall conclude by stating that unless you practice, you shall not be perfect. Go out there, and explore the amazing world of long exposure.
Today, as I sit to type down this post, my bags are packed and ready to leave. I leave NICMAR, Pune in less than 6 hours and will be on my way to my home first, then to much bigger adventures. Last night while packing, I stumbled across two very prized possessions of mine, my self made reverse lens adapter and a pair o kerosene lighters.
Flipped it open, spun the wheel, the sparks erupted, felt good.
At around 0100h, I felt a tiny bit creative. So, here is what I did, past mid night, using the reverse lens adapter. Lens used, my trusted Nikon 50mm F1.8D, and the camera, Nikon D3100.
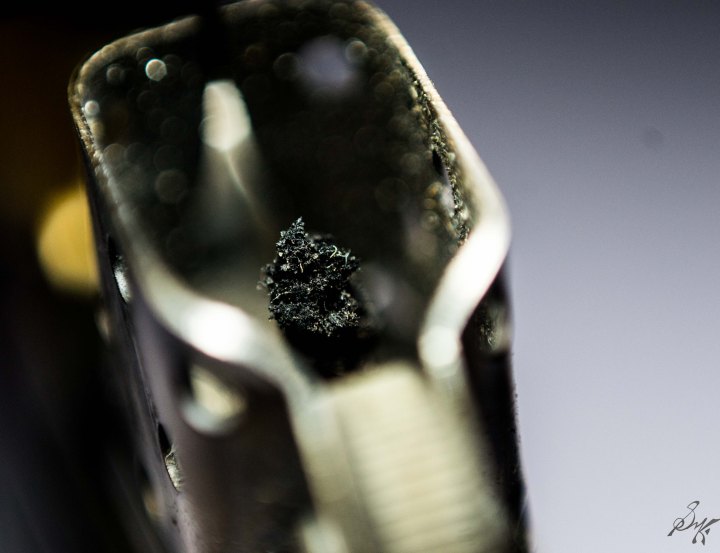
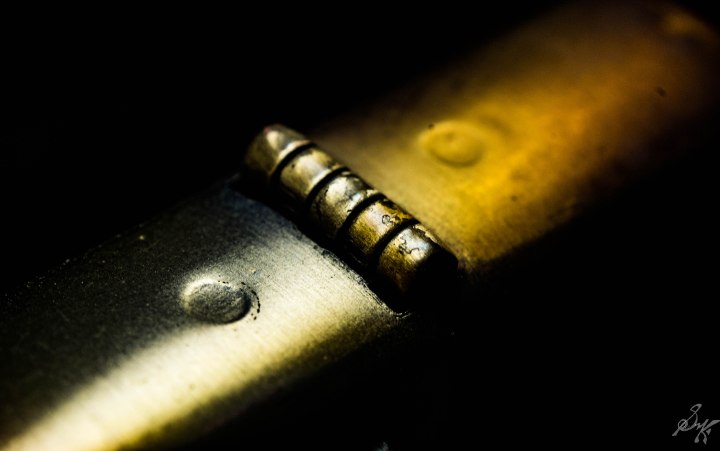
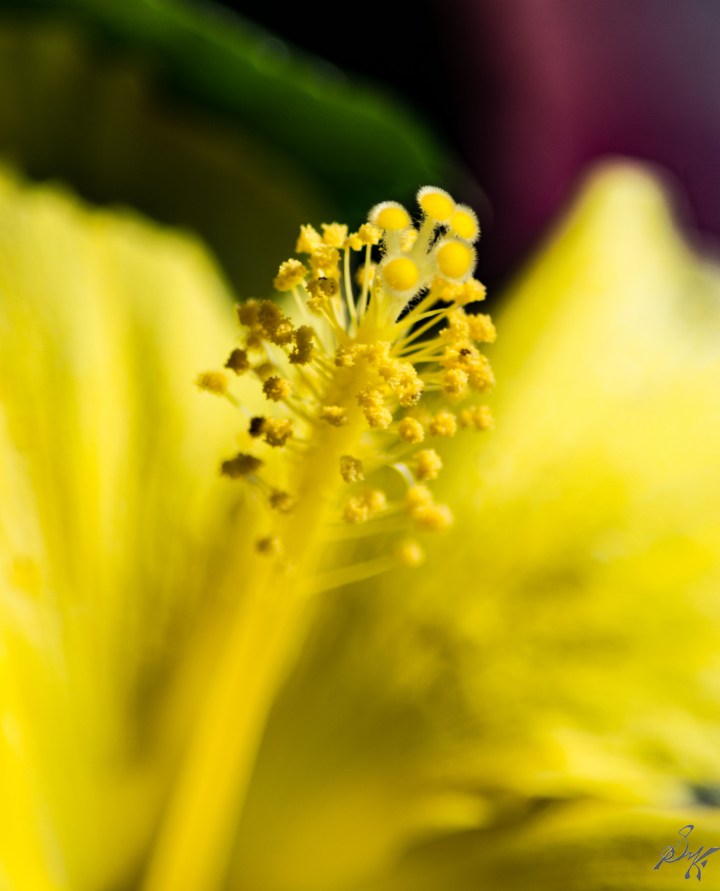
The following images are shot using the Tamron 70-300mm F4-5.6 macro lens, in the macro mode as control shots.
I ll infer that unless one is dedicated to shooting macros, the need for a macro lens, is quite limited. Often, a reverse mounted lens shall do the trick. Adding on, it is always much easier to use a full manual lens for reverse mounting because you can control the aperture ring and decide on the depth of field.
With this, I sign off from NICMAR, Pune. I shall be travelling for the next few days and shall also be visiting Delhi for almost a week, so that should make for a nice post.
Photographers, both, budding and experienced, have faced the issue of flash whiteout quite often. Sometimes it can be handled by varying the settings and we immediately realize the importance of a flash diffuser.
Like the name suggests, it is used to diffuse the harsh light from the flash and make it more soft and soothing, while still lighting up the subject. It is useful as it does not produce harsh shadows and lights up more area, albeit in a little less intensity.
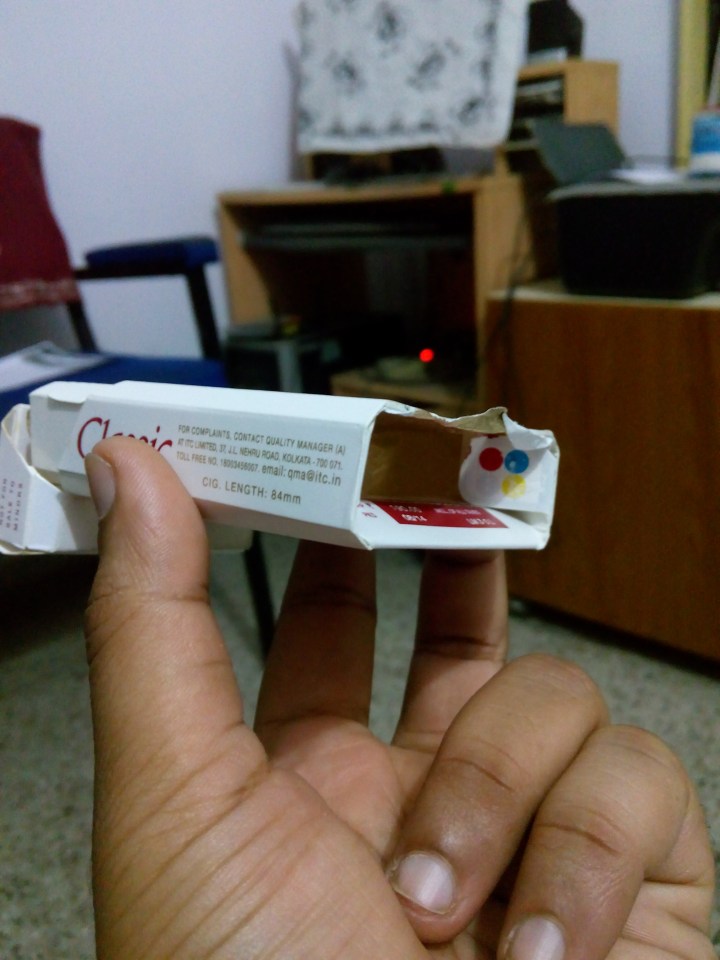
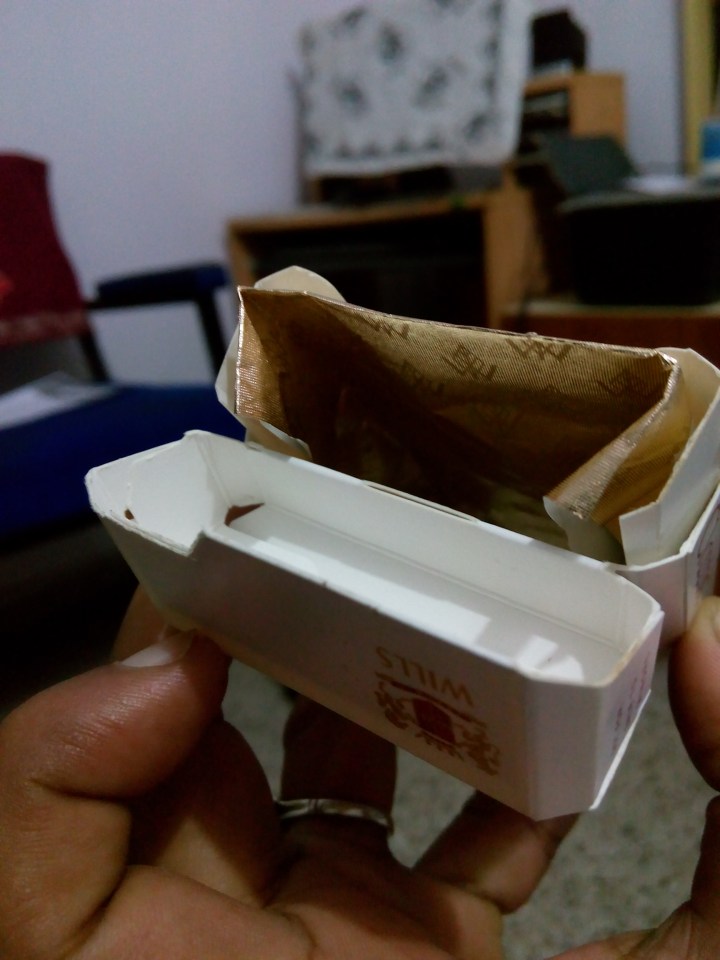
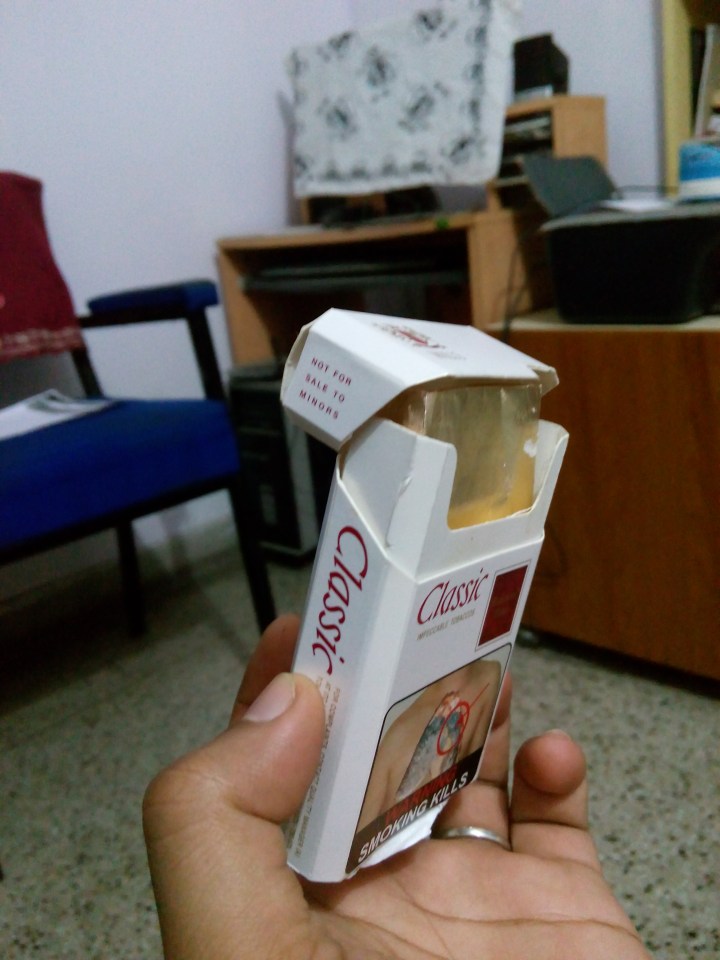
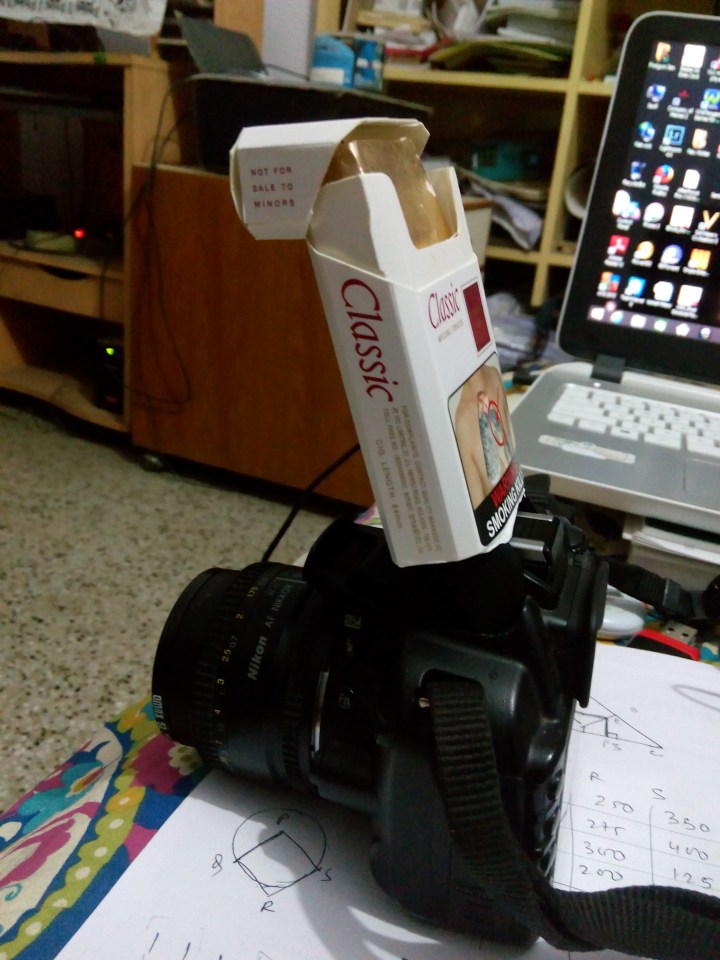
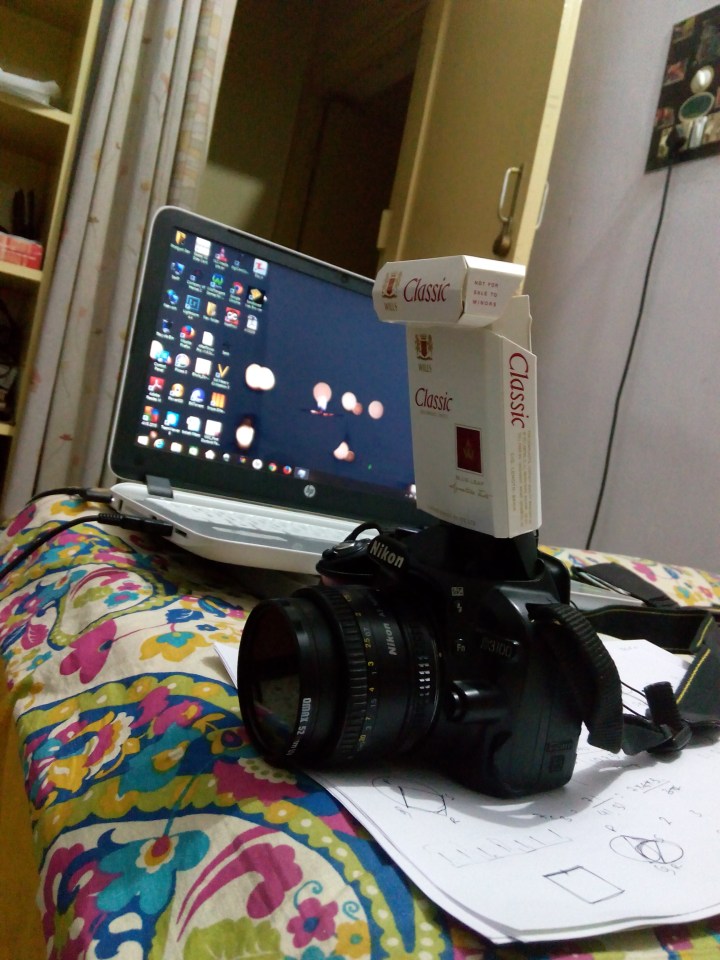
One can get clip on diffusers for the on board pop up flash, while the external flashes generally come with a diffuser flap. Here is a method of repurposing a used cigarette packet as a flash diffuser in a hurry.
Get a white pack, rip off the bottom of it carefully and pull out the silver or golden foil from inside, carefully so as not to tear it away.
Reverse the foil so that the shiny bit will be facing inwards.
Push it to till the head, in such a way that light doesn’t escape and is rather reflected and the head behaves as the flash.
Clip it on your camera’s pop up flash. It may need a little tweaking here and there for it to be set correctly.
Results:
Normal flash
Same settings, with the diffuser
I hope you have found this useful. This is quick fix solution, a typical Jugaad 🙂
Shooting at night, and in long exposure is quite fun, one must agree. With a little tweak, the night can be turned into dusk, if not bright day.
This shot, 0230 h. 30 seconds of exposure does this trick.
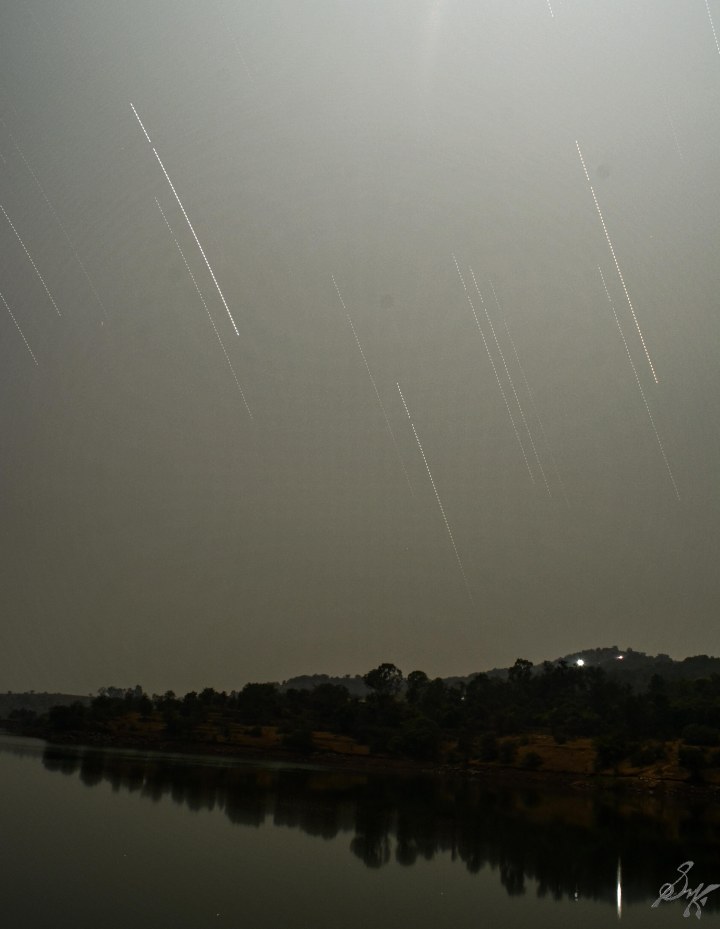
We get enamoured by the photos of trails of lights across the sky, often in round or elliptical patterns about a stunning landscape. Some of my readers may already know what it is. What you have seen, is a star trail.
What is it? Well, as the earth rotates, from our point of view, fixed on the earth, we find the stars shifting. If we capture this shift, over considerable span of time, we shall get the path traced by the star. That illuminated trail, is the star trail.
Things we need are quite minimal. We need a tripod, a camera with a means to take a certain number of shots over a period of time, a landscape and a starry night.
Set the camera appropriately on the tripod. In the settings menu, make it take photos till the battery runs out or at least 8gb worth of photos are captured. For the exposure settings, you ll have to take a couple of cold shots. Try with the minimum ISO and shutter speed at about 15 seconds. Take a shot and inspect it, if you can see at least one star in your display screen. A few trial and errors and you shall get the exposure right. Once done, set the camera on the interval shooting mode, and wait.
Now, what you shall get out of the shots is a series, where the only movement, preferably, will be of the stars. Get hold of the software, StarStaX, and load up the images. Follow the instructions and let the software process the photos. If done correctly, you should get yourself a beautiful star trail photo.
If you have reached till here, you have definitely earned the right to know what may go wrong. Take a look at the photo above, once more. Zoom it. Do you notice that there are tiny gaps between each trail. That gap is what 5 seconds looks like. Between each of my exposure, I had set a gap of 5 seconds. If you want a continuous trail, ensure, no gaps. You may have to shoot on JPEG for that, turn noise reduction off, so that as soon as the camera shoots one image, it can continue to the next one. You have got to ensure that there are no movements on your end. Before you put the photo into StarStax, it is advisable to convert them in JPEG, if you have shot in RAW. And while you are at it, make the uniform changes in all the photos using sync (Lightroom) or similar functions.
My exposure is about 120 photos, half an hour long. This was a proof of concept shot, to try out whats and hows. Now that I know, in near future, better, seamless shots should be expected.
Photography is all about how you play with light. Whatever be the kind of photography you do, light is the essential common denominator, be it portrait, landscape, macro, or any other thing you can think of.
Light trails are a mix of use of depth of field, controlled shutter speed and ISO. Along with the basic trinity, you also bring in creativity, and different props. The understanding of how a shot is being taken, or how it should be taken, is paramount while doing light trails, light paintings and such.
Its not always that a slow shutter is all you need. Sometimes, varying the light source also helps.
In the end, all that matters is, that you must have a lot of fun.
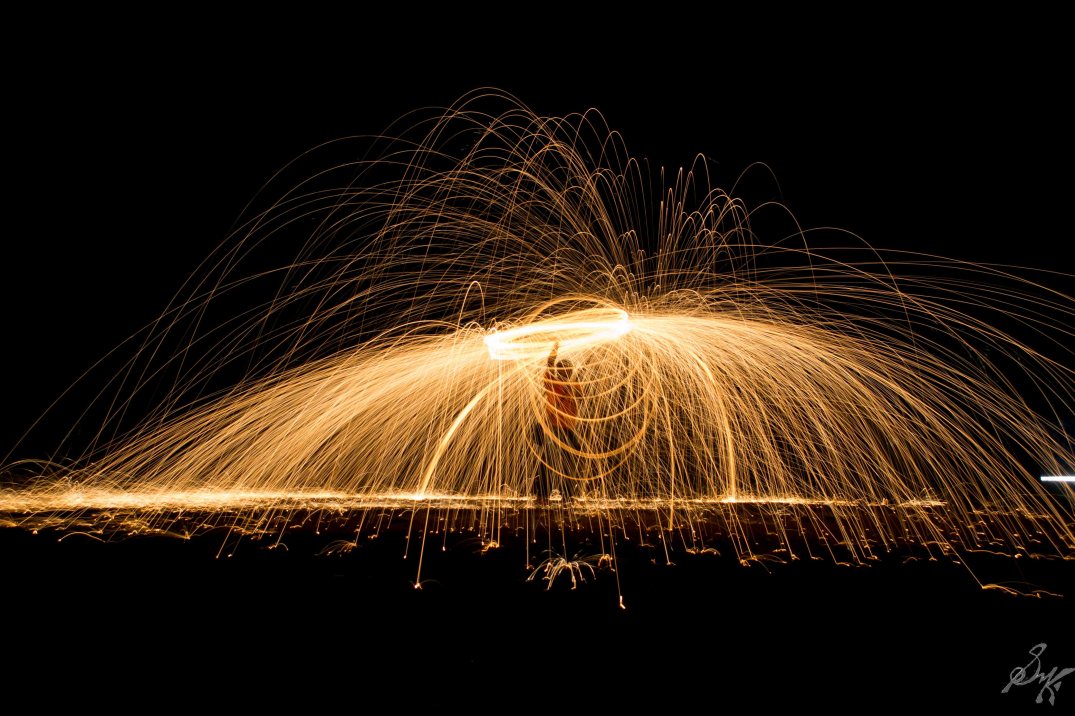
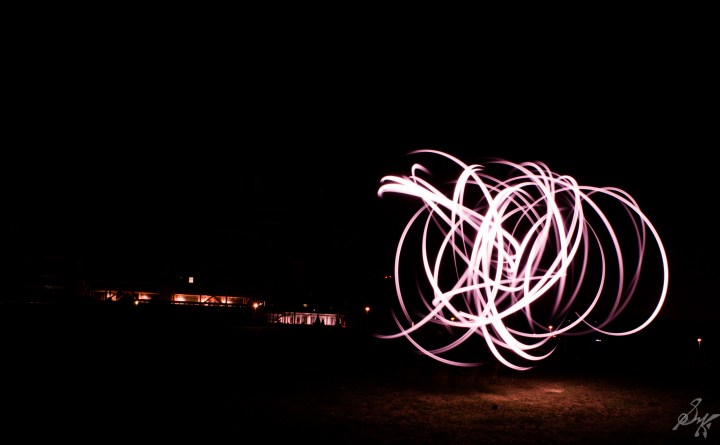
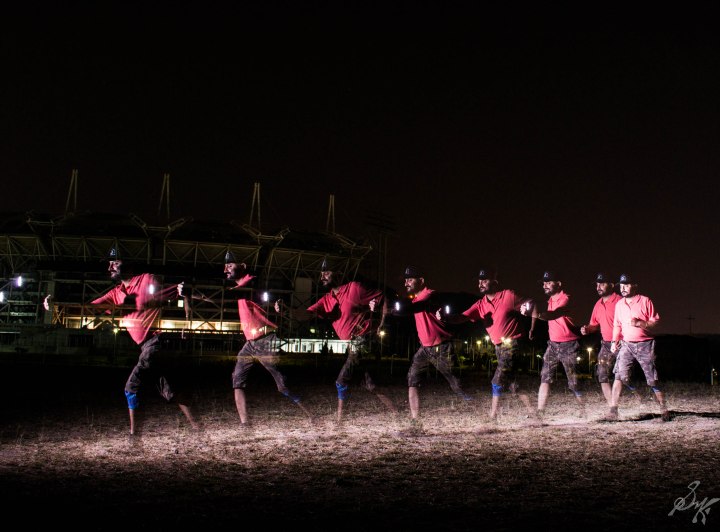
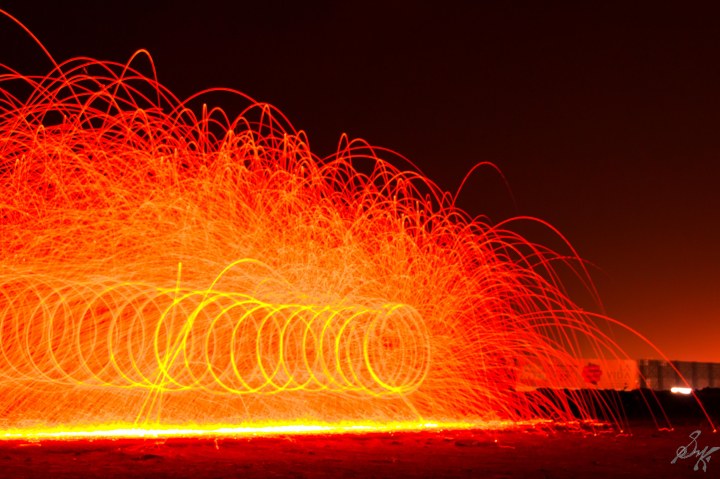
Have fun experimenting with different light sources. Understand this, when your shutter is open during an exposure, any and every movement of the light source pointing towards the camera, shall be captured by it. Use this to make shapes, letters, drawings .. the possibilities are limitless.
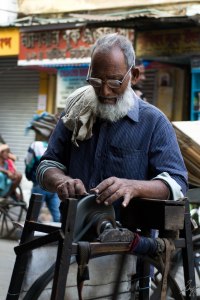
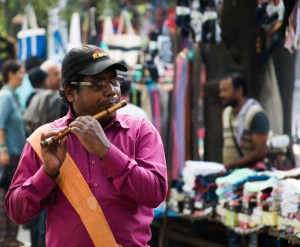
Street photography is always recognized as a challenging and equally rewarding venture. Its an adventure and often requires a certain skill to get the shots right. It is difficult to put into words what shall make you a successful photographer on the streets, but practice and patience are a couple of sure shot ways to learn.
My experience in street photography has taught me a few things, which I would like to share here, which, I hope shall be of use to you , my dear reader.
Be ready-
It may sound very obvious, but is the first rule, nonetheless. Keep the lens cap off, the camera set in a probable setting, or be in a position to adjust on the fly and fire away. The opportunities present themselves at unexpected times, you must be ready.
Keep an eye out-
Look out for frames, people, settings which can be used to tell a story. Often, a nicely composed shot, can speak more than a thousand words.
Blend in-
Try to blend in the crowd. Have a lens that is inconspicuous and is not cumbersome. I mean, yes, a 150-600 is an amazing lens, and can be used to isolate your subject effectively, but imagine using it right in the middle of a bazaar. People will actually be wondering if you are shooting them. The local police might be interested too. So, be realistic. Have a small, versatile lens on you. One that makes you comfortable, and doesn’t scare your subject away.
Be discreet-
There will be instances where you are better off not letting your subject know that they are being shot. Be at a distance, be camouflaged and shoot. You ll get the best shots if your subjects are in their natural environment.
Be friendly-
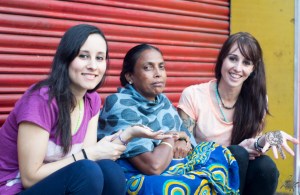
Have a smile on your face, and be ready to show the shots to your subjects. Do not creep your subjects out. Some may want to look at how they appeared, oblige them. Some might want not to be shot, heed them. If possible, ask for their permission if you really want the shot, and once you are done, show it to them. Often, they ll be ready to give you another shot, if the first one was not good enough.
There shall be many missed shots, composition fails and angry glares too, but you ll have to skim them off and cope with the constraints, and once you manage to adjust, you ll see a whole world of opportunities opening up. Good luck.
Cheers!!
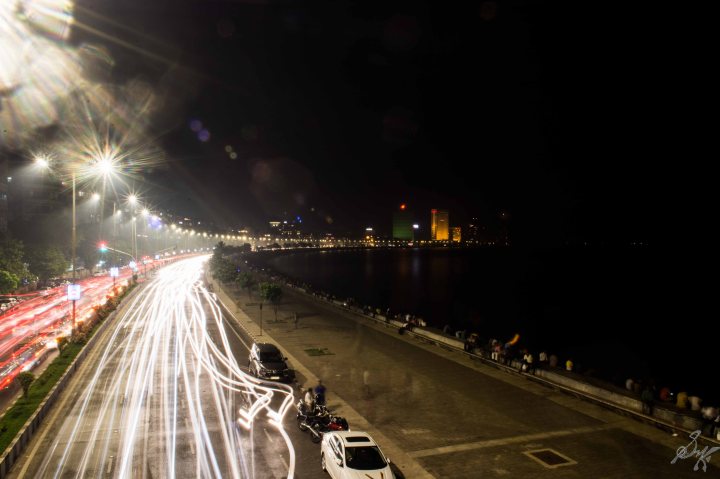
Photographs are generally classified on terms of locations, themes, stories they depict, subjects they focus on, so on and so forth. As the multitude of classifications exist, so are the personal favourites. My favourite is portrait.
The main objective of the portrait from my point of view is to portray certain emotion, or a certain feeling through the photo. My model should be the point of focus, and the emotions felt, the expressions emitted should be captured in the best of possibilities. If I manage to show to my audience, what my subject felt while the shot was taken, I feel, its a good portrait.
Today, I shall put down certain points which I feel are important while taking portraits. I keep these points in my mind while shooting and so far, they have served me well.
1. Focus on the eyes: The first rule, by me, is the focus should be on the eyes. Not on the nose, not on the lips, the EYES. Why? Because consciously or not, that’s the first thing that catches our eye in the photo. So, a sharply focused eye of the model, makes the photo likable immediately.
Sharp focus is on the eyes
2. Let the eyes see: I ll explain this, in simpler terms. I mean, let the photo be such that the model has some place to look to, that the viewer also looks towards the way the model is watching. Let the curiosity be there. If the model is looking towards left, leave some space in the left, and vice versa.
She looks to her left, so thats where the space should be
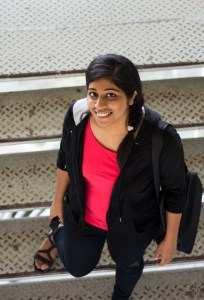
3. Change the angles and point of views: All shots need not be taken right from the eye level. Go up, go down or maybe, just take a step back. They all work wonderfully.
Take a step back, and let her beauty fill the frame
Make her look up to you
If needed, get down on the ground too
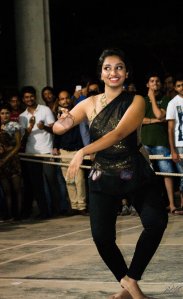
4. Anticipate Movements: While shooting at an event, you shall come across conditions where your model is in motion. Observe the patterns and anticipate the movements, be ready and press the shutter at the right moment. With a bit of practice, sharp shots of moving people will not be difficult.
Anticipate the pattern
Prefocus, be ready and shoot!
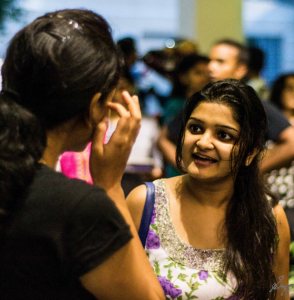
5. Go Candid: Here, you just need to be on the prowl. Keep your eyes peeled for subjects to be shot. Sometimes they notice you and the expression changes, the objective is to shoot before the expression changes. But be advised, the shots may not be as you would have wanted them to be, but then, sometimes, gems emerge too.
6. Bokeh to the rescue: If you have a background which has distractions, or maybe you just dont want the background, open the aperture wide and let the background fade.
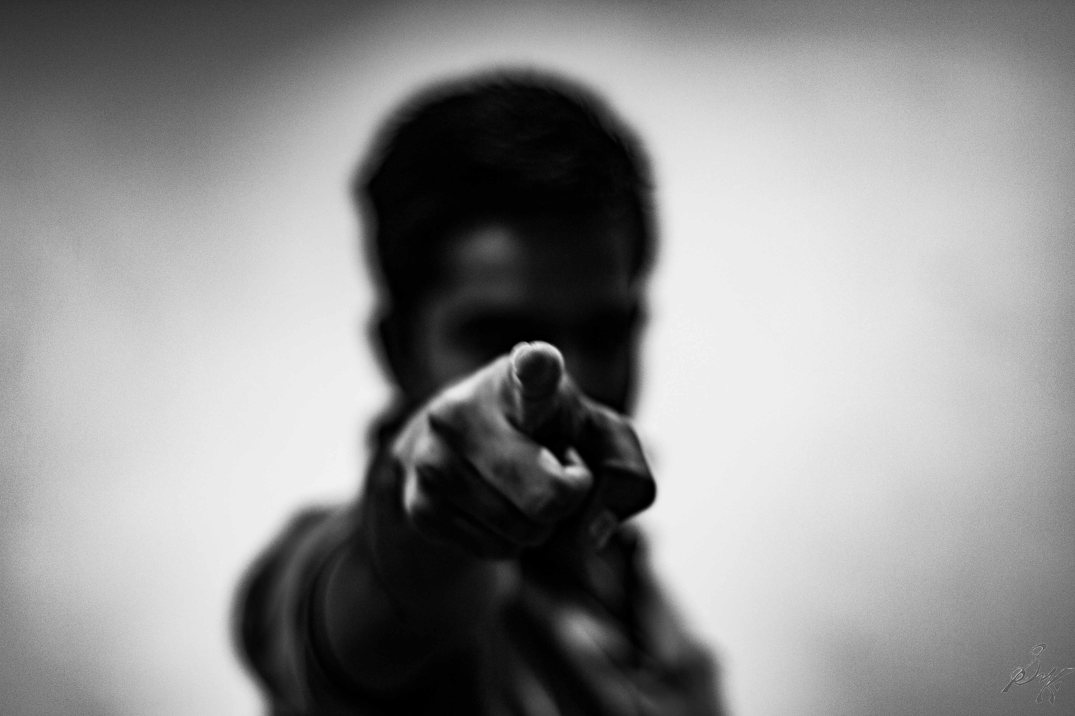
The tip of the finger is all I am interested in, rest all should fade
To isolate the model from the distracting background, use a wide aperture
7. Use Flash: When shooting in the dark, or poorly lit conditions, use the flash as a last resort. With a few test shots, gauge what strength and what shutter speed you need to do justice to your model. Once found, fire away.
The flash gives the adequate light and also helps freeze the motion
Combination of Flash and wide aperture helps isolate the model and also provide proper lighting
8. Get close: Often to capture the expression, you must get very close to your model. But be advised, do not disturb the natural surroundings in the process.
Concentration….captured
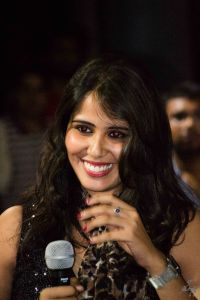
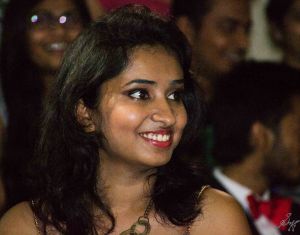
9. Ask the model to smile: This trick, never gets old. Ask your model to relax and take a seat. Bring out your gear and show them how to take a shot, and when they have relaxed, ask them to smile….voila! You have a genuine and happy smile,
Effortlessly beautiful
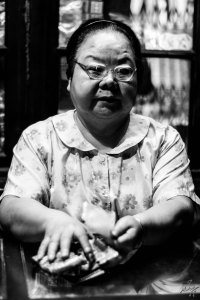
10. Try Monochrome: For a lot of shots, the monochrome version appears to be of more depth. Try it out, but dont overdo it.
Beauty as I know best
So, there you go. 10 simple tips to get you going on your next portrait shooting trip. Go on, have fun and shoot some wonderful portraits.
Thanks a lot to the wonderful models here: Nikhila, Gowri, Rishika, Shruti, Soma, Mayukh, Shweta, Parthivi, Aakash, Anushree, Yogi and my muse, Tuhina. You all are simply wonderful 🙂
Today I got my 100th follower, and I was very happy. It made me think that today something special needs to be done, something innovative. So, I revisited an issue I had previously, how to take macro photos on a budget. The macro lens I am aiming for, is still pretty much out of my reach, but lens reversal, that can be done right…so lets try it.
I pulled out my body cap and hollowed it out, and stuck one of the UV filters to it, thread facing outward.
I put a bit of sticking tape to reinforce the joint, and voila! my lens reversal system is ready. Now, does it manage to hold the lens?
Oohhh yeeaahh!!! Works fine till here. Lets test!
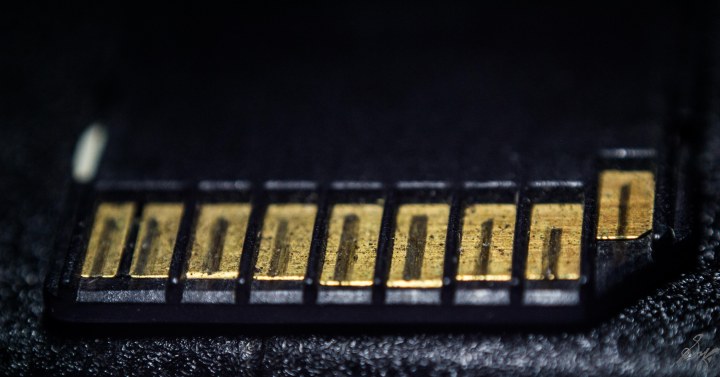
By the results, I am happy. No, they are not as nice as a macro lens, but surely a huge improvement than using the macro filters. Check the previous post here and see for yourself.
The DOF is incredibly small, maybe 2 or 3 millimeters deep, at a maximum, when the aperture is open wide. Keeping the aperture open is an issue, needs to be done manually. I wont lie, to take a photo, I needed to shoot at least 10, and it is tiresome. But the results are very much satisfying. Am working on some more close ups, hopefully will post them soon.
I love it when the weekly photo challenges are a bit theoretical in nature. This week, its the Rule Of Thirds. I am sure you all have come across this rule, by choice or not. Check out the challenge page and other responses here.
Lets just begin. Divide your frame into 3 parts, horizontally and vertically and then keep your most important subjects on the intersecting points of the grid or on the grid lines. Remember the grid option in your phone’s camera, yes, thats the grid for this superb rule. And try to avoid the center block.
When we align the photos suitably, you ll notice almost immediately, that the look and feel of the photo changes and becomes much more pleasing and natural to the eye. Go ahead try it.
Here is an example of the rule.
Here, the bird on the foreground is almost in the left third, while the one in the background is on the right thirds. The opposite river bank is in the upper third.
This is one of the most common rules which immediately makes your photo look better.